


Description
Mk1 Scirocco Tail Light Seal
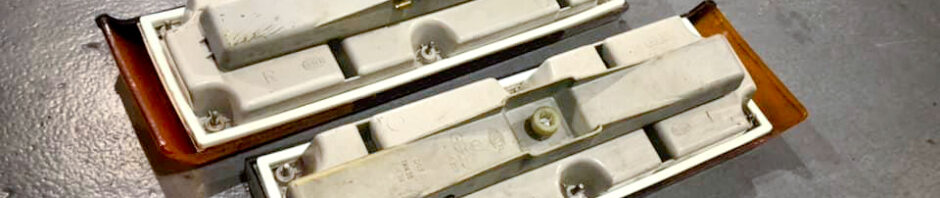
 Tired of looking for a Mk1 Scirocco Tail Light Seal kit? Do yours look like this? Leaking water, moisture and rusting your amazing Mk1?
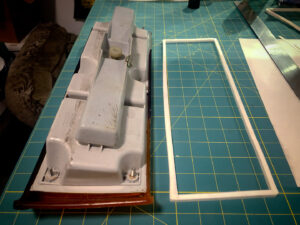
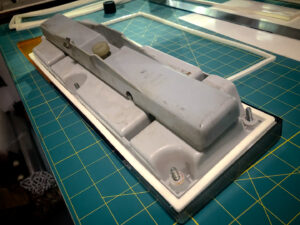
Well you are in luck and you can look no further. West Coast Roccos are now manufacturing a Mk1 Scirocco Tail Light Seals. These seals are also made in house and are 100% perfect fit guaranteed. No more cracking brittle foam seals or using RTV to seal the lights, for instance.
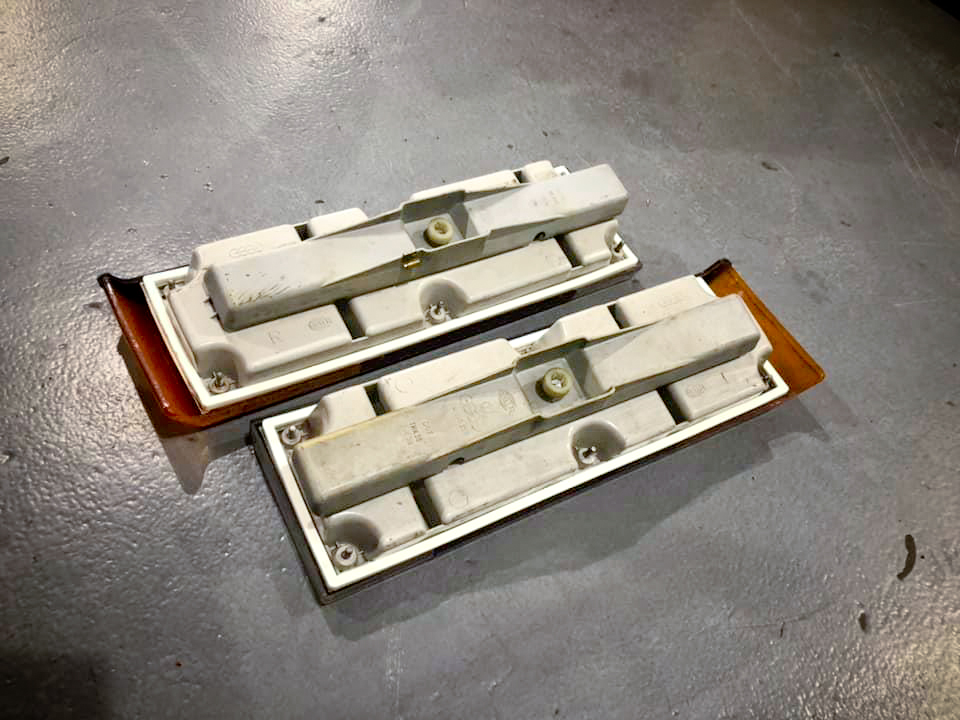 Our kit comes with two seals and have adhesive backing for easy installation. Just remove your old tail light housings. Then scrape off all the old seal material and 40+ year old glue, peal, stick and reinstall. It’s that easy.
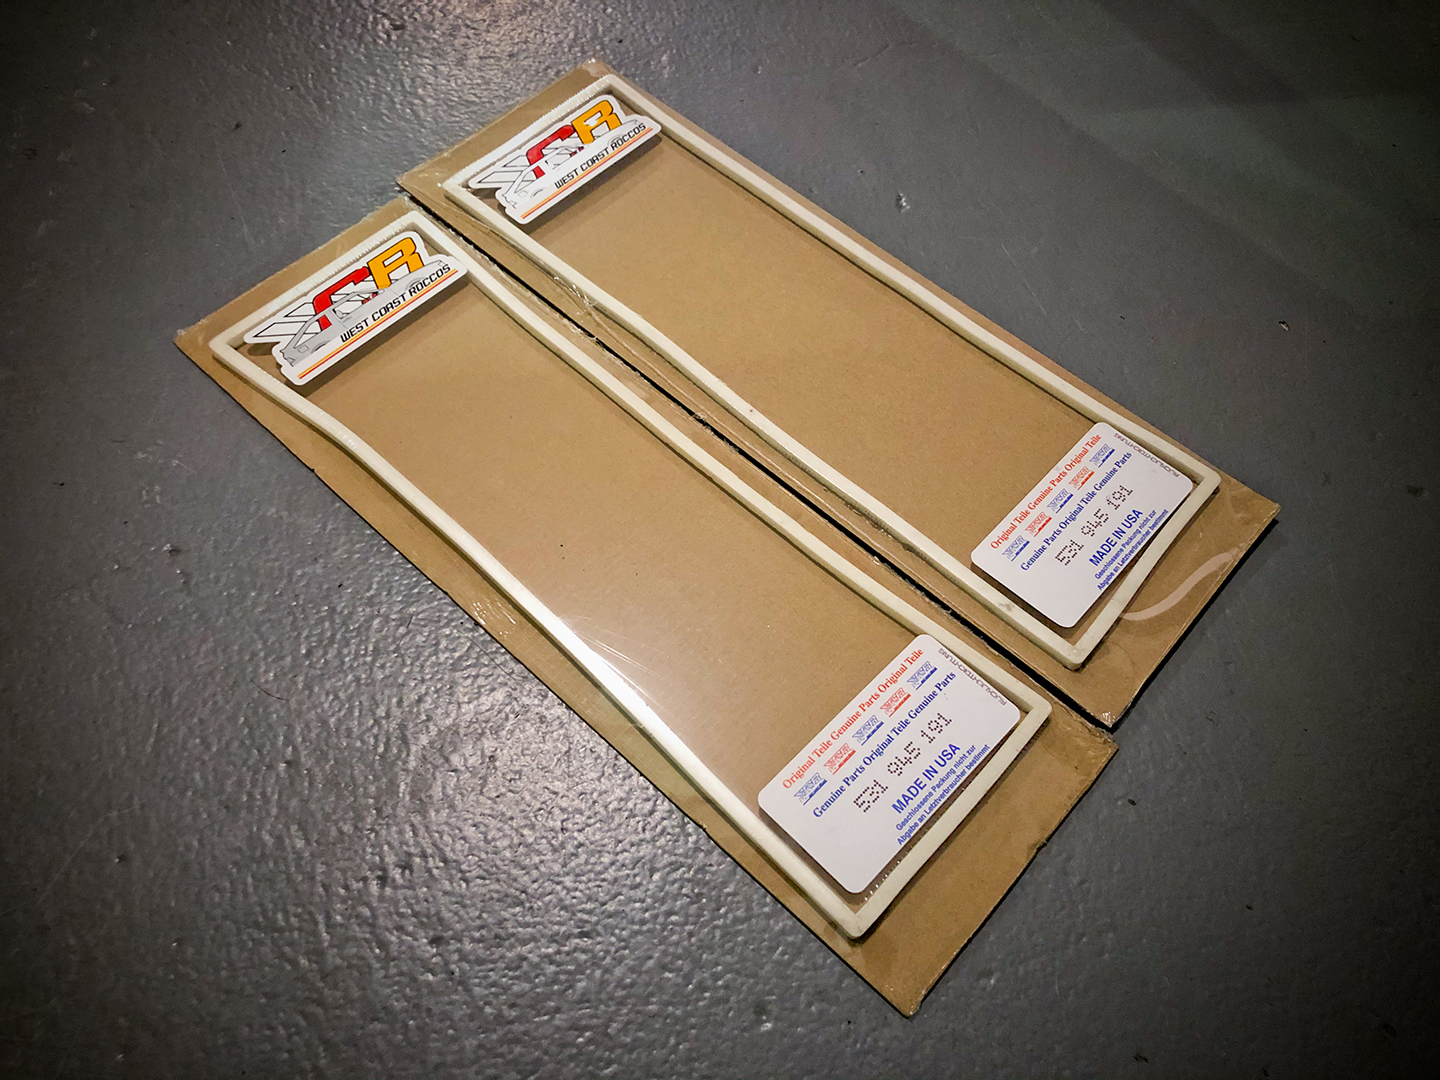
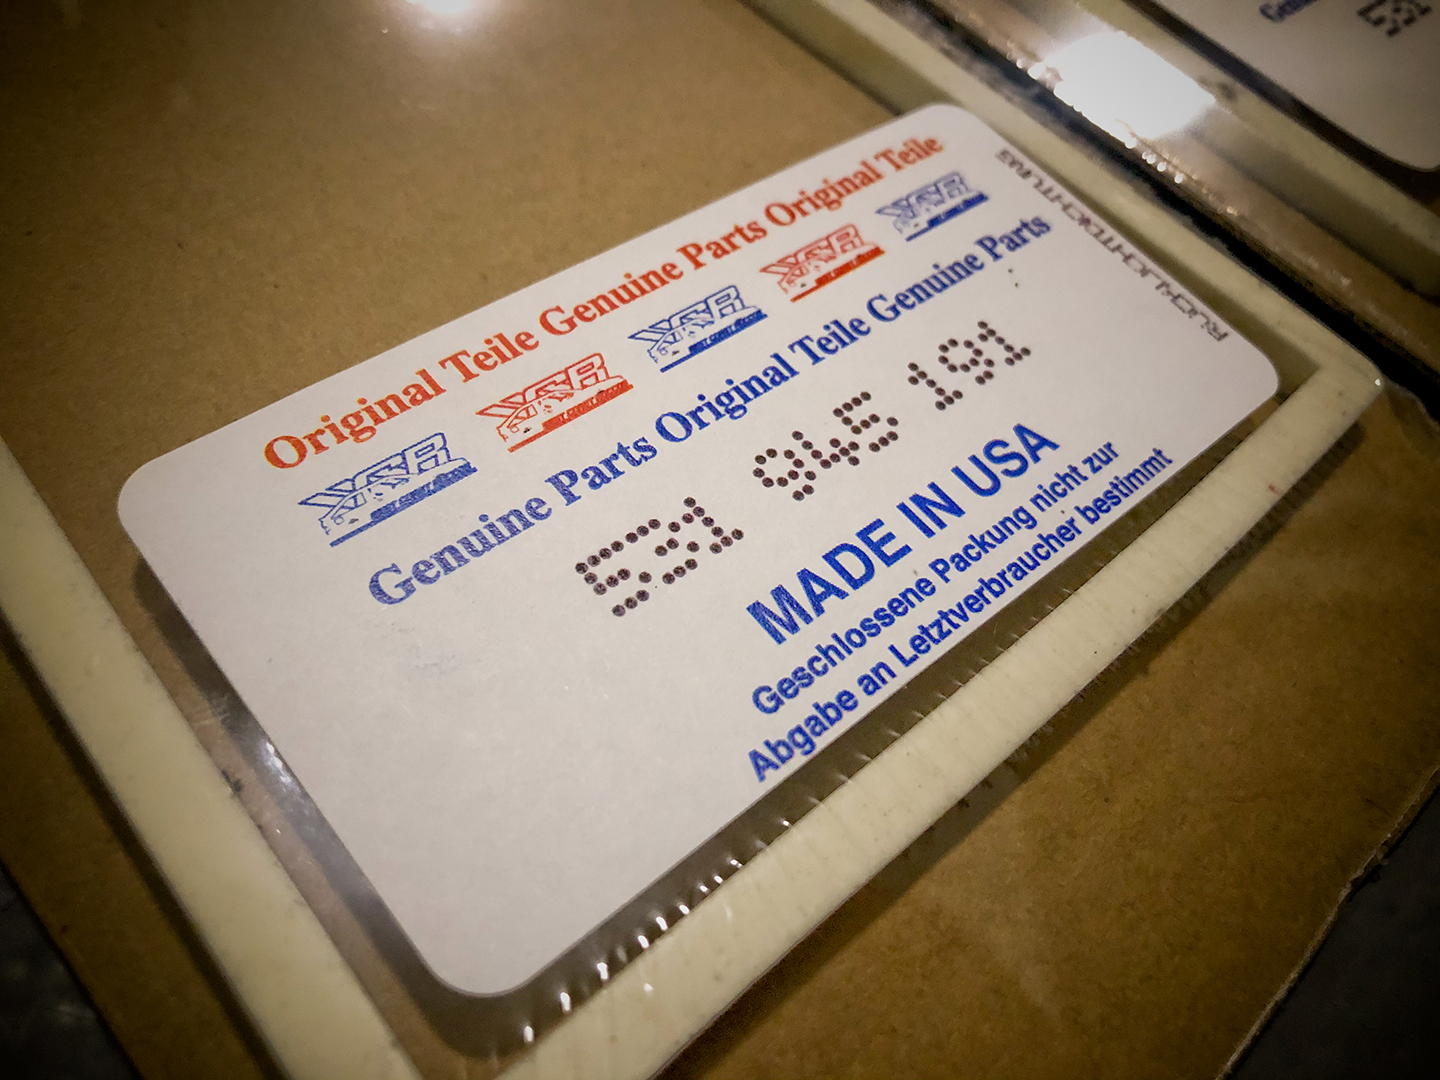
Seals come shrink wrapped on rigid cardboard to ensure they will not be damaged in shipping.
Just add them to your cart, check out and we’ll get them on the way to you.
PN: 531945191 / 931 945 191
Fits Tail Light PNs: 531945111 / 531 945 111 & 531945112 / 531 945 112
Installation
Note: Only install the tail light seals before installation of the tail light lens housing on your Scirocco. Make sure the seal does not get wet for 24 hours as the adhesive takes time to cure. This will guarantee proper seal adhesion to the tail light.
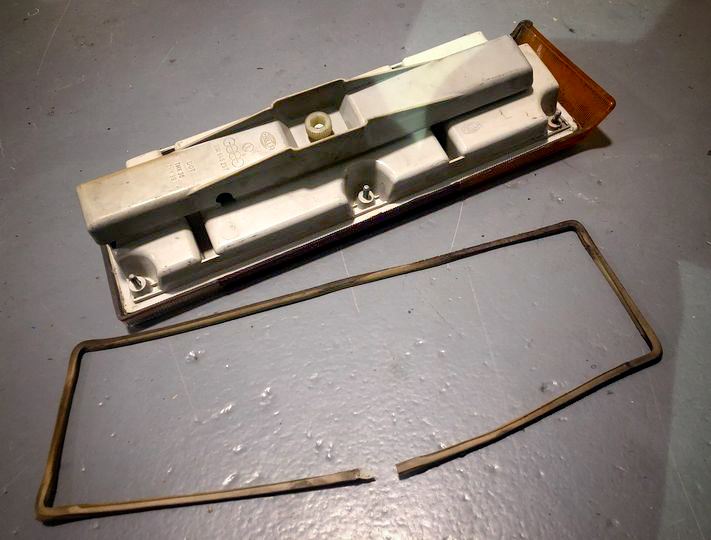
 Access and remove old tail light inside the rear of the trunk
- Remove the 6 nuts and washers on the back side of the tail light housing and carefully remove the tail light housing from the body.
- Remove old tail light seal
- Using 3m adhesive remover, remove 100% of the glue from tail light housing.
- Note: Letting it sit on the affected area for 10-30 seconds with a rag or towel over the area will soften the glue faster.
- If any glue is remaining use a plastic razor blade or sharp plastic putty knife to remove any excess.
- If using a citrus based removed, wipe down contact area where seal mounts with alcohol.
- Press down firmly on the adhesive backer before removing each backer.
- Press firmly down on each side, one at a time until all of the backers are removed.
- Apply seal by staring on the left or right / short side first.
- Droop the other contact surfaces above the lens until you are ready to apply.
- Make sure not to stretch the seal or misalignment may occur.
- Align the long sides one at a time, then the short side.
- After these the seal is in place, exactly where you want it to be, firmly press the seal into place.
- Before reinstallation, clean the contact surface between the body and the seal.
- Installation is the reverse of removal.