

Description
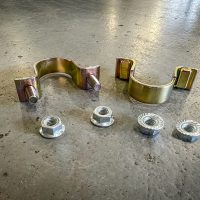
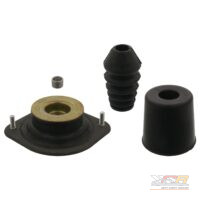
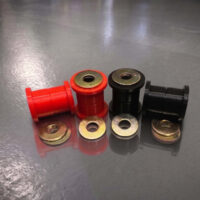
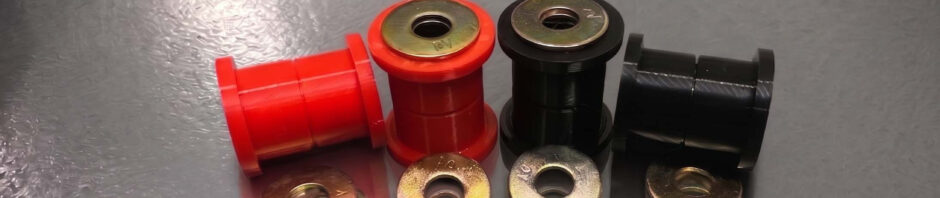
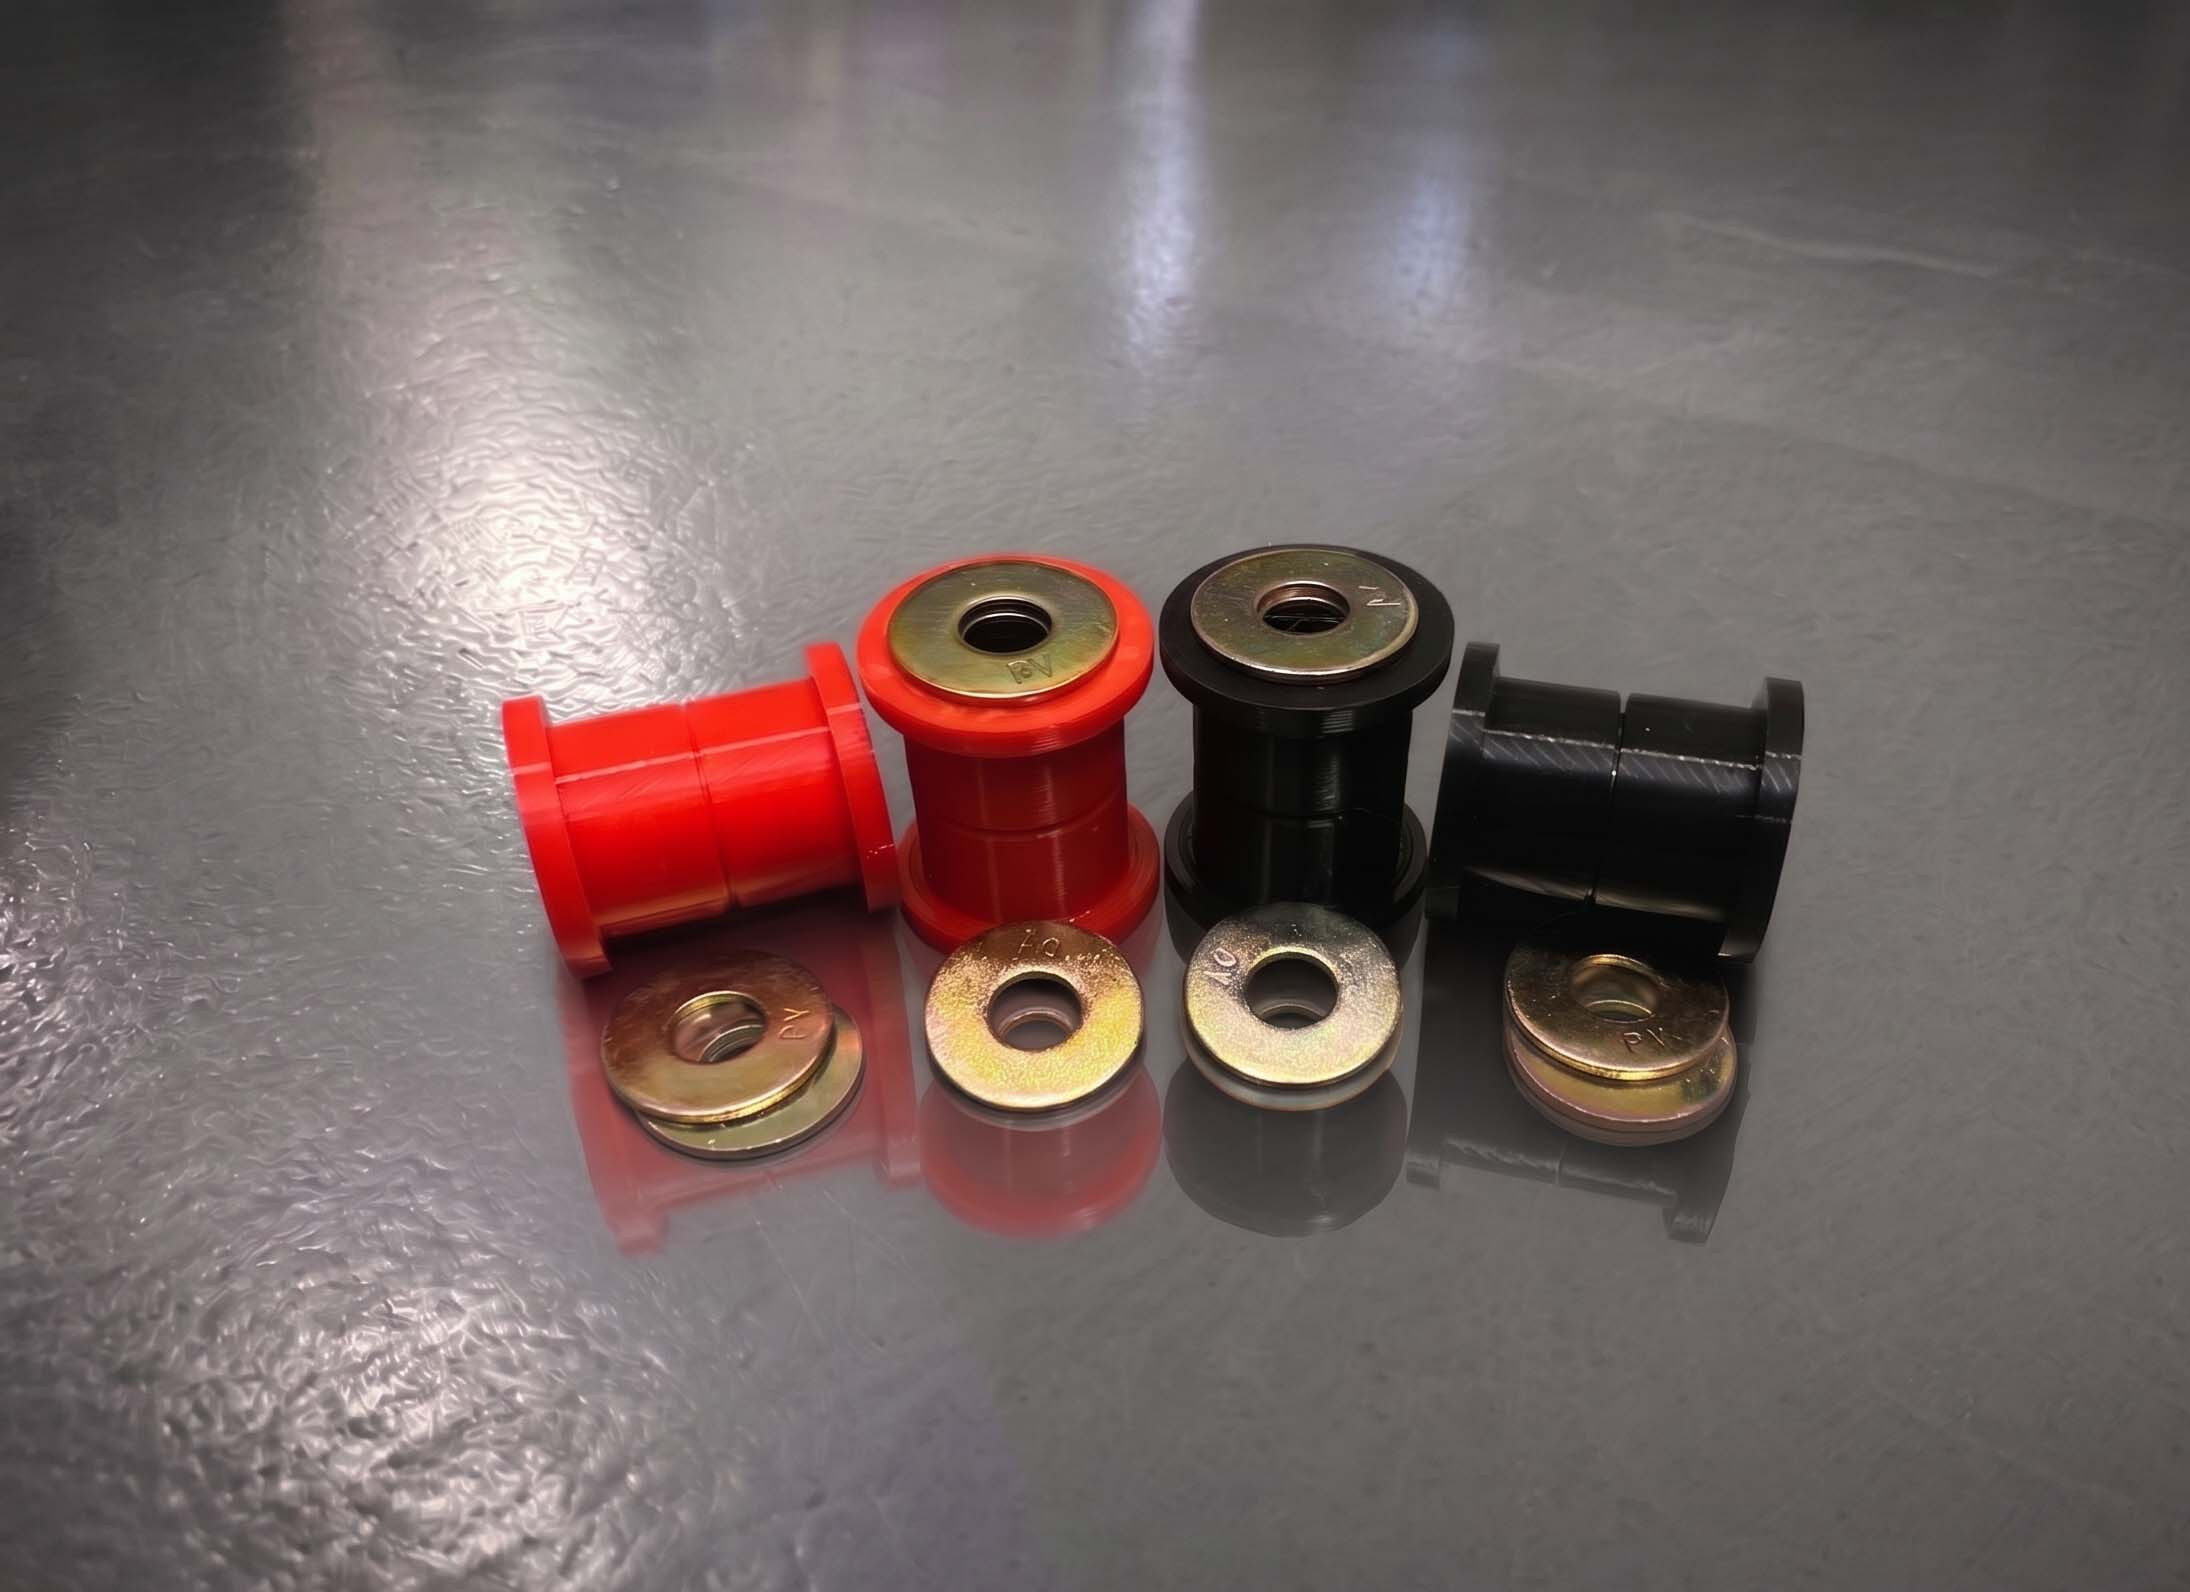
Scirocco Rear Beam Bushings
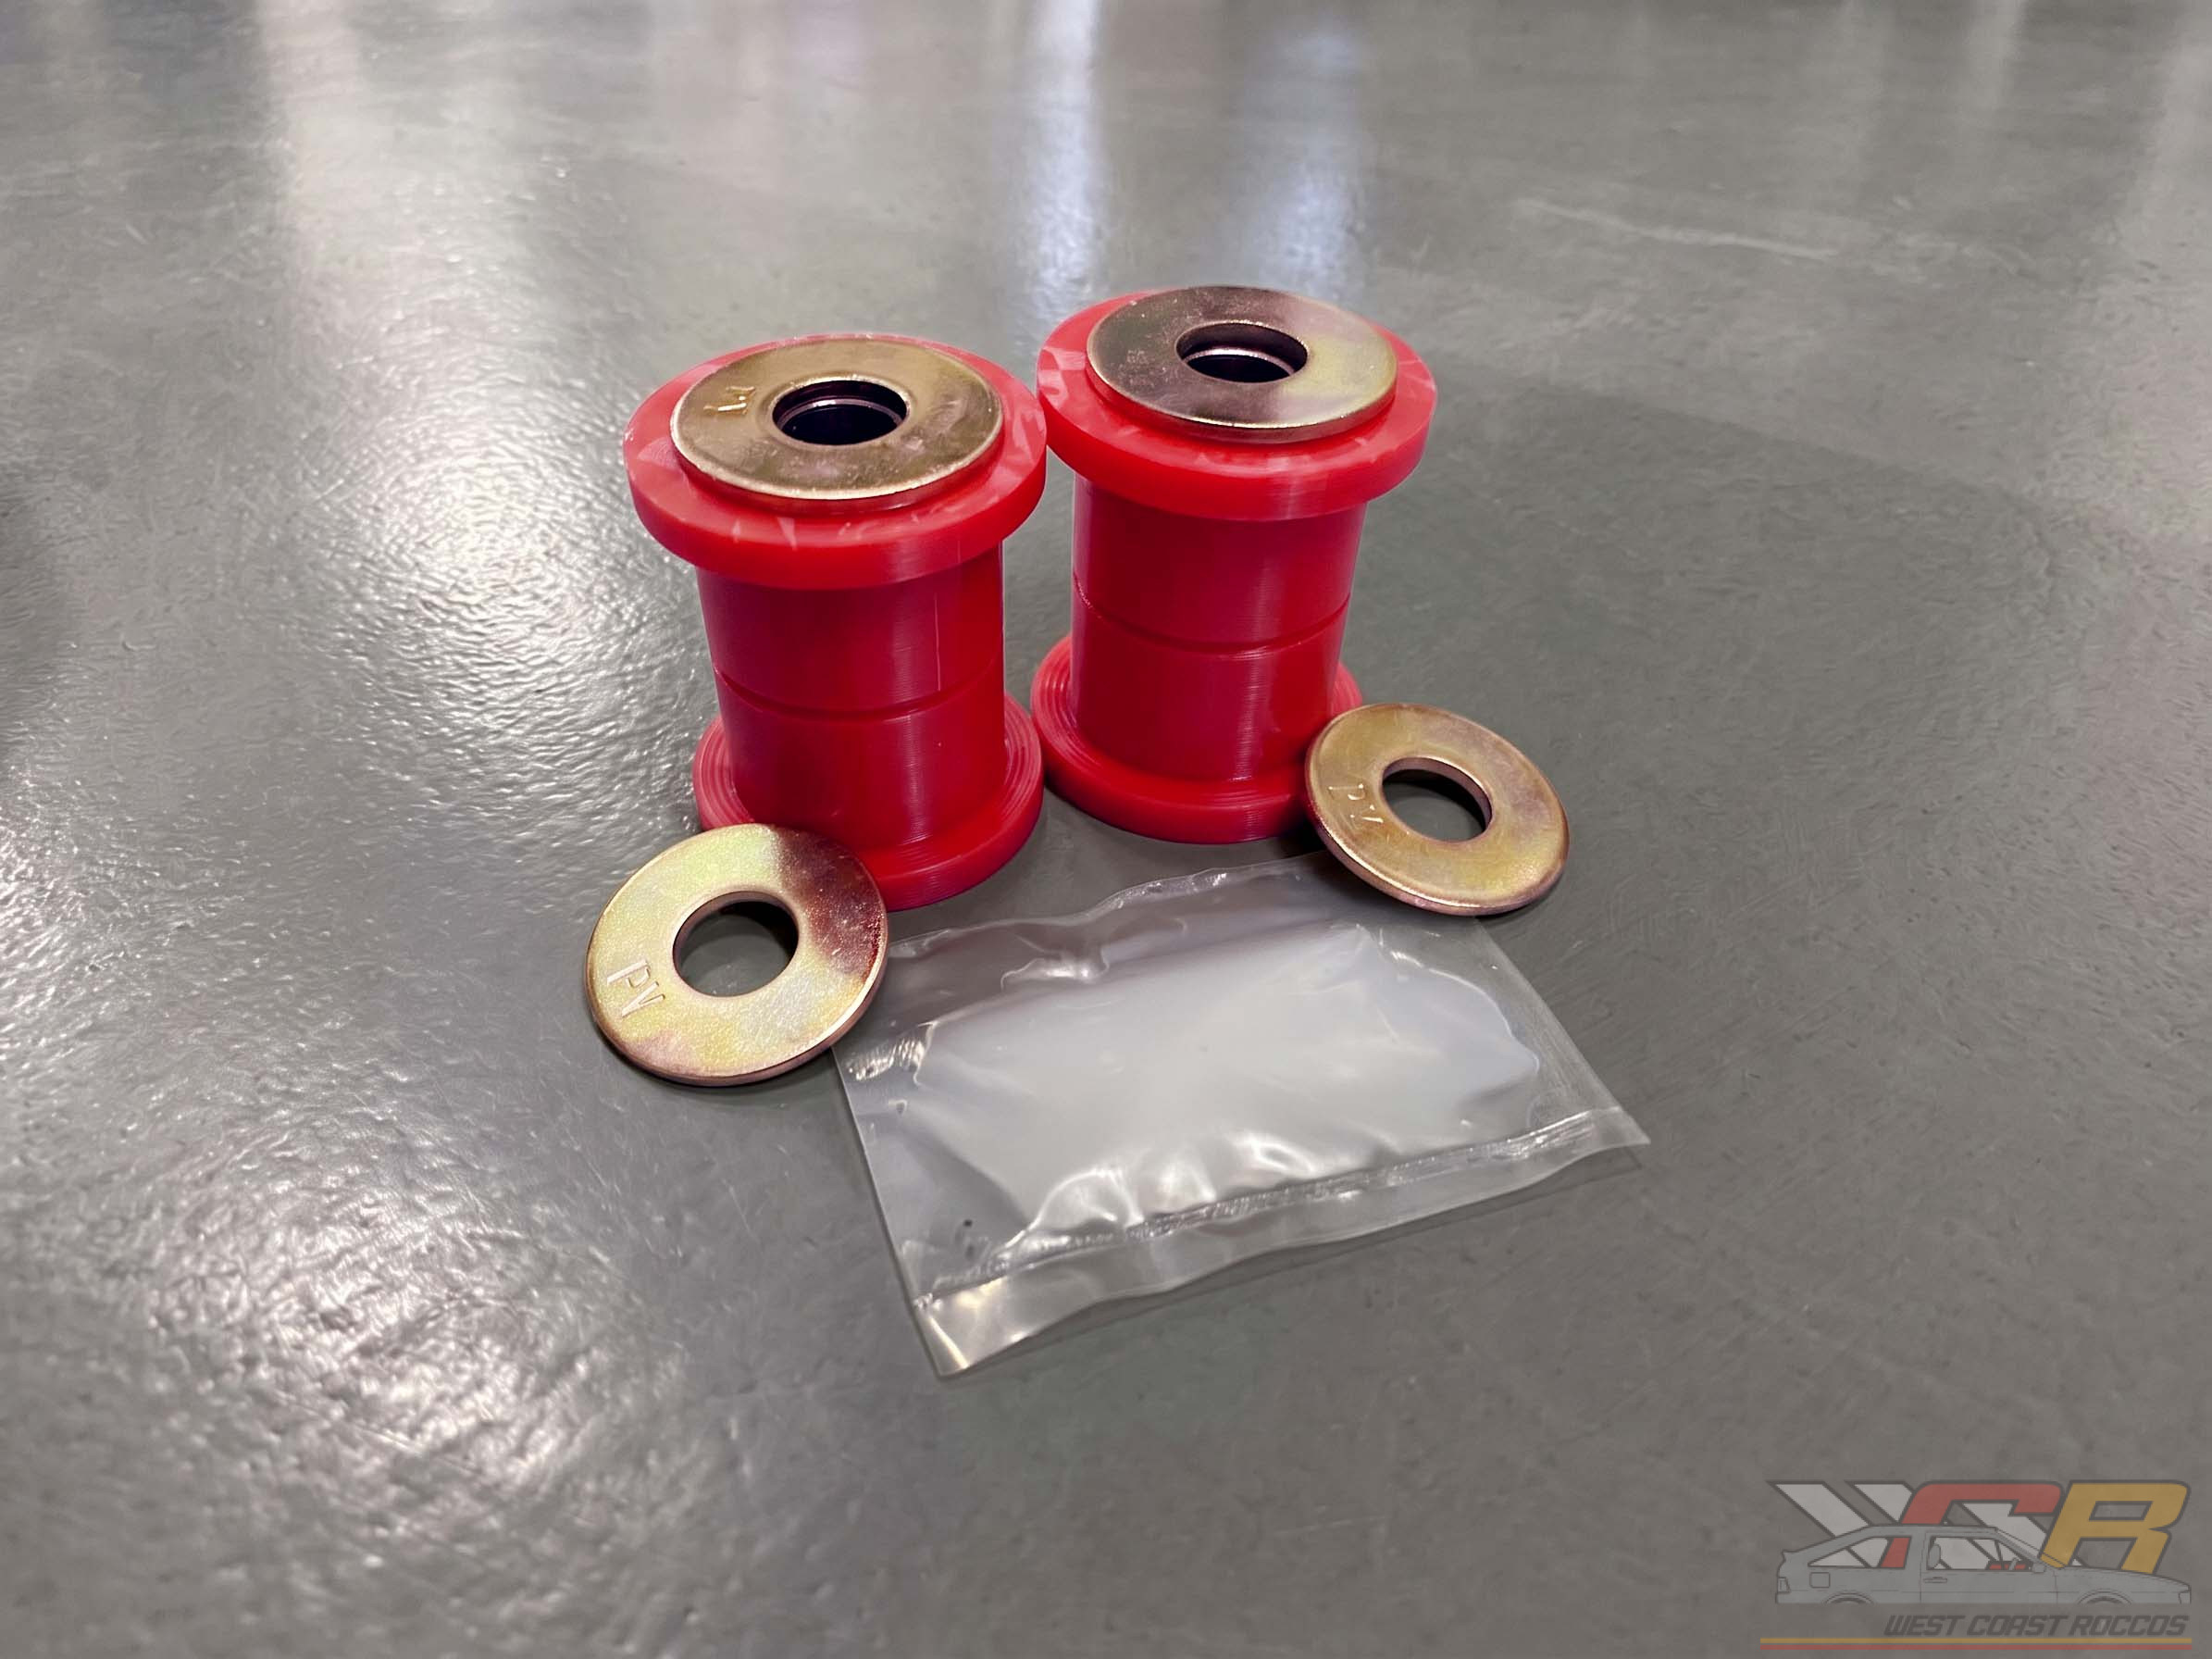
Our Mk1 and Mk2 Poly Rear Beam Bushings are made in house at WCR. These Polyurethane bushings do not ride hard or squeak, like others do. The reason we use these in both OEM and performance application is because they are much easier to install. They are also virtually indestructible and last ten times longer. As long as you lube them with our specialty made silicone grease (included), they will not squeak. Does not come with mounting bracket.
Metal hardware insert is made from Q235 Steel, with a Rockwell Hardness of 83. The washers are Grade 8 / Class 10.9 hardened steel. Furthermore, these washers have a zinc plated and have a yellow chromate finish. These coatings will protect the washers from rusting over time.

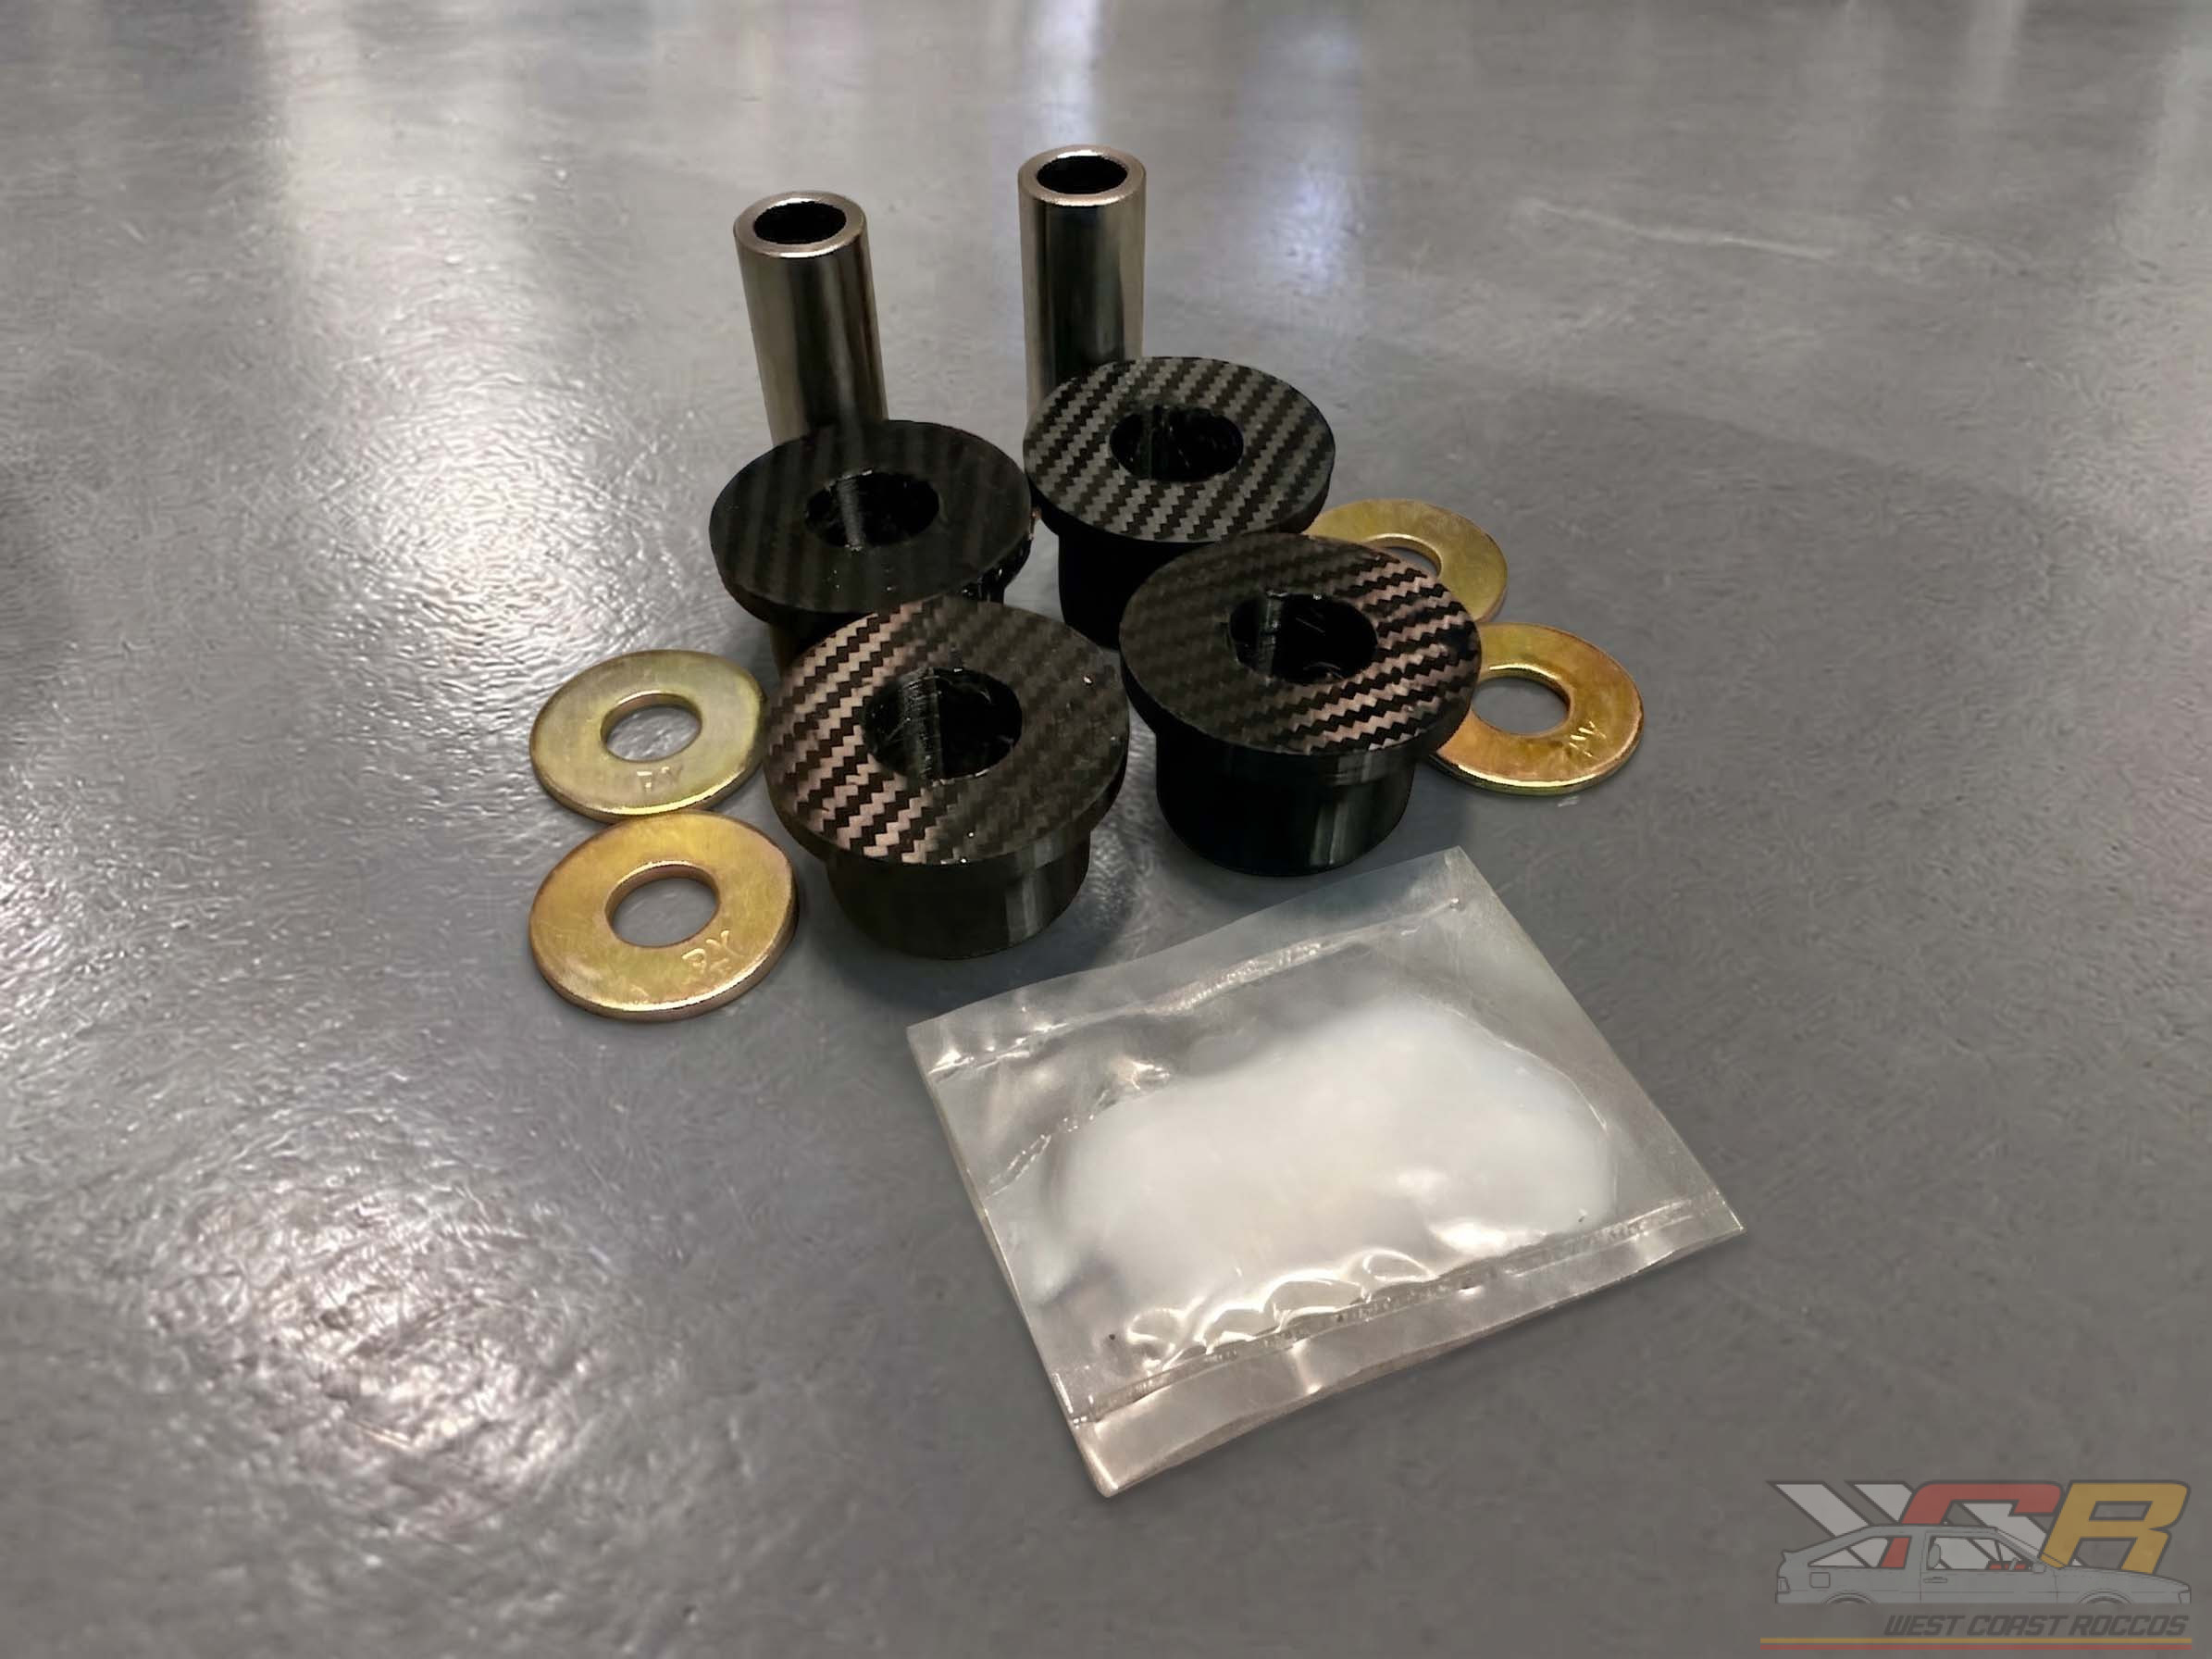
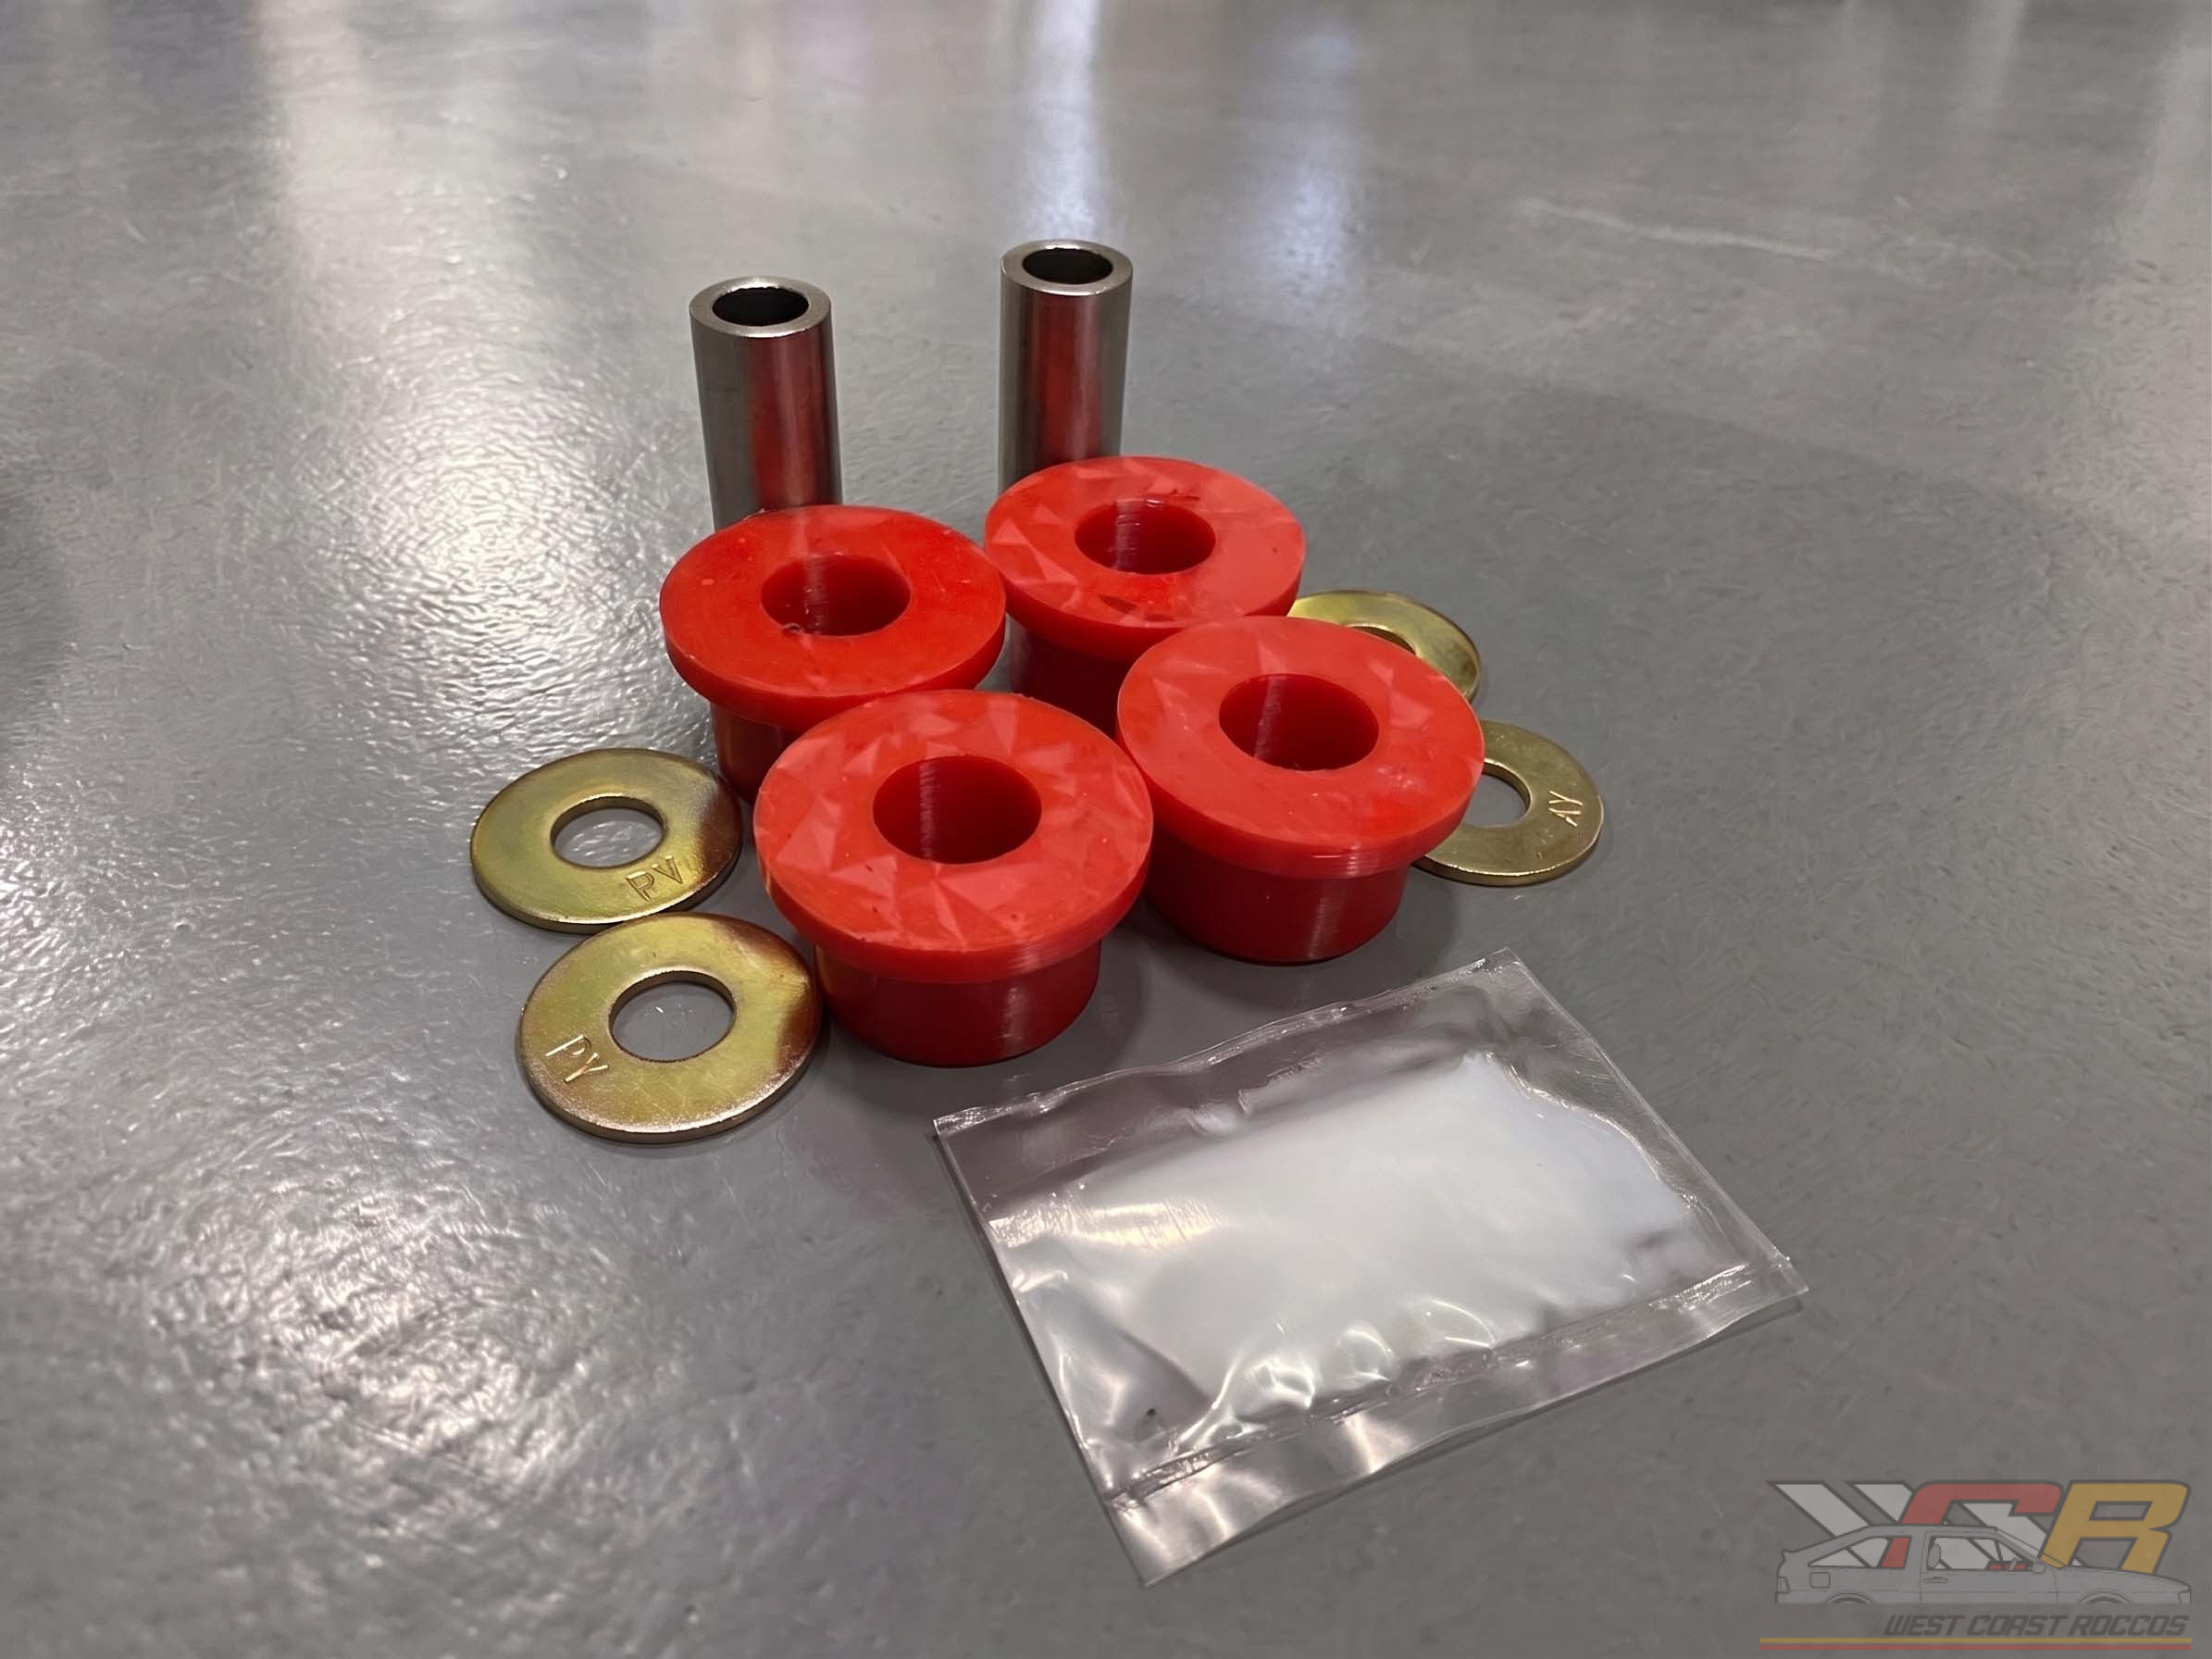
About WCR Poly Grease:
WCR’s Polyurethane grease is a thick, white, water-resistant silicone-based grease. This contains PTFE (Teflon) to prevent squeaking, binding, and premature wear. This is the best product for poly bushings. Additionally, this is the exact same formula that many high-performance poly bushing companies use. Each kit comes with a 5mL packet, enough to coat the entire bushing generously.

Replaces Part Nos.:
#14 – 161 501 537 / 161501537 – Bushing w/o Bracket
#14 – 171 501 537 B / 171501537B – Bushing w/o Bracket
#16 – 171 501 543 / 171501543 – Washer
#17 – 171 501 548 / 171501548 – Washer

Installation:
- Raise and support rear of vehicle.
- Working from inside vehicle, disconnect parking brake cable from parking brake lever.
- Disconnect and plug brake hoses. (You must bleed brakes after everything is back together)
- Raise rear axle beam with a floor jack, then remove upper strut to body attaching nut.
- Always disconnect struts one at a time to prevent personal injury and/or damage to
vehicle. - Remove rear axle mount to rear axle attaching bolts, then the rear axle.
- Remove bushing by cutting one of the ends off, then using a press or slide hammer to remove.
- Lubricate inside and outside of steel inserts and poly bushings to prevent noise.
- Install WCR busings.
- Reverse procedure to install.
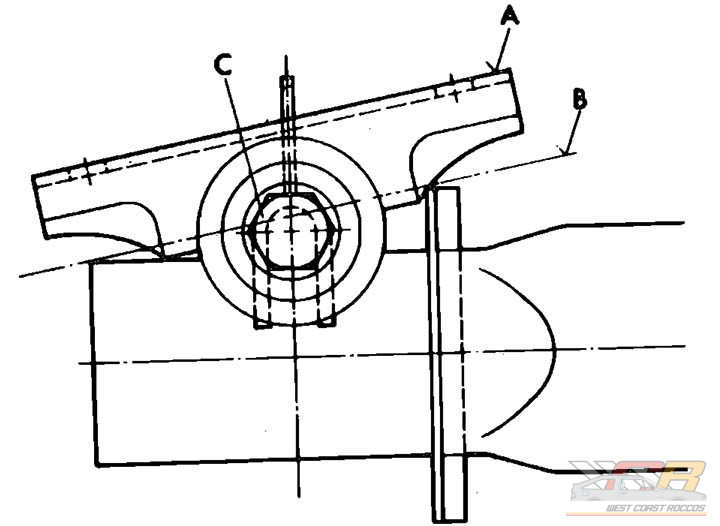
- When installing rear axle assembly:
- ensure upper edge of rear mount (A),
- Fig. 1, is parallel to line (B).
- If not, loosen nut (C), adjust mount as required
- Then tighten nut to specifications.
- When installing rear axle assembly: