Description
Mk2 Scirocco B Pillar Trim
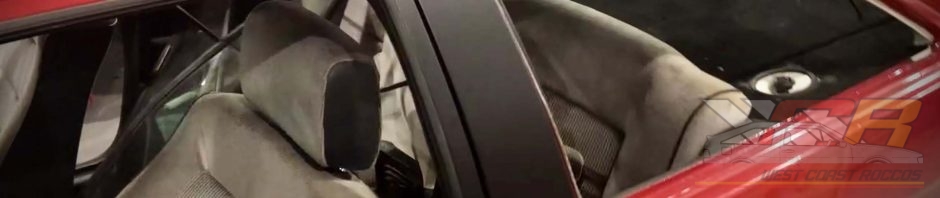
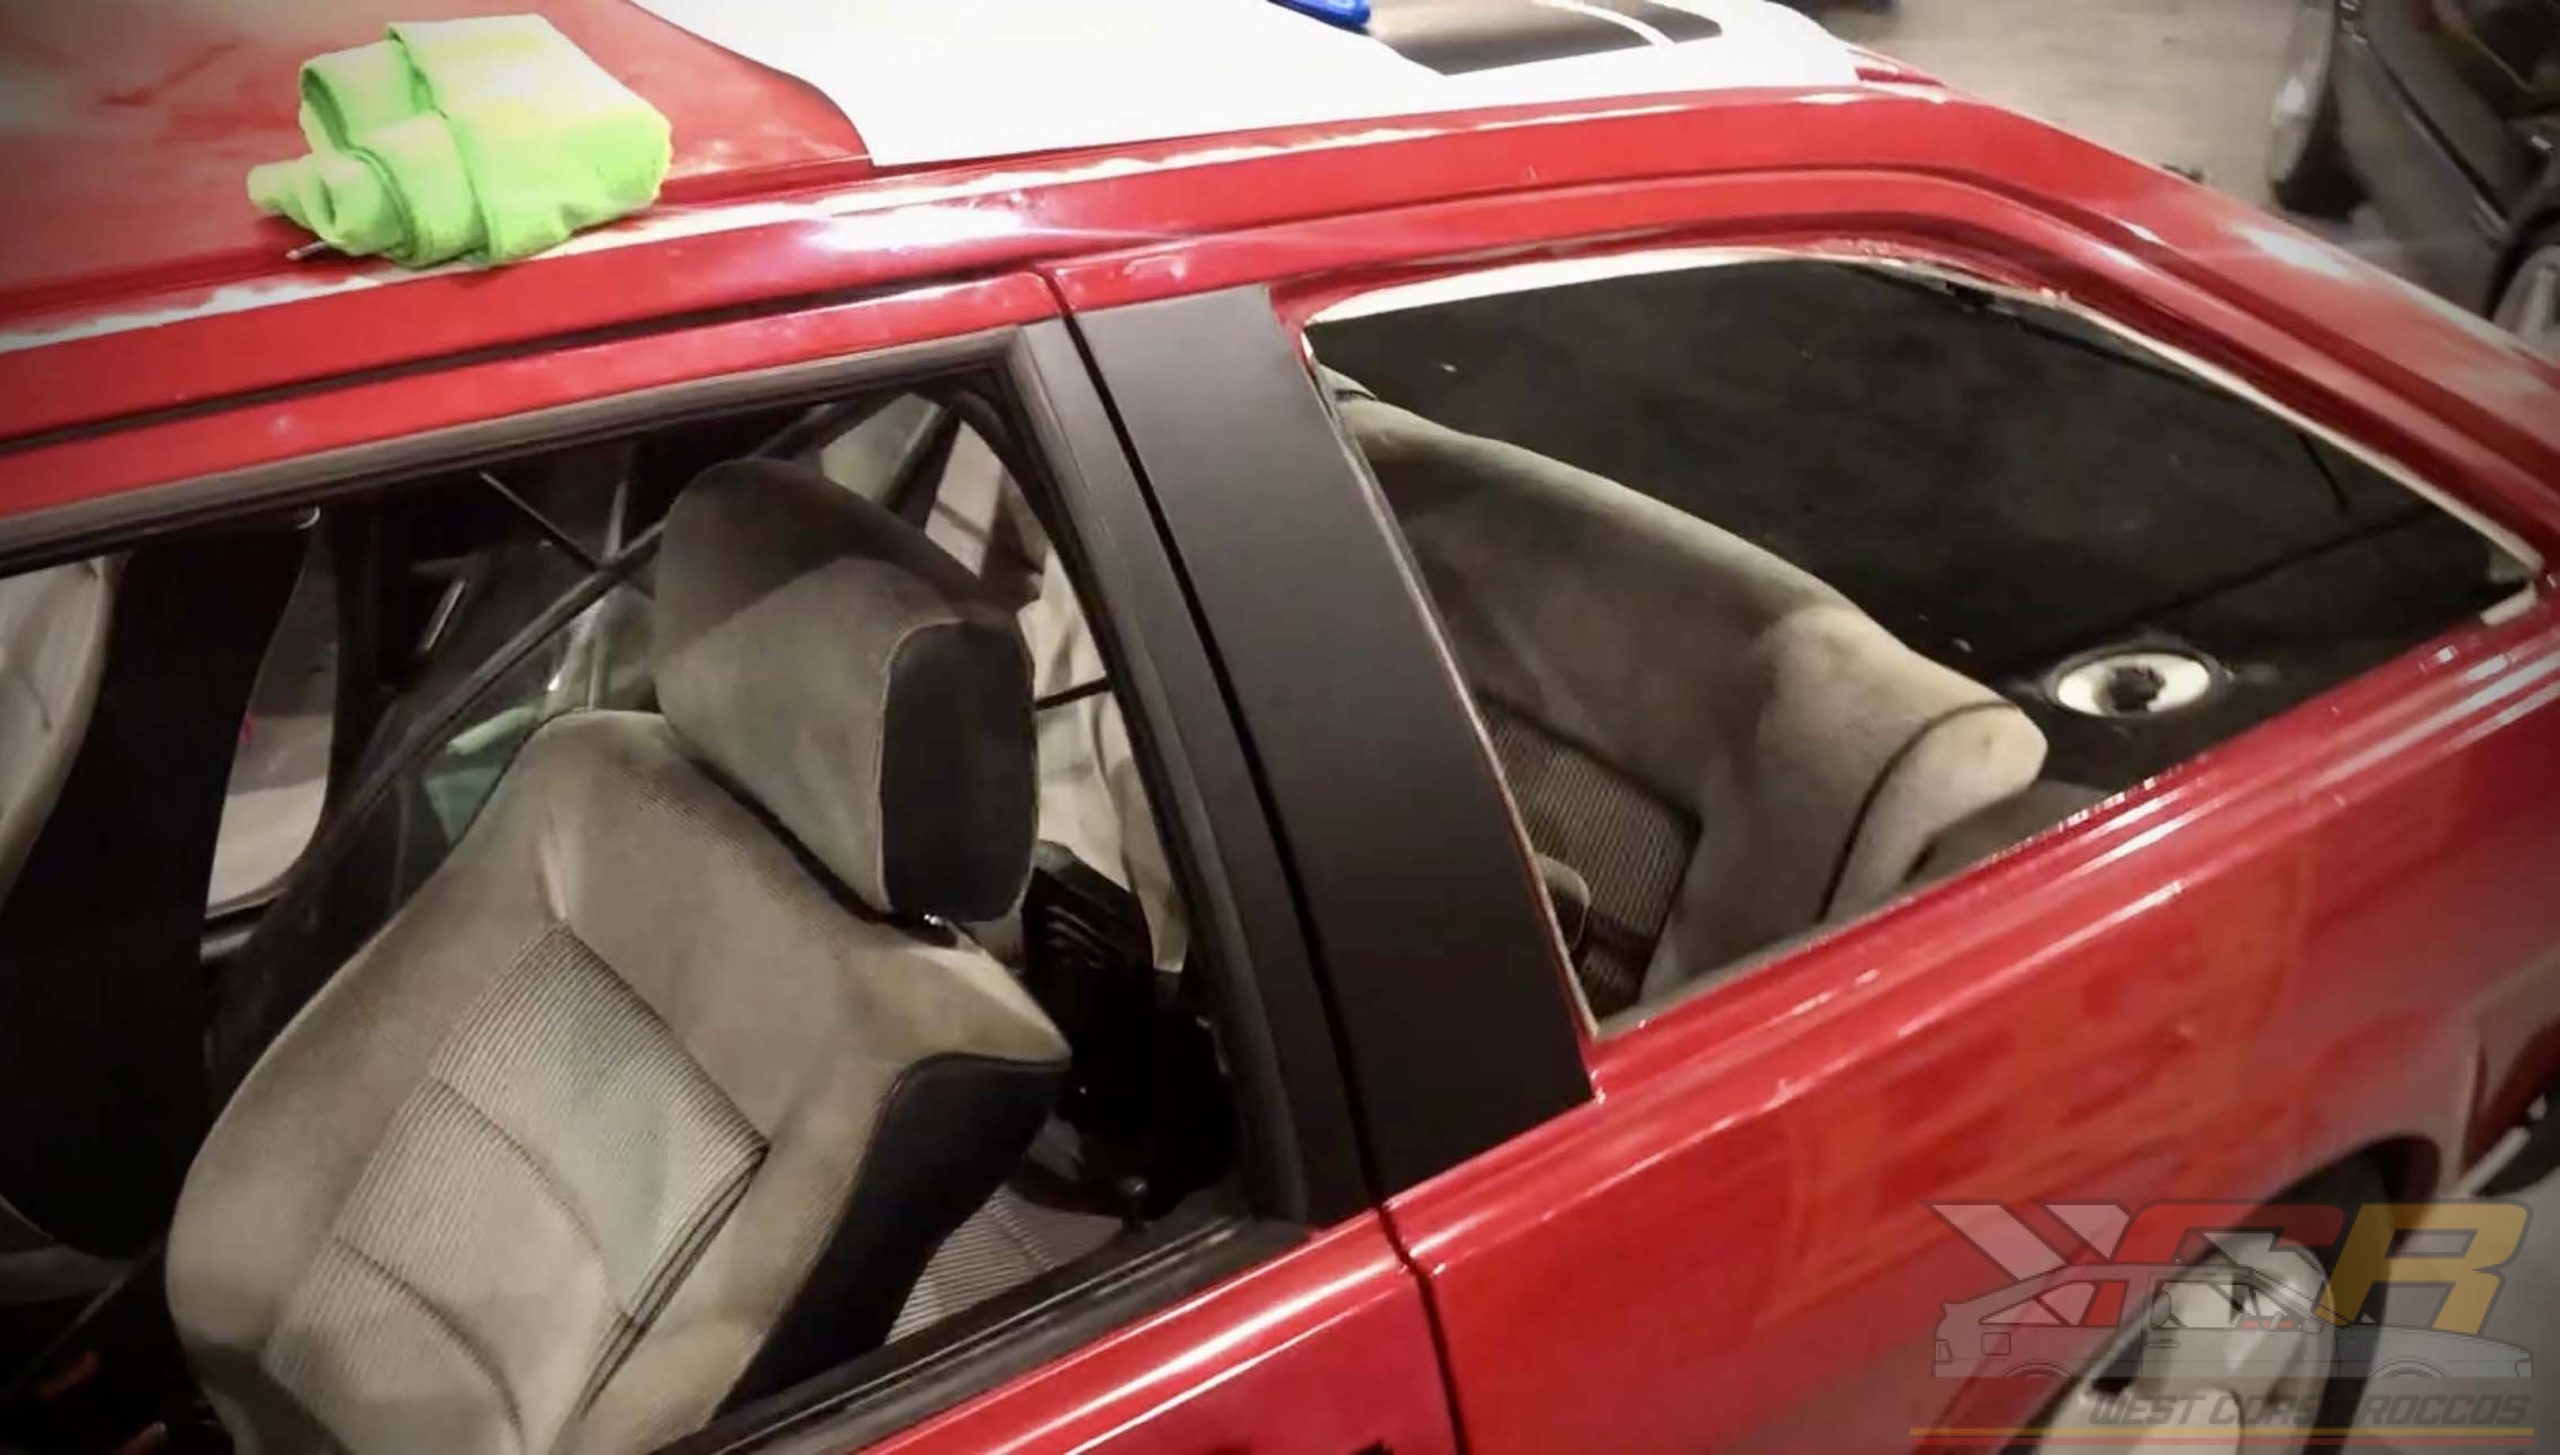
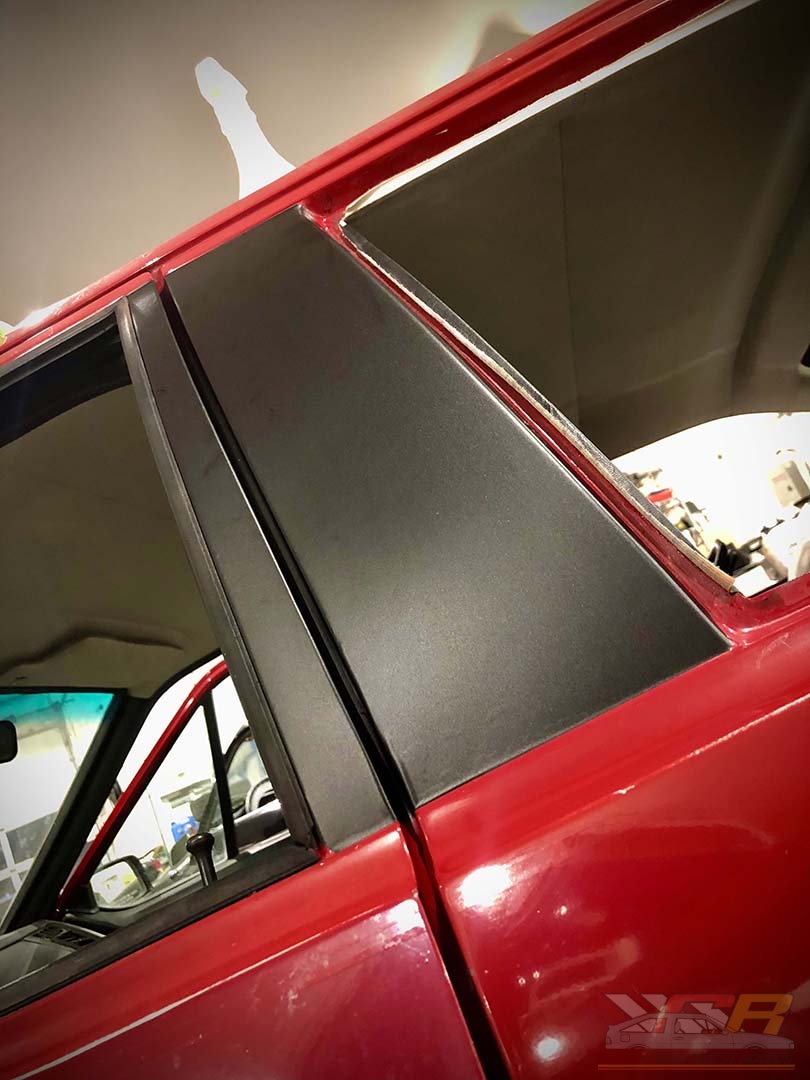
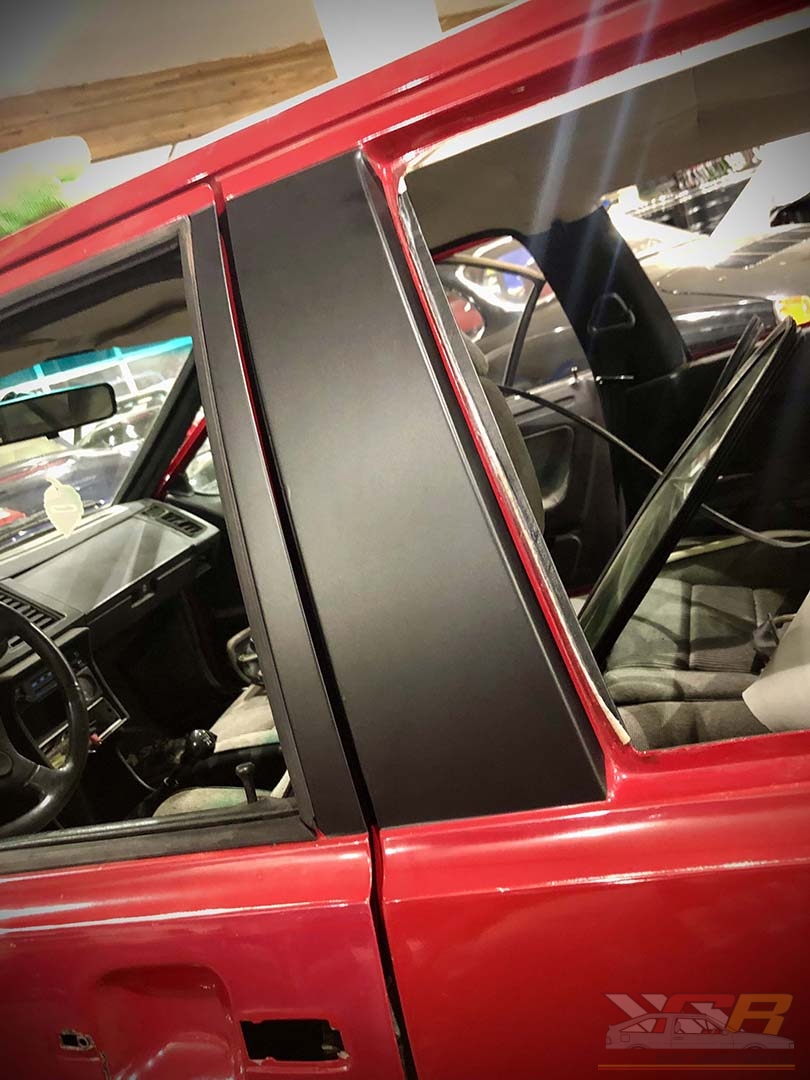
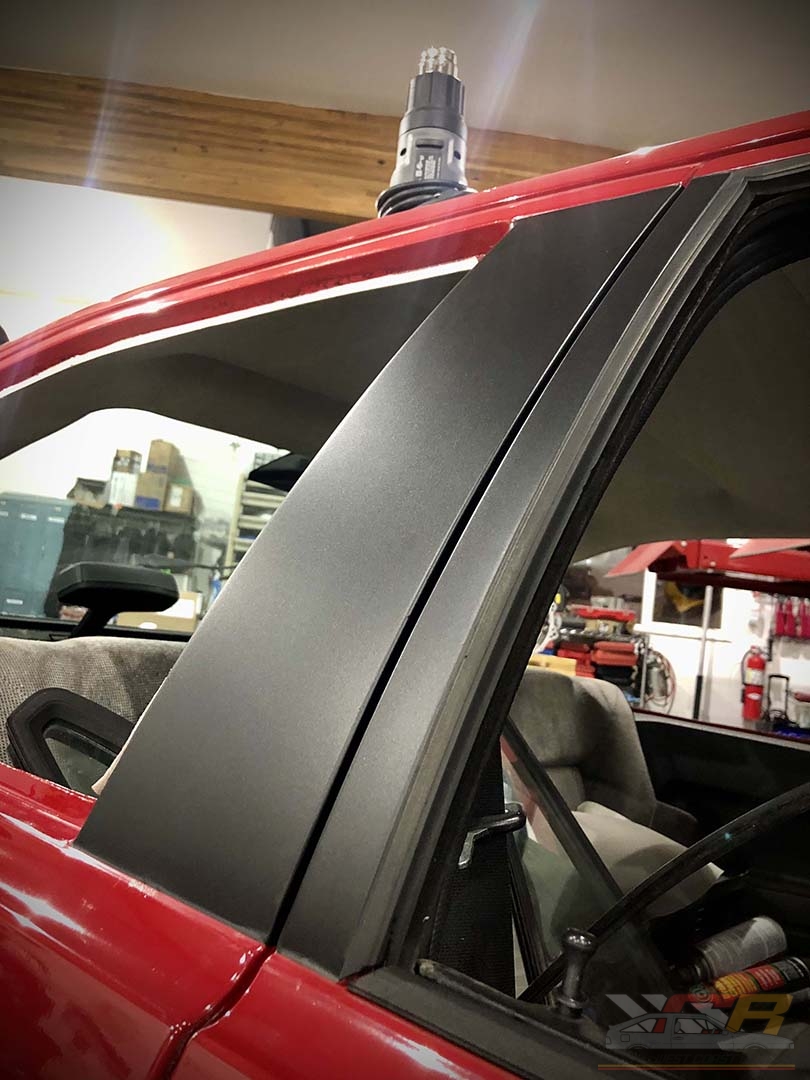
Restore your Mk2 Scirocco with West Coast Roccos’ B-Pillar Trim Restoration Kit. Kits come precut, ready to install.
We suggest removing your rear seat side windows to perform the install. You will also need to remove the seals on the driver and passenger doors. They are both easy to remove and easy to re-install. This will give your Black B Pillar Trim kit a much easier way to install and looks much nicer as well. Application is fairly simple.
Tools:
- Plastic razor blades
- 3m Adhesive Remover – PN: 08987 – Spray cans are easier
- X-Acto knife – For final trimming
- Disposable terry cloth vrag – Wiping glue
- Brand new microfiber rag – Cleaning surface
- Tint or Film Installation Fluid- Kits available at WCR
- Felt or Microfiber Squeegee – Kits available at WCR
- 2-3 hours of time – Take your time. This takes some patience.
Pre-install, Cleaning / Removing Old Black B Pillar Trim
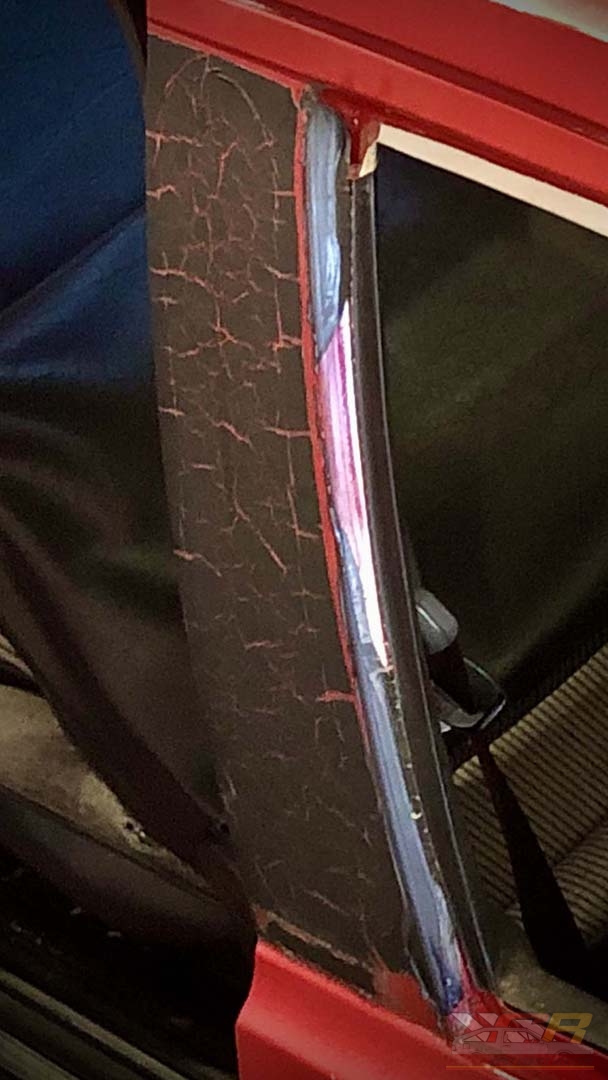
- First, for install you must remove 100% of the old vinyl and glue. We suggest using a heat gun to remove the vinyl portion. Then need some 3m adhesive remover spray.
- Spray the glue side and the terry cloth rag. Then drape the rag with the side you sprayed over the glue surface. This will allow the adhesive remover to work longer and not evaporate to quickly.
- Wait between 30-40 seconds for glue to soffen. With the plastic razor blade, carefully remove the glue.
- Repeat until 100% of the glue is removed.
- If there are any imperfections on the paint, you may need to wet sand the surface with some 600 grit so it’s 100% perfect again.
- Remember, anything you can see or feel on the paint you WILL see on the outside of the Black B Pillar Trim when you are finished.
Install Your New Black B Pillar Trim
- Firstly, Wipe down the making surface with your new microfiber and the 3M adhesive remover. You want 100% of all the dust oils, etc removed to promote adhesion.
- Remove one of the Black B Pillar Trim from the backer that your are installing on the section you just wiped down. Furthermore, we suggest removing the backer from the decal to avoid stretcing the trim. Make sure you have the correct panel as these are side specific. See example.
- Using the application fluid, immediately spray down the adhesive side of the trim.
- With the same application fluid, spray the surface you are going to apply the trim to.
- Next, align the trim to the body. Position the trim so the corners angle around the bend of the sheet metal. Smooth is out with your hands so it’s flat. You can move it around a few times. If it gets hard to move, apply more fluid and start over with the positioning.
- Once the decal is perfectly in place, use the felt squeegee to squeegee out the fluid.
- Start from the center of the trim and squeegee in 2″ section towards the roof, then 2″ toward the ground. This will help anchor it in place. Once you have the vertical in place, start in the center again and squeegee left and right, up and down until you have the entire face of the decal attached.
- Now, squeegee around the inside of the window seal or door jamb area. Remember always start in the center and work up and down in 2″ sections.
- On the door section, wrap the trim around the door flange.
Post Install
- Onces you have it all on – DO NOT TOUCH IT – LET IT DRY. If any corners did not stick or you need to press out air bubbles you will be able to after the fluid dries. DO NOT USE A HEAT GUN. Heat guns will cause the vinyl to melt and you may ruin the trim piece.
- Depending on the temperature, you may need to let it sit for a hour or more before trimming any final details. . On warm day, it might be 15-20 minutes. The longer you wait the better.
- Once everythi feel dry, make sure you squeegee the surface one last time and make sure all the trim on the inside of the door jam area is applied.
- Trim the inside of the door flange. There is a natural bode seem that you can trim to to make it look nicer, but you do not have to if you don’t want to.
- After everything in installed you can install your B-Pillar badges directly on top of the Black B Pillar Trim
- Lastly install the windows and window seals.
Fits:
1982, 1983, 1984, 1985, 1986, 1987, 1988, 1989, 1990, 1991 & 1992
Mk2 Scirocco 8v & Mk2 Scirocco 16v
Material Brand: 3M Cast Wrapping Vinyl.
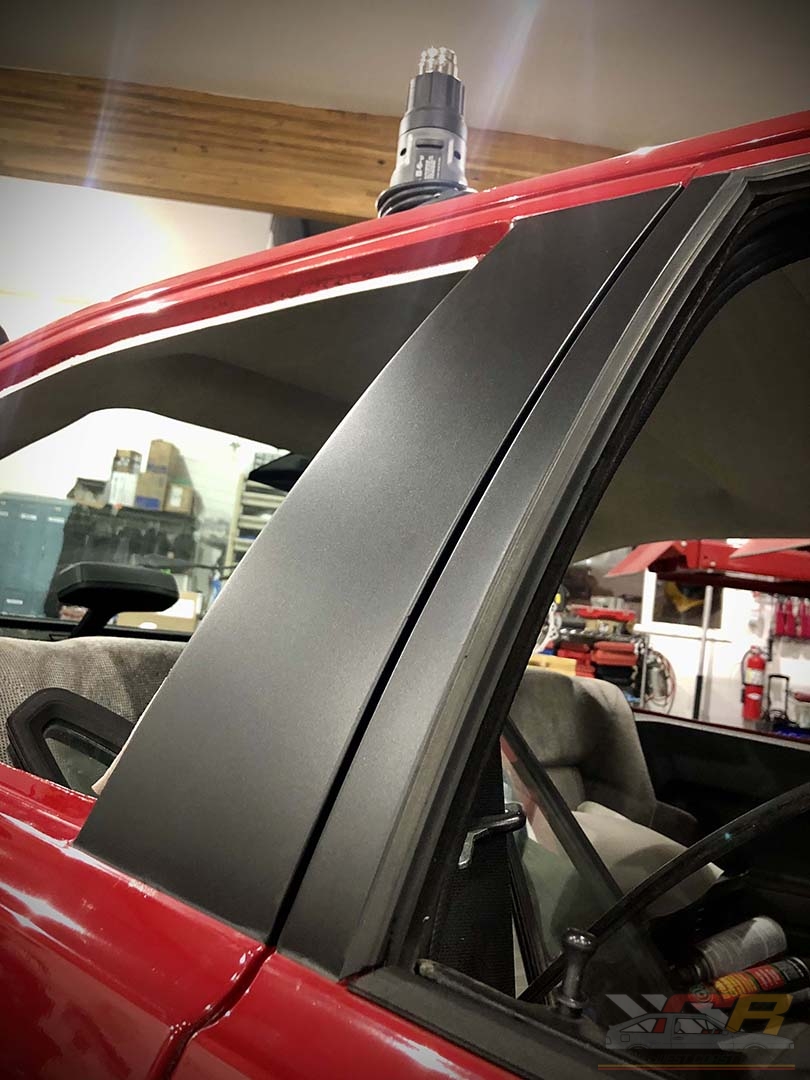
| Before | After |
|---|---|
 |
 |
Email us if you have any questions.