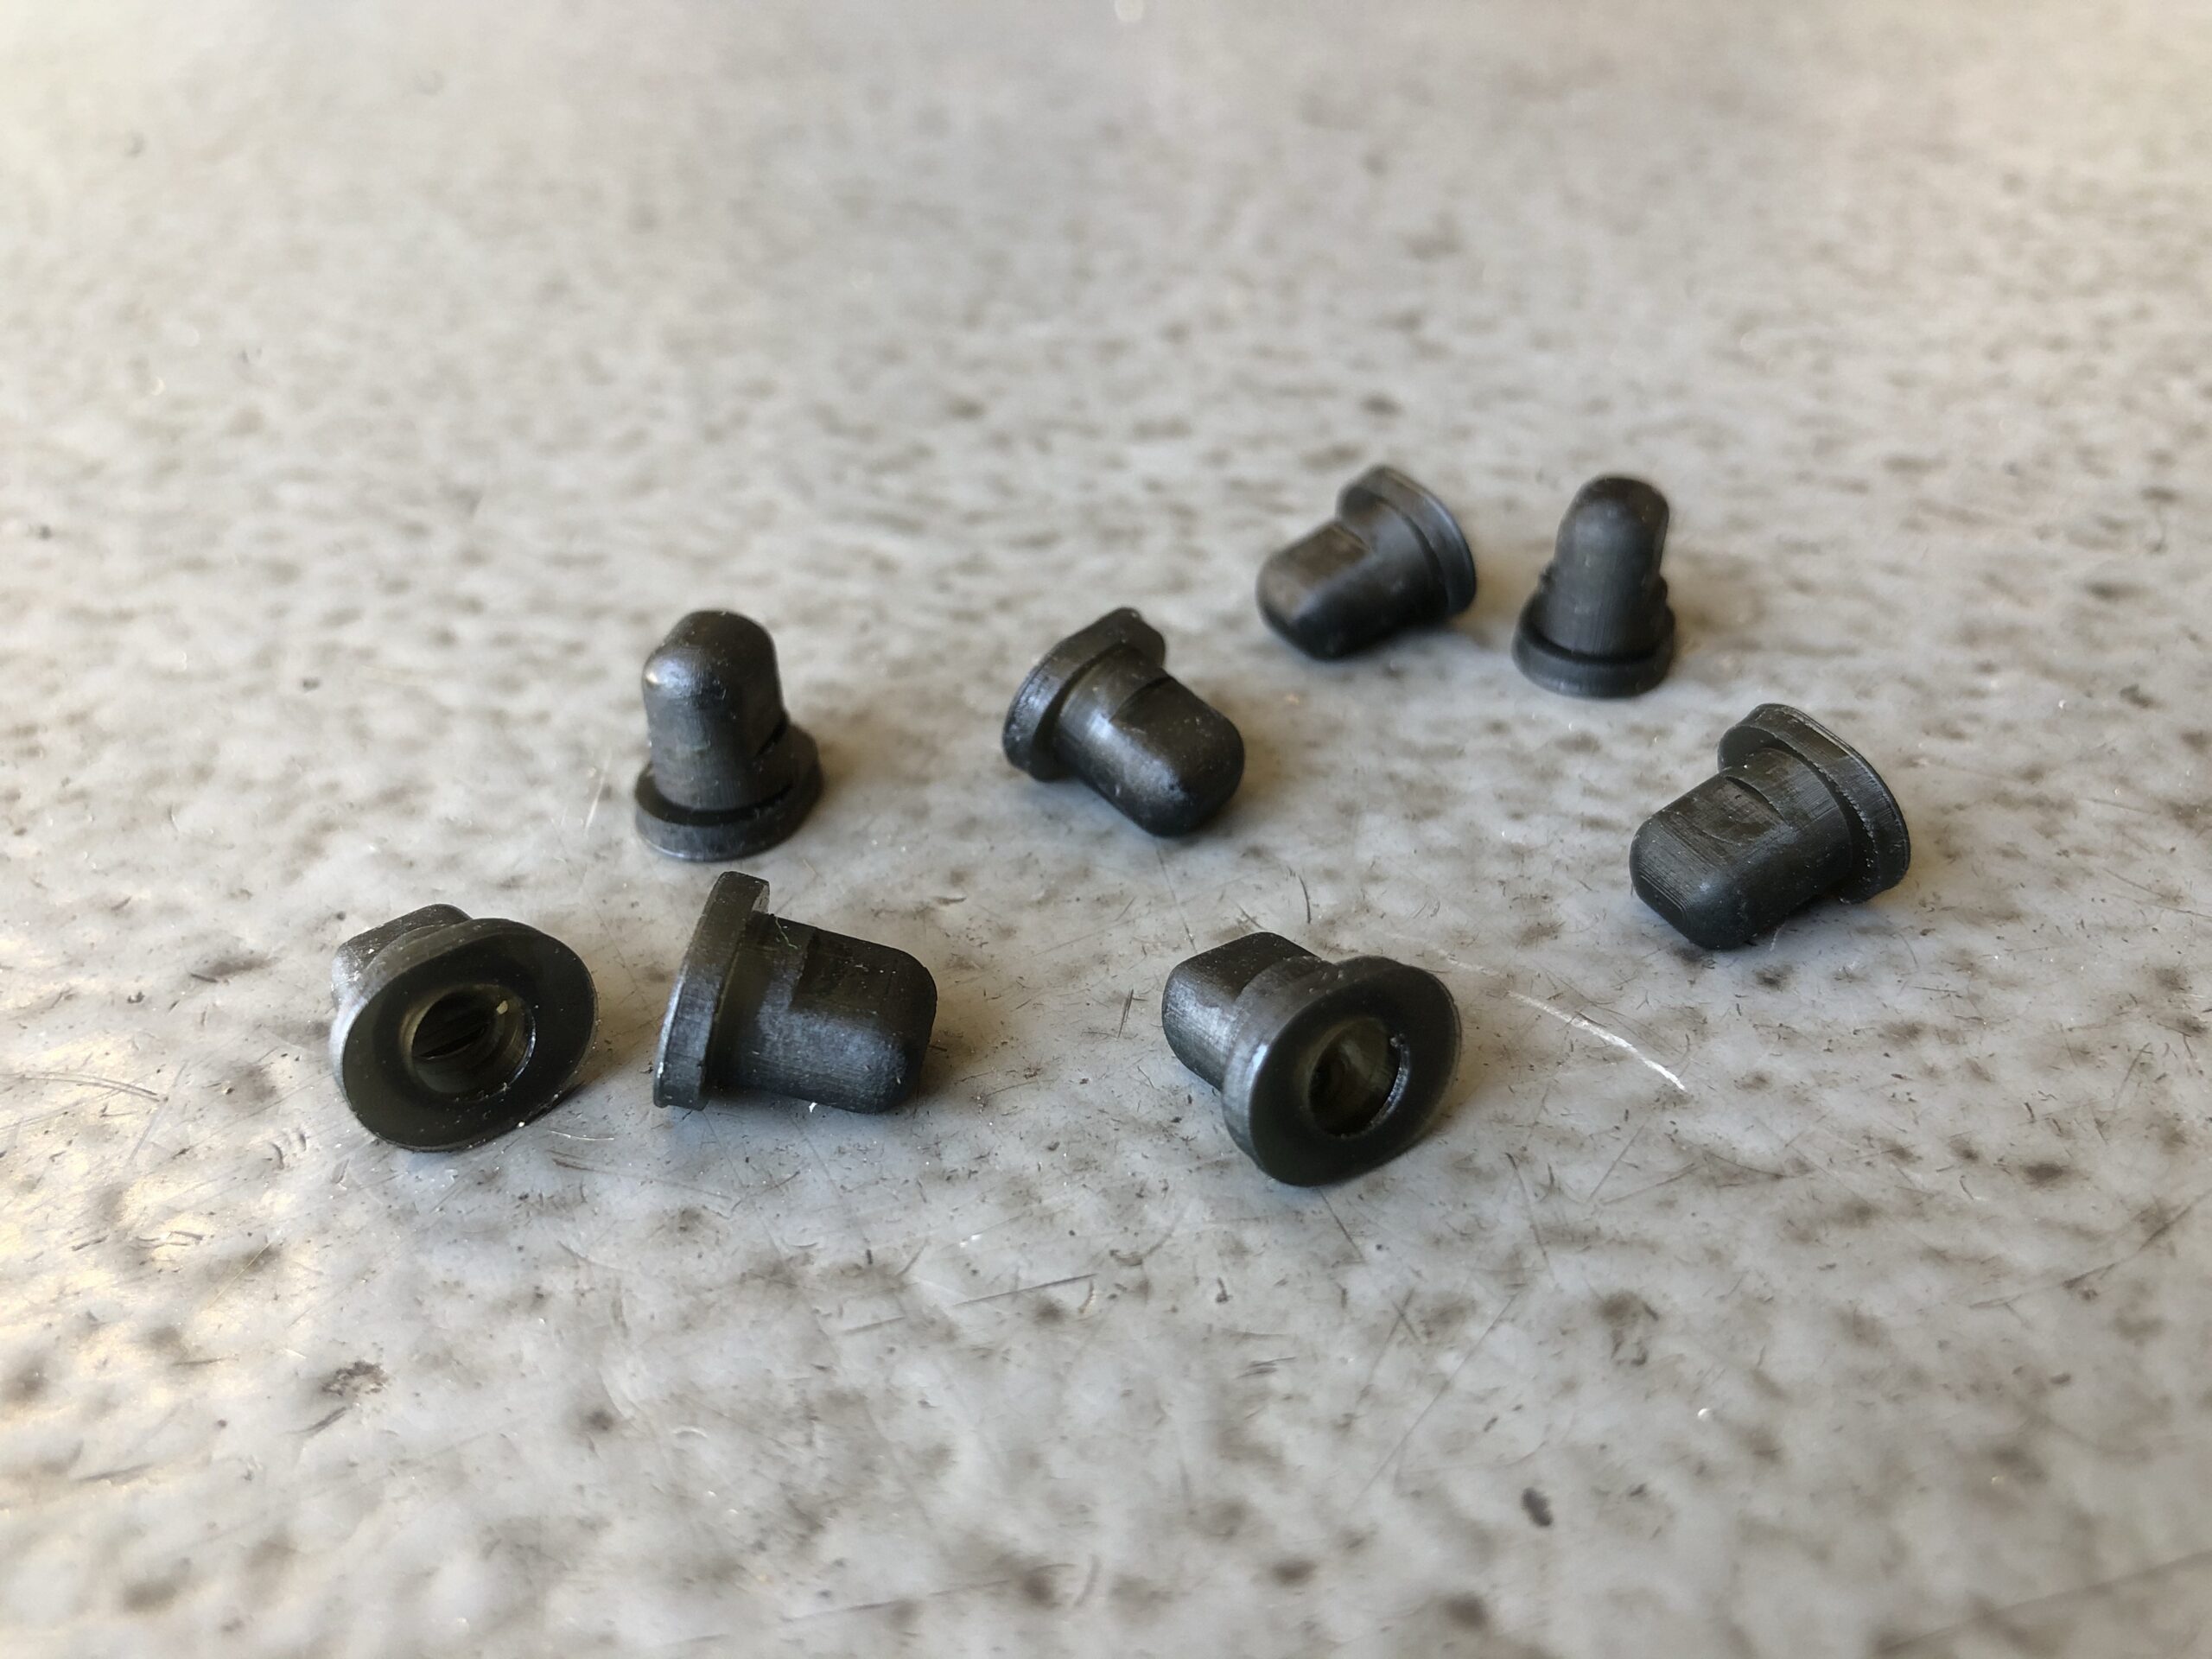
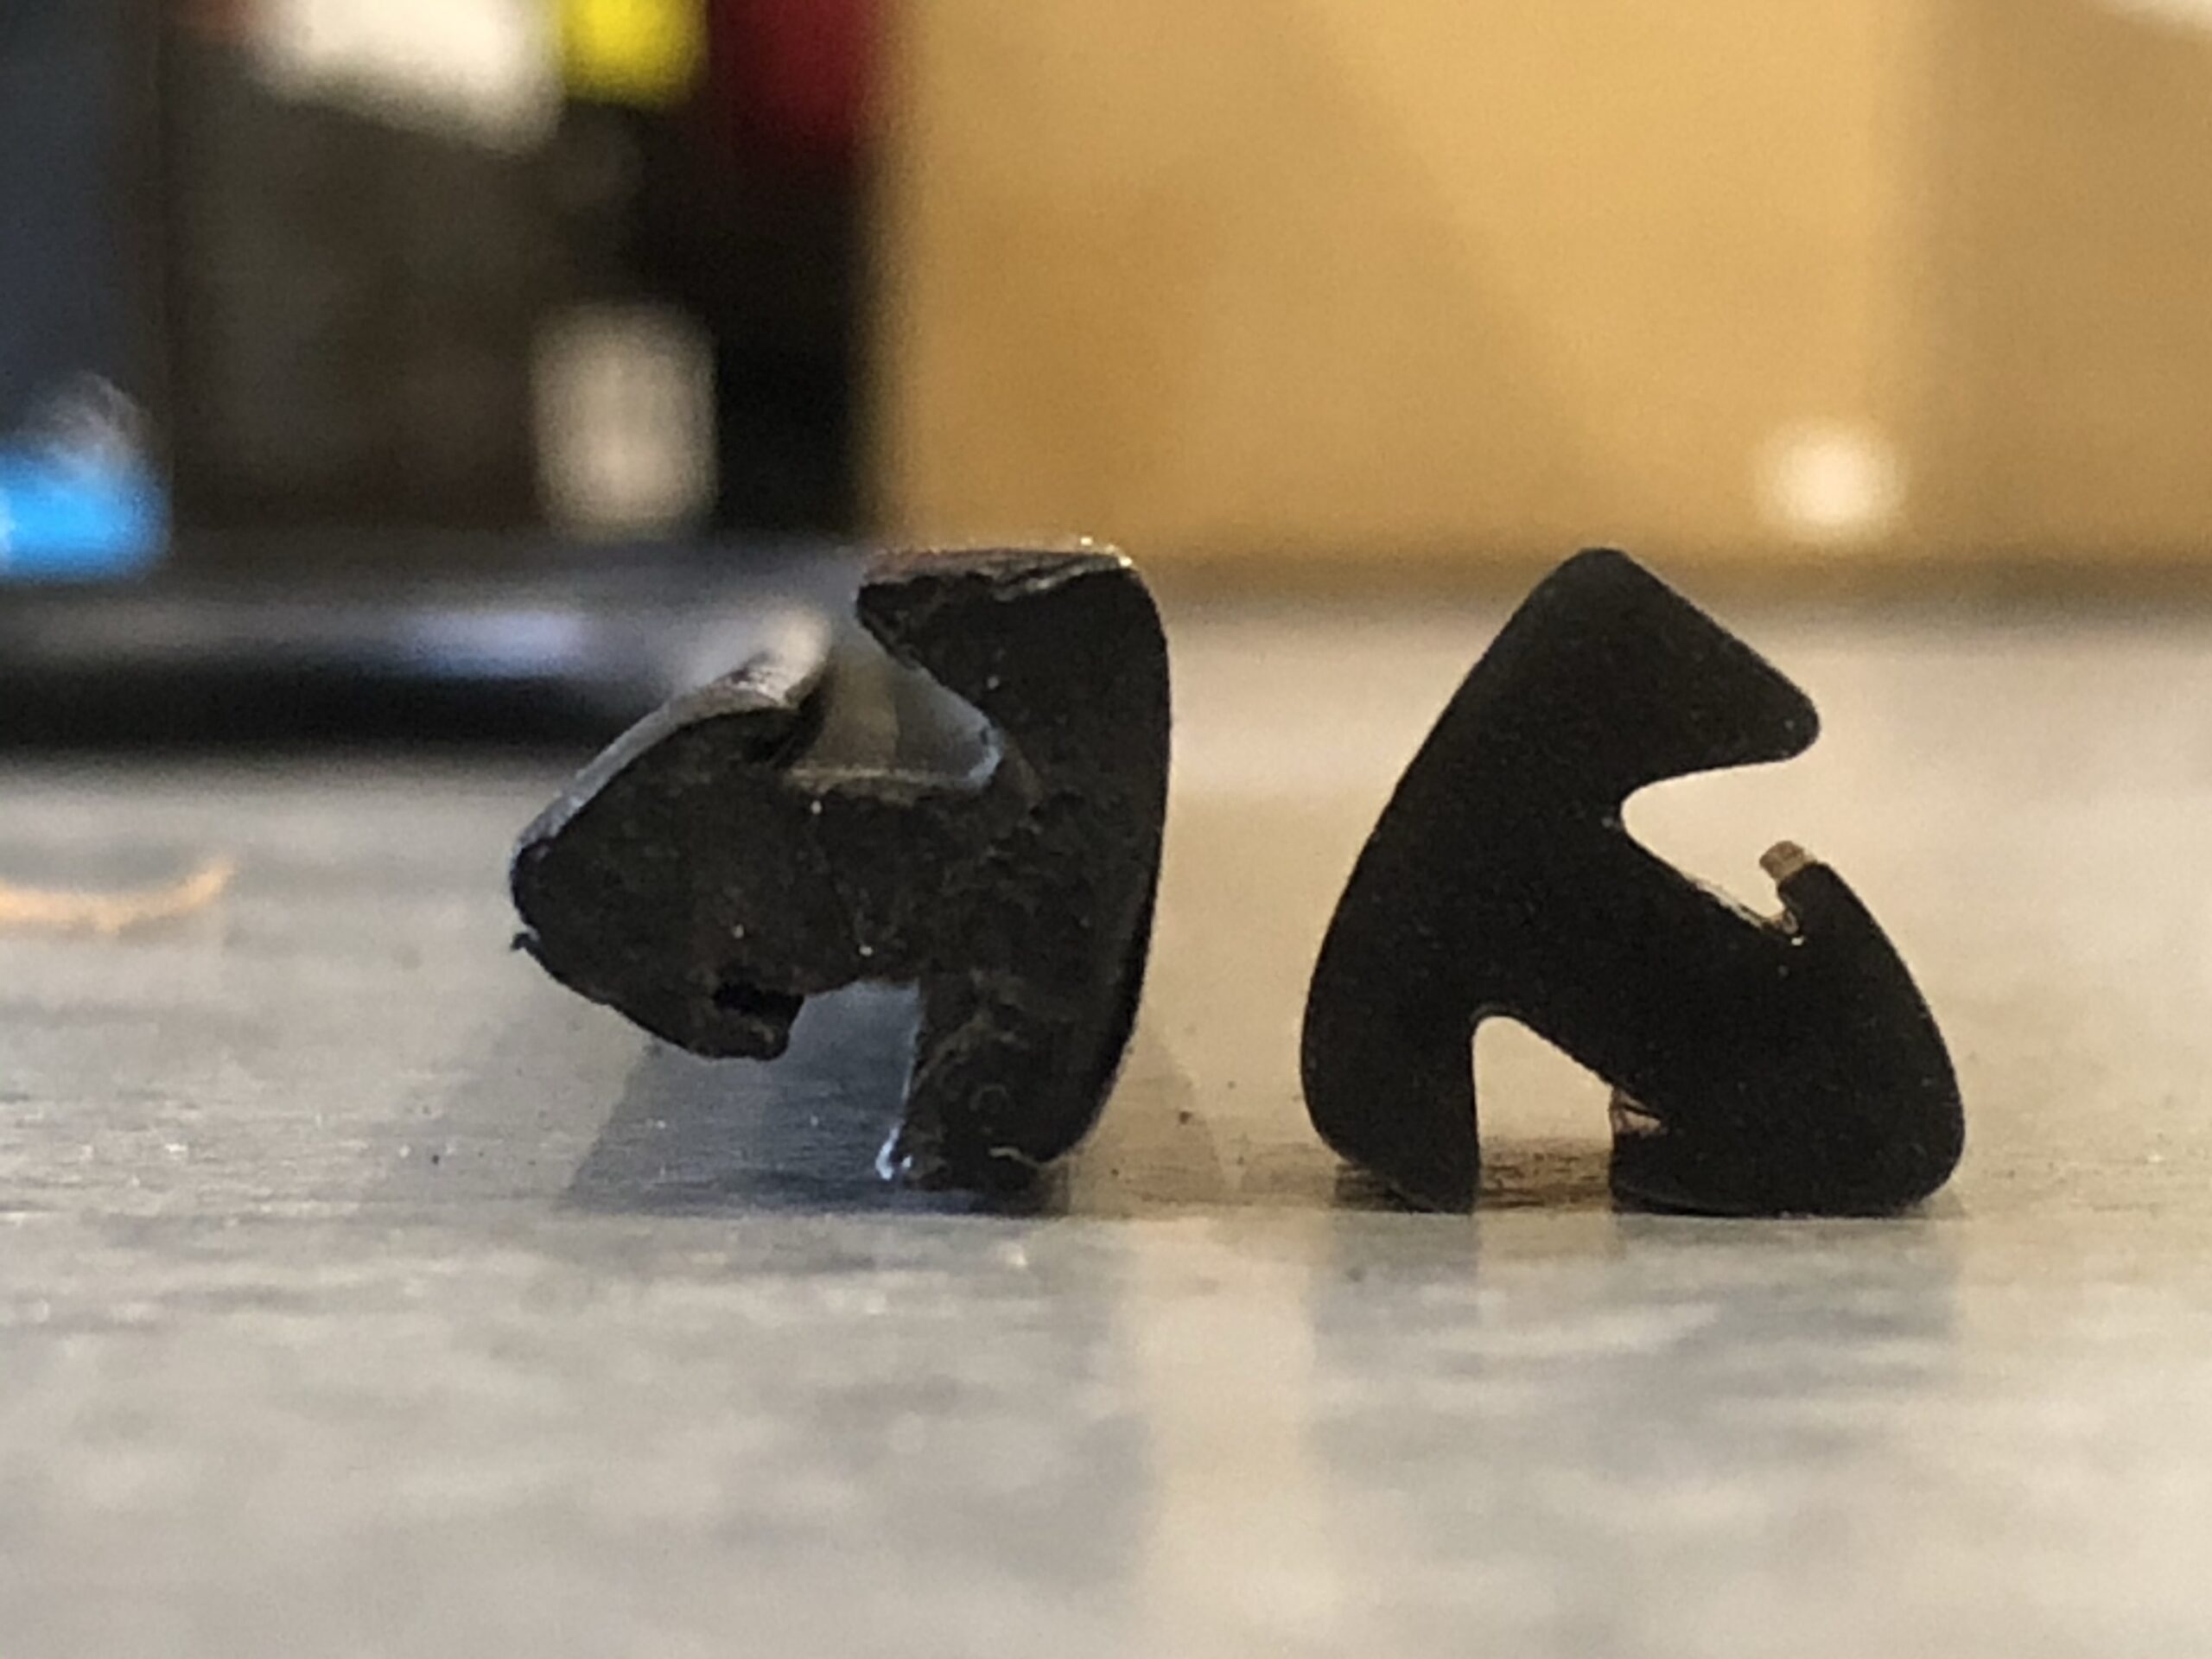
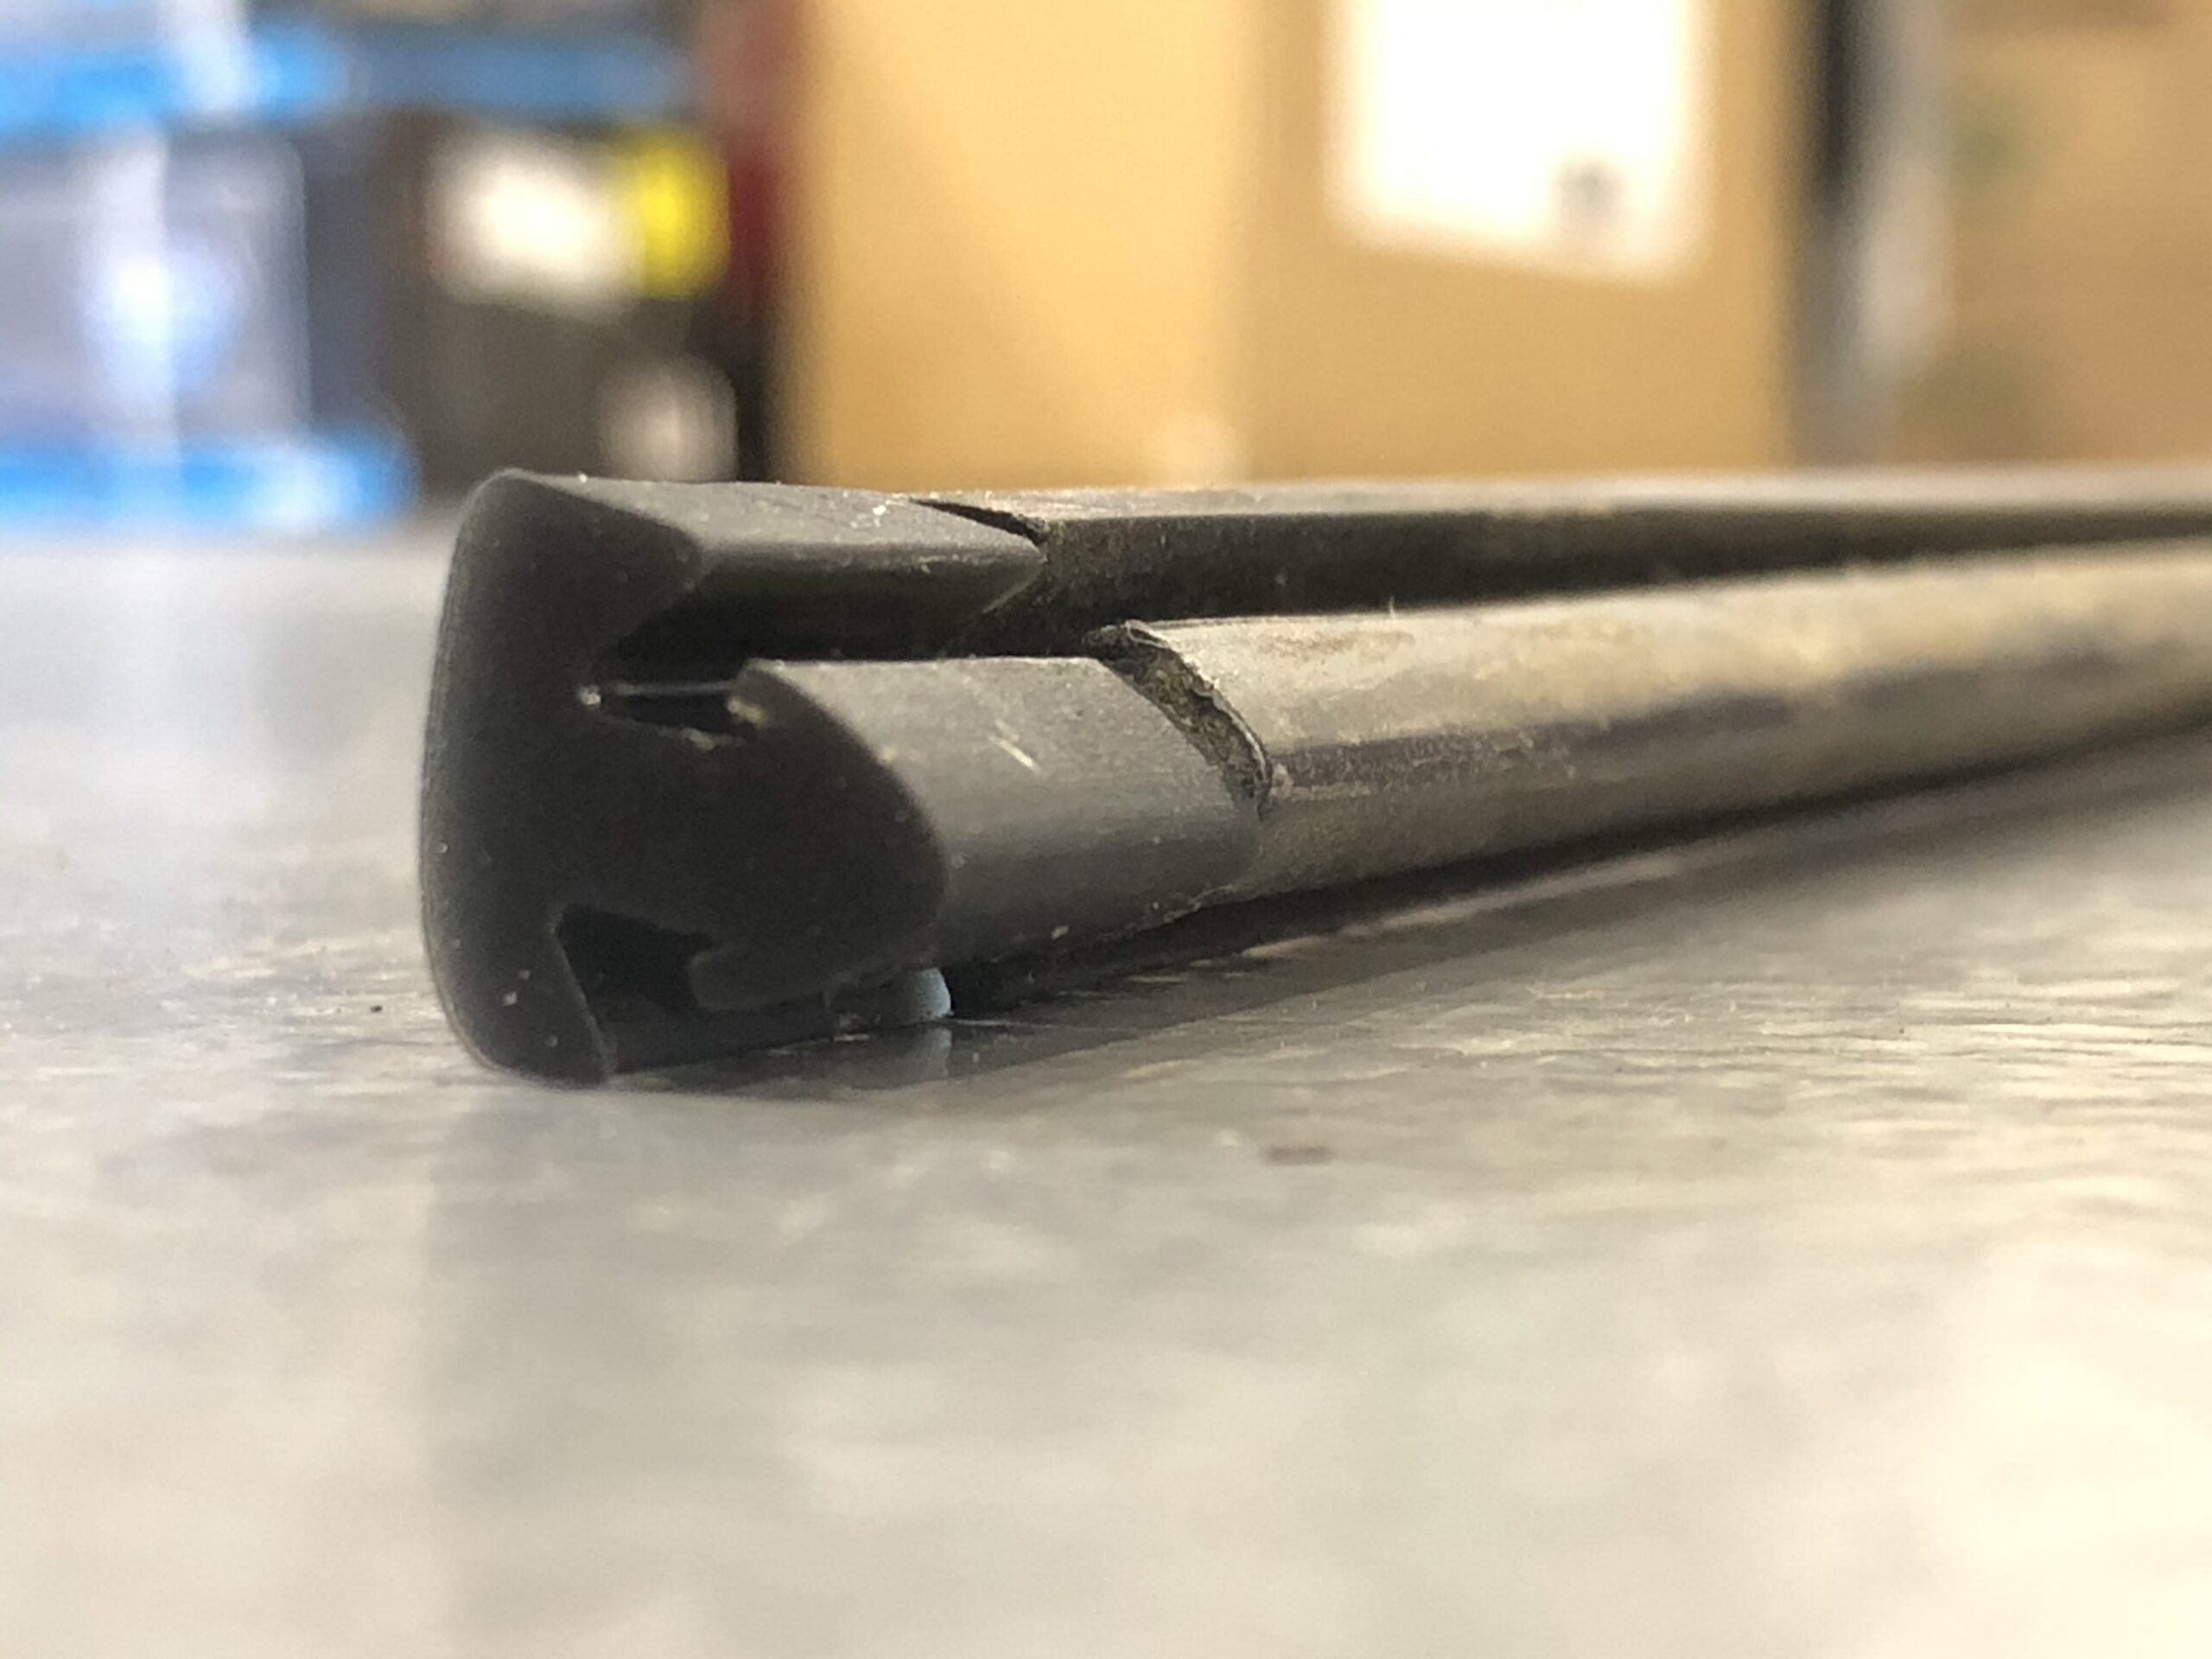
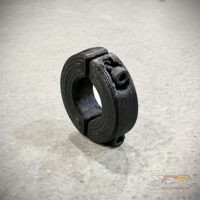
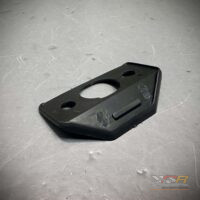
Have you ever tried to install a new Throttle Cable Bushing on your Mk or Mk2 Scirocco throttle pedal? It’s a pain in the butt, isn’t it?
These solid mounted throttle bushing are made of engineering grade polymer and are easily to install. Just screw the bushing into place and it’s in. No pressing, lubing or heating this bushing. Furthermore, our bushing helps with throttle pedal slop and makes the engine more responsive. Click here to order yours today.
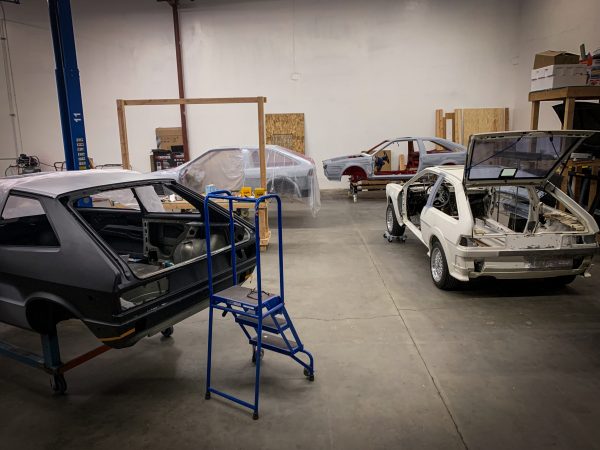
Prepping Mk1 & Mk2 shells at our WCR South California facility.
Expert Chassis Preparation: Prepping Mk1 and Mk2 Shells
Starting a high-end restoration begins with a solid foundation. At WestCoastRoccos, we specialize in Prepping Mk1 and Mk2 Shells to ensure your project stands the test of time. Whether you own a Rabbit, Jetta, or Scirocco, the chassis requires meticulous attention before the first coat of paint. Our Southern California facility provides the perfect environment for this critical phase of your build.
Why Professional Shell Prepping Matters
Classic Volkswagen chassis often hide decades of wear, hidden rust, and previous poor repairs. Consequently, skipping a thorough prep stage can lead to bubbling paint or structural failure later. We strip the vehicle down to its core to reveal the true condition of the metal. Therefore, you can address every issue head-on rather than covering it up.
Our team understands the specific weak points of the Mk1 and Mk2 platforms. Specifically, we focus on known trouble areas like battery trays, floor pans, and rear shock towers. We remove old undercoating and seam sealer that often trap moisture. Thus, we create a clean, bare-metal canvas that allows for precision metalwork and modern rust prevention techniques.
Our Meticulous Preparation Process
We follow a rigorous workflow to get your shell ready for the next stage of its life. First, we perform a comprehensive inspection to document every dent, crack, and rust hole. Then, we use professional-grade stripping methods to remove old layers of paint and fillers. This step is vital because it ensures the new finish bonds perfectly to the substrate.
Furthermore, we emphasize structural integrity. If your project involves a high-horsepower engine swap or track-day use, we can prep the shell for reinforcements. We ensure that every weld is solid and every body line is straight. Because we focus on quality, your car will drive as well as it looks. We believe there is always something to “make right” on these vintage shells, and we take pride in finding and fixing those details.
A Solid Foundation for Your Dream Build
A properly prepped shell makes every other part of the restoration easier. For instance, your doors will click shut with factory precision, and your interior trim will line up perfectly. Moreover, a clean shell allows you to apply modern epoxy primers and sound-deadening materials effectively. This results in a quieter cabin and superior protection against future corrosion.
We treat every shell with the respect a classic Volkswagen deserves. In fact, our passion for the Scirocco and Mk1/Mk2 platform drives us to achieve perfection on every project. As a result, you receive a chassis that is ready for the highest level of paint and assembly. You save time and frustration during the final build phase by starting with a shell that is truly straight and clean.
Start Your Project with WestCoastRoccos
Don’t settle for a mediocre start to your dream restoration. The Prepping Mk1 and Mk2 Shells service at WestCoastRoccos gives you the professional edge you need. We combine years of experience with specialized tools to deliver unmatched results. Ultimately, your vehicle’s longevity and value depend on the quality of this initial prep work.
Stop worrying about hidden rust or alignment issues. Start your build the right way with our expert chassis services. Contact us today to discuss your Mk1 or Mk2 project. Let us help you “make it right” from the very beginning. Your classic VW deserves the best foundation possible!
Please follow and like us:
Posted inNews|Comments Off on Prepping Mk1 Mk2 Shells
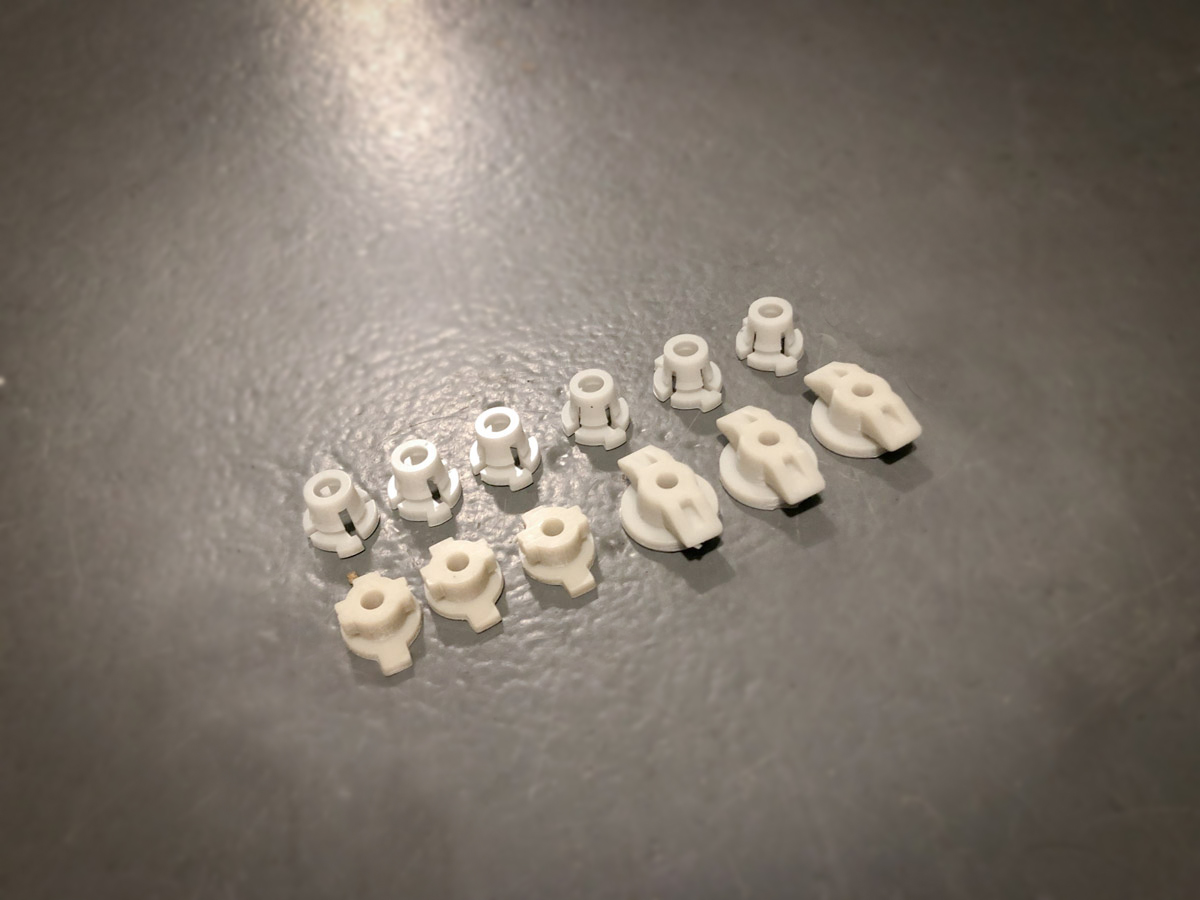
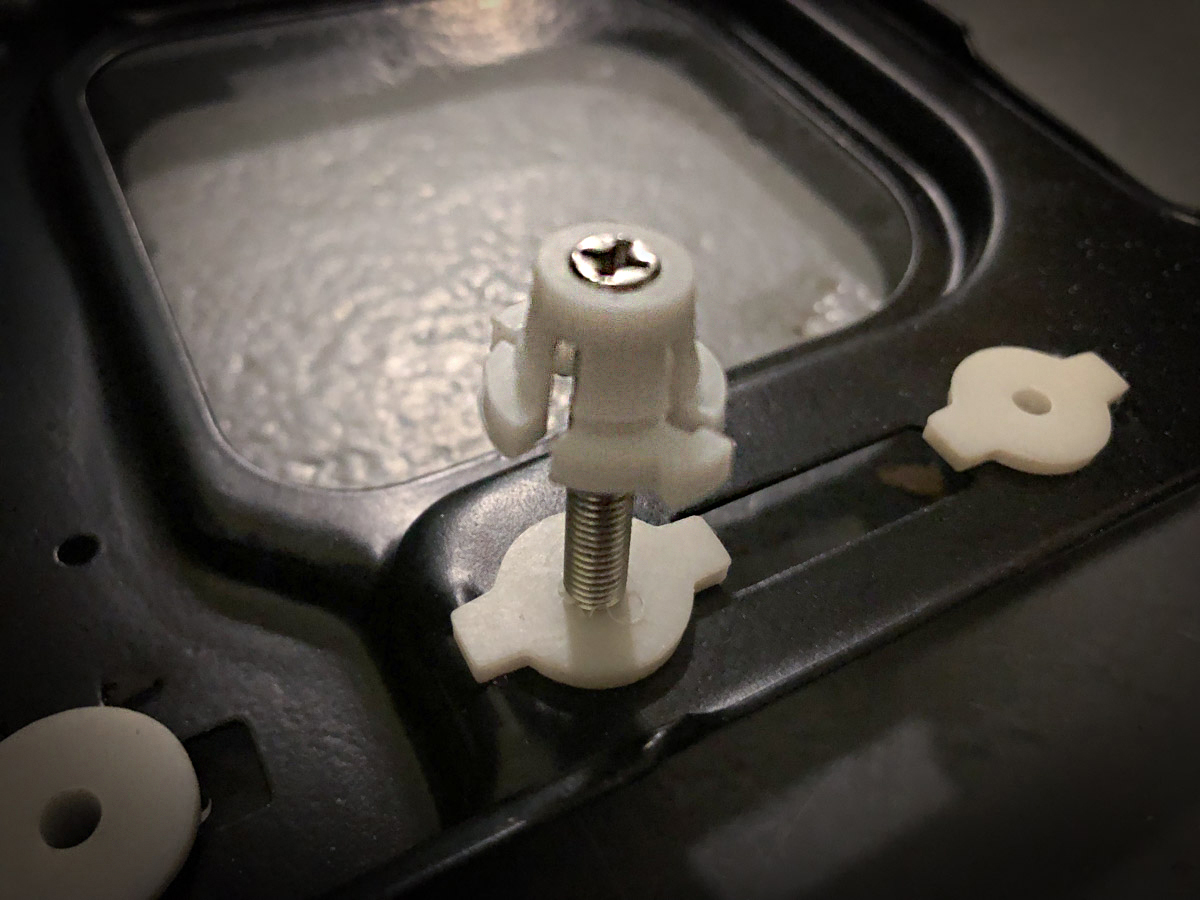
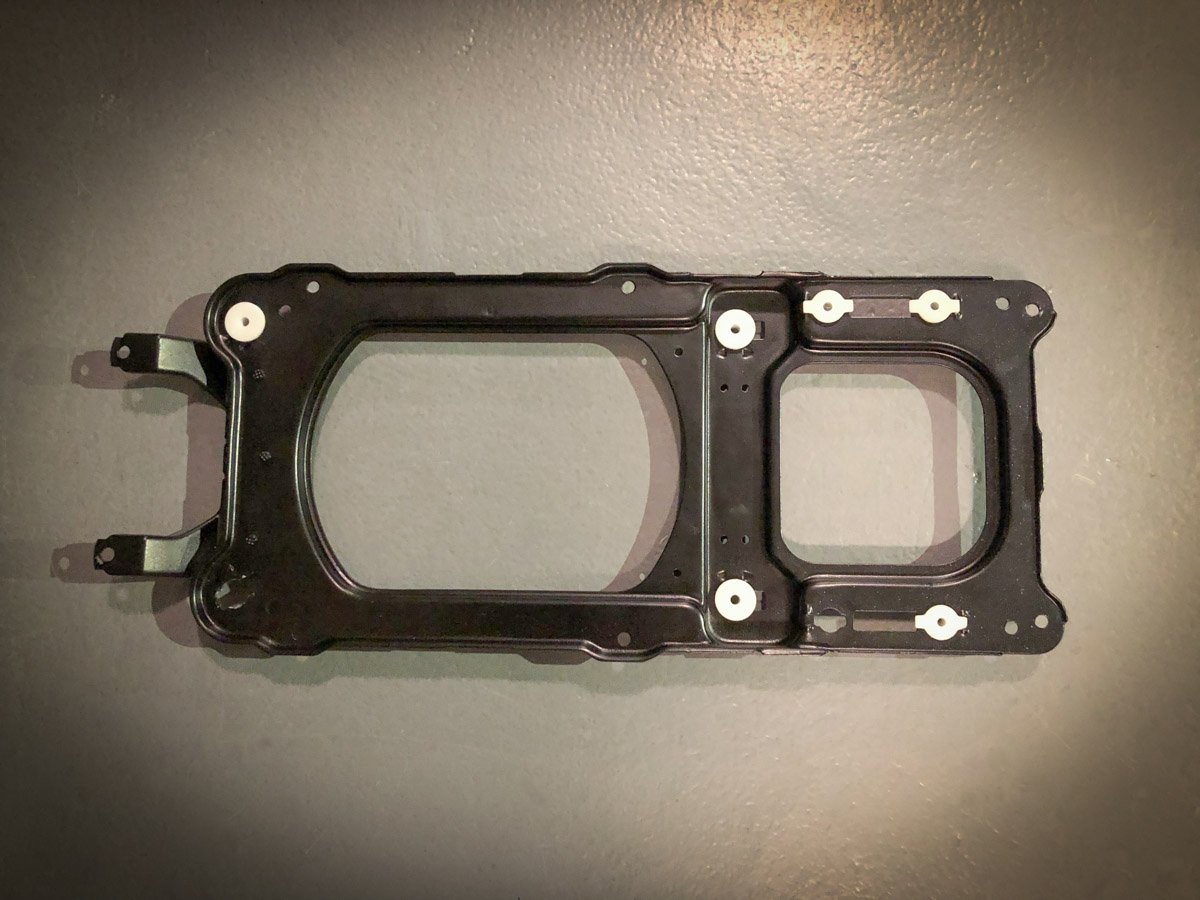
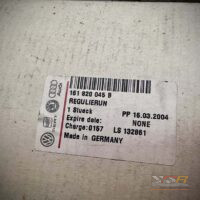
WRC’s Mk2 Scirocco European headlight adjuster kits are now in stock. These clips replace your broken clips with newly redesigned units. Made in house at WRC North.
We drew up extremely detailed CAD files of these European Headlight Adjuster Clips here at West Coast Roccos. While doing so, we redesigned and changed the tolerances to make them easier to install. They also retain a nice tight fit, just like OEM. We also updated the designs to be stronger, which makes them less likely to break when installing them. The pivot ball clips are very similar to the OEM clips, slightly thicker, with same rotation of the OEM ball end screws. These are also not as brittle as the OEM units. Most importantly, the low and high beam frame mounting clips are already tapped with threads, ready to install. These are ready to install into your ball end screws upon arrival.
These kits do not include headlights, headlight bracket, ball end pivots or adjuster screws. Some clips may be a different colors (Gray, black, or white) due to availability of materials. Most of our clips will be white or gray, but they will all be the same color.
Please follow and like us:
Posted inNews|Comments Off on WCR Mk2 European Headlight Adjuster Clips
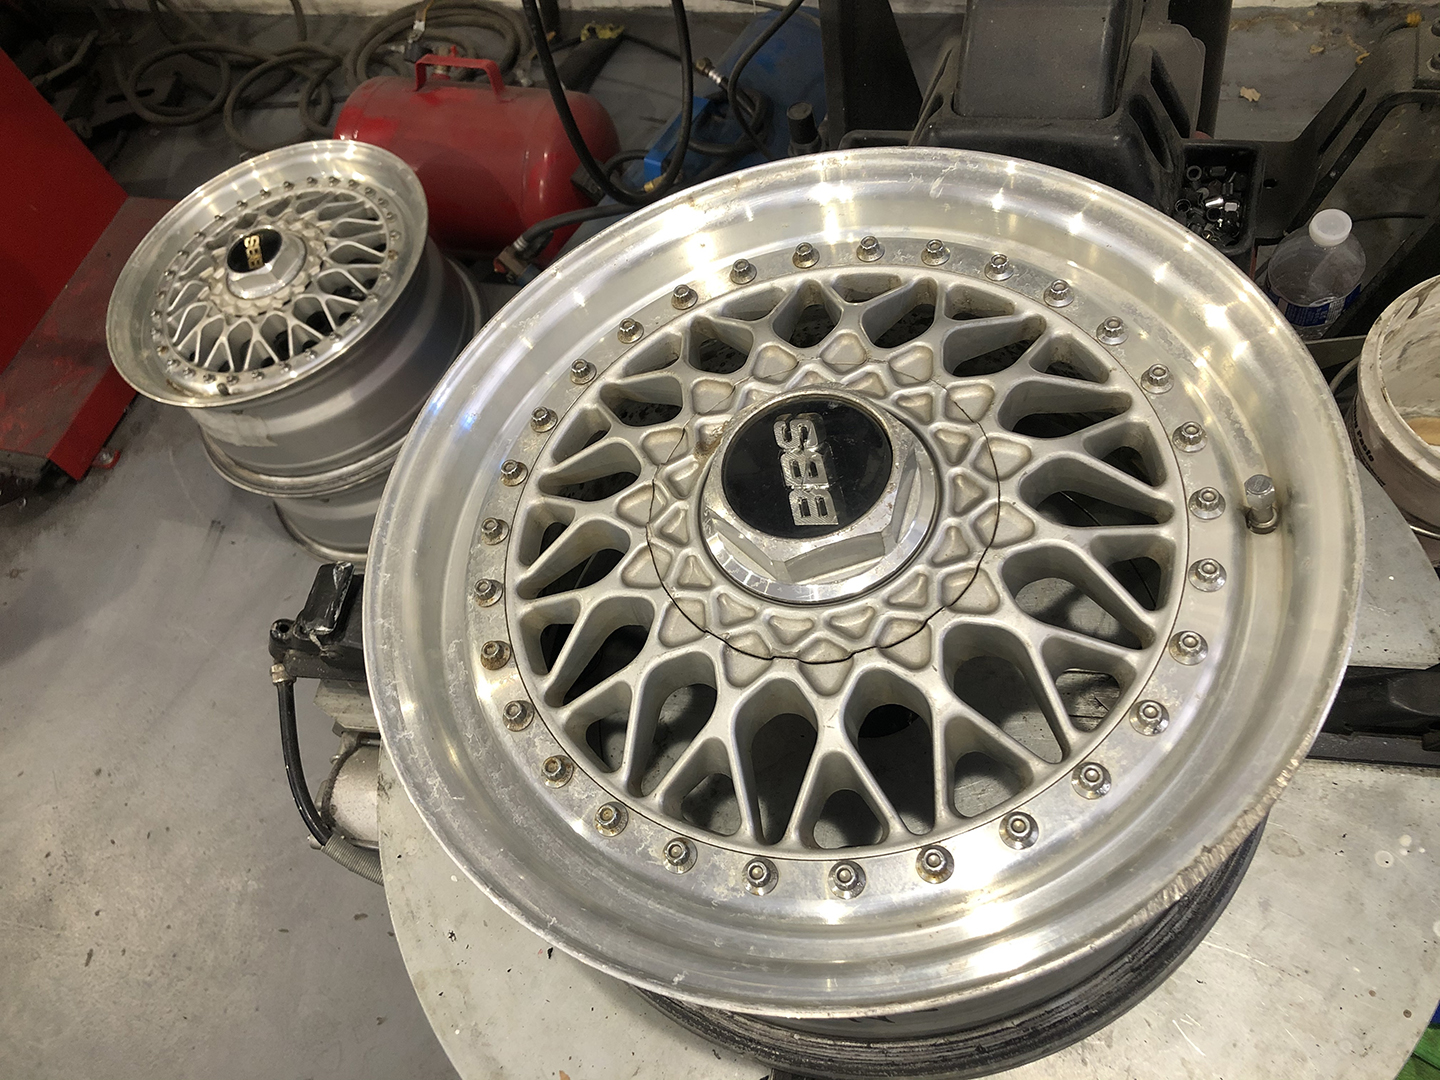
Before the restoration started. Note the curb rash.
We’ve been trying to source BBS RS 4×100 wheels and the only way we can get them efficiently is to do some BBS Wheel Refinishing. We purchased these 3 piece BBS RS wheels from our contact overseas and had them shipped directly to our WCR North shop. These BBS RS wheels came into the shop as 15”x6.5, 5×114.3 and looking pretty rough.
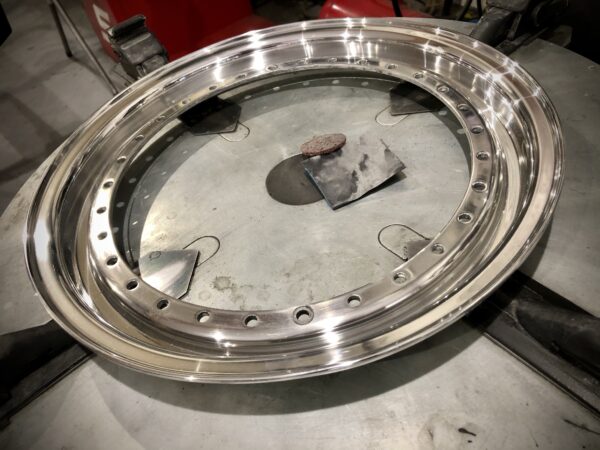
First, we start by stripping them down. For the lips, we started repairing the lips with some minor welding. The nex set was to machine and polish the lips to make them look perfect. Then, on the faces, we filled the 5×114 PCD lug holes with weld. We machined the welds flat and redrilled them to 4×100 PCD. We use a Jet Mill, index the wheels with a Accurite DRO and a coaxial indicator we we could drill a perfect PCD. Furthermore, we clean all 128 BBS wheel bolts, valve stems and tumbled them. We have a vibratory tumbler we use with walnut media for 24 hours.
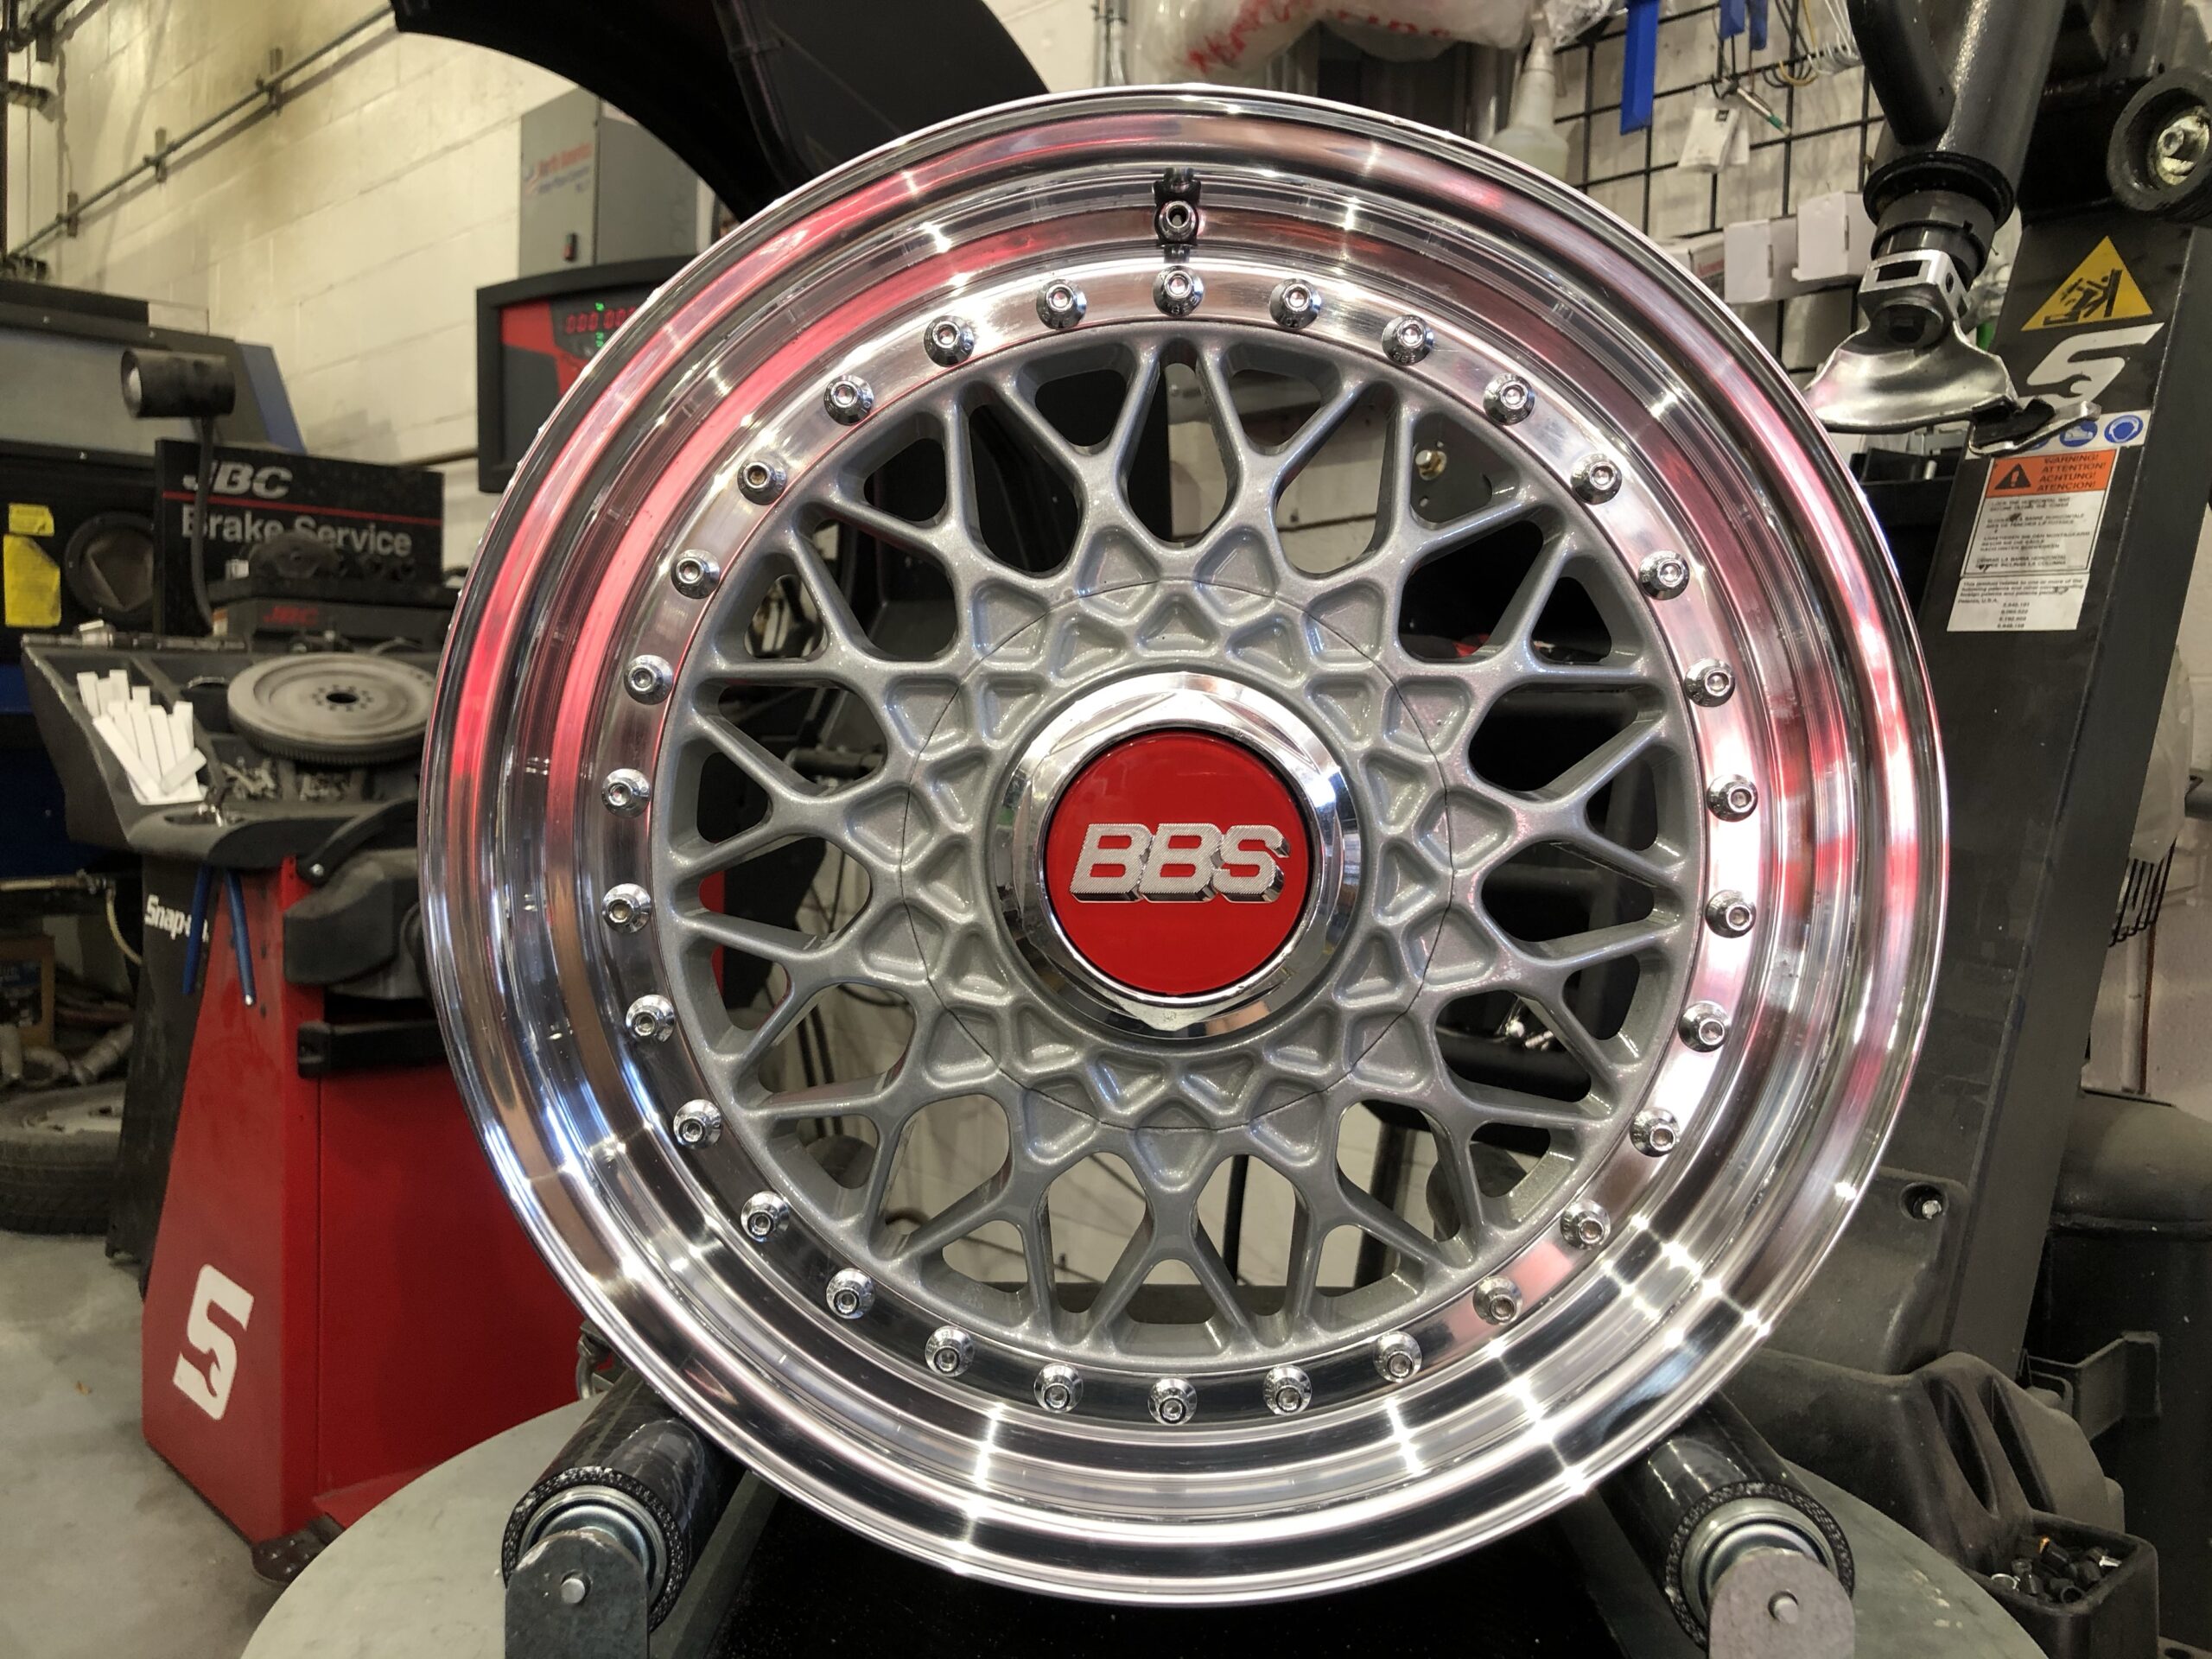
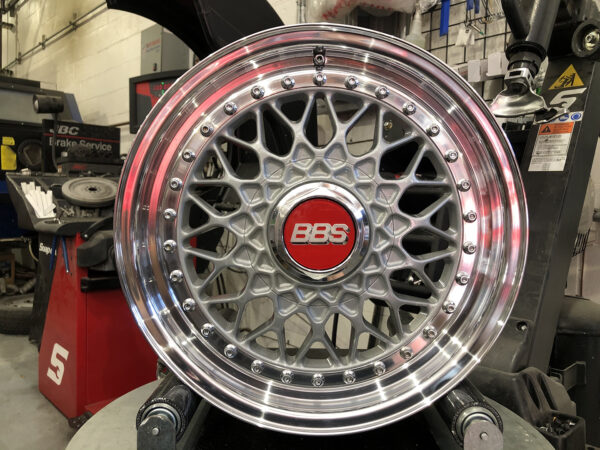
After Refinishing
After this, we chemical strip, blast the centers, mask critical areas and powder coated with Porsche silver and clear coat powder. Disassembled the center caps, stripped, polished the nuts and found authentic red BBS caps from the UK. Then we reassemble, torque to spec and seal. Before the first wheel was finished we had them sold. In conclusion, these turned out amazing! We are always searching for a few more sets.
If you need a set or want yours refinished to your specifications, contact us at the West Coast Roccos North location.
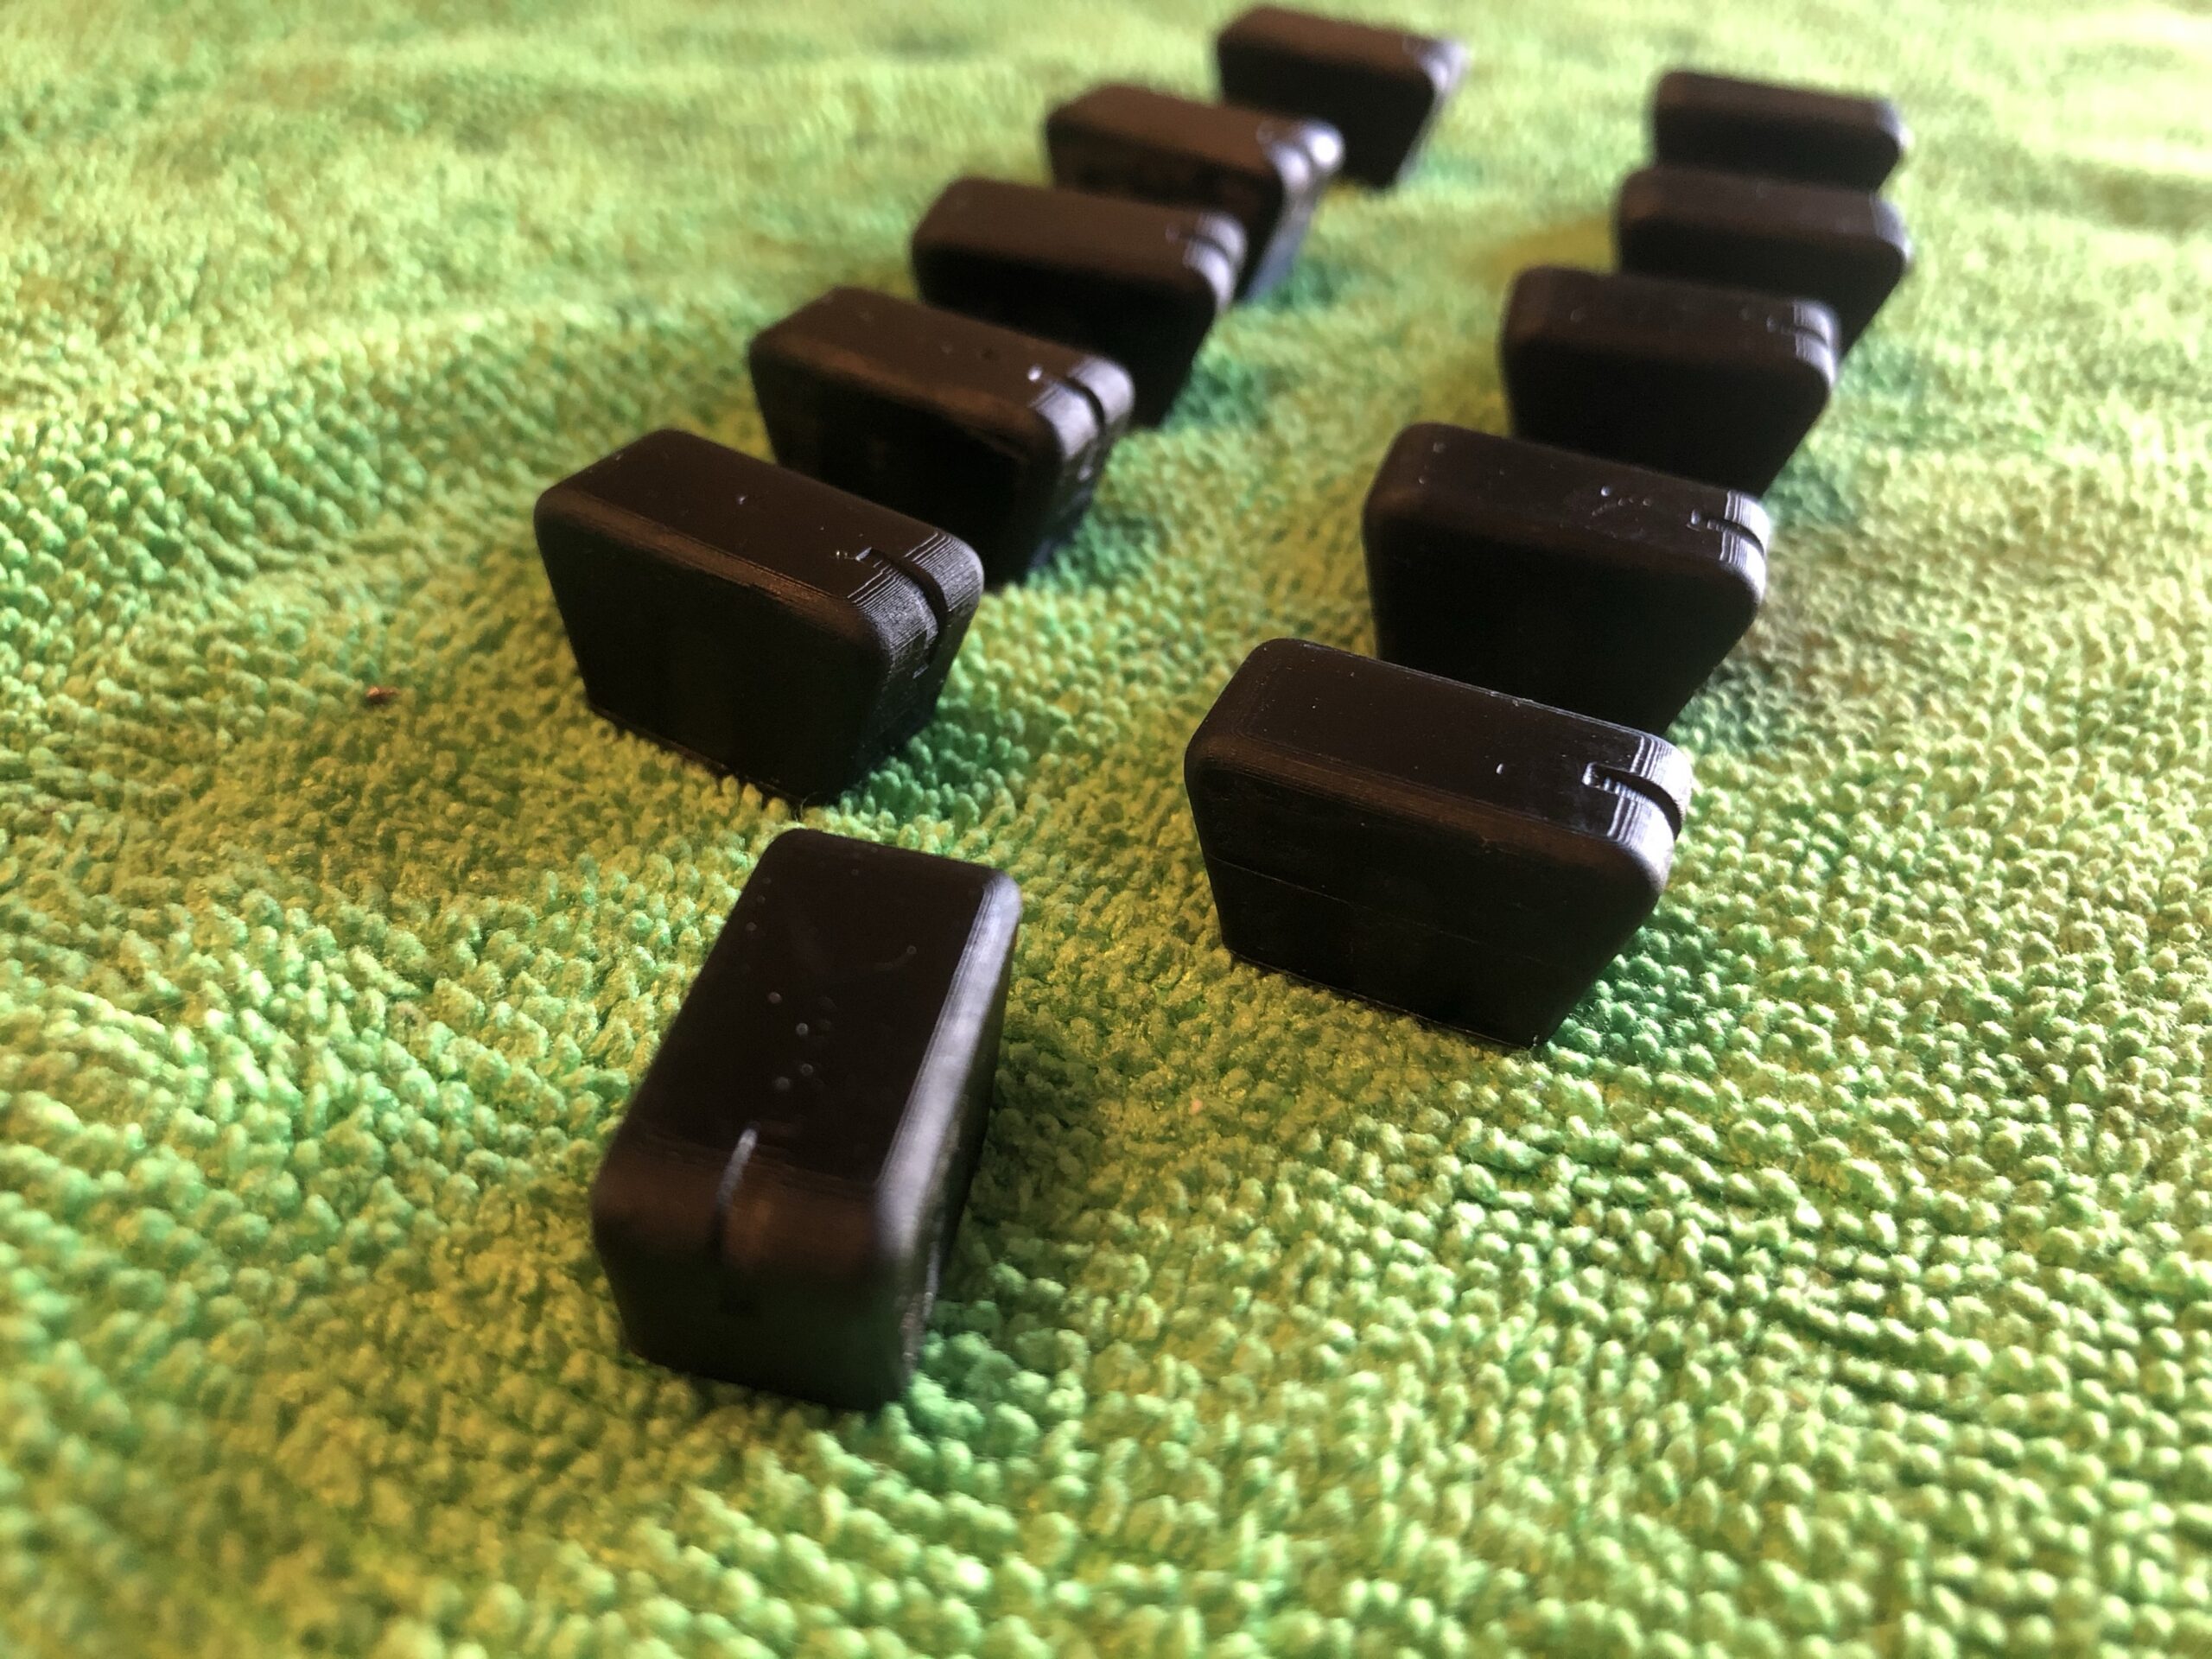
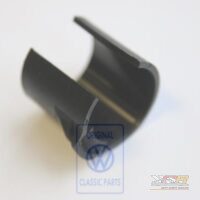
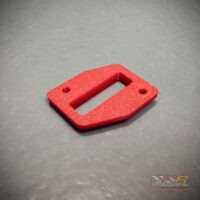
We also needed to address some of the parts that are either missing, hard to find or no longer available. I started drawing the missing parts in Fusion 360 CAD. After that, I 3D printing parts on our Any Cubic Photon 3d resin printer. The, I printed some mirror adjusting knobs, badge retainer clips and some bumper trim tests. The bumper trim is no longer available and we are talking to a company to have them remanufactured in black and red.
Badge clips
Right badge clips
Left badge clips
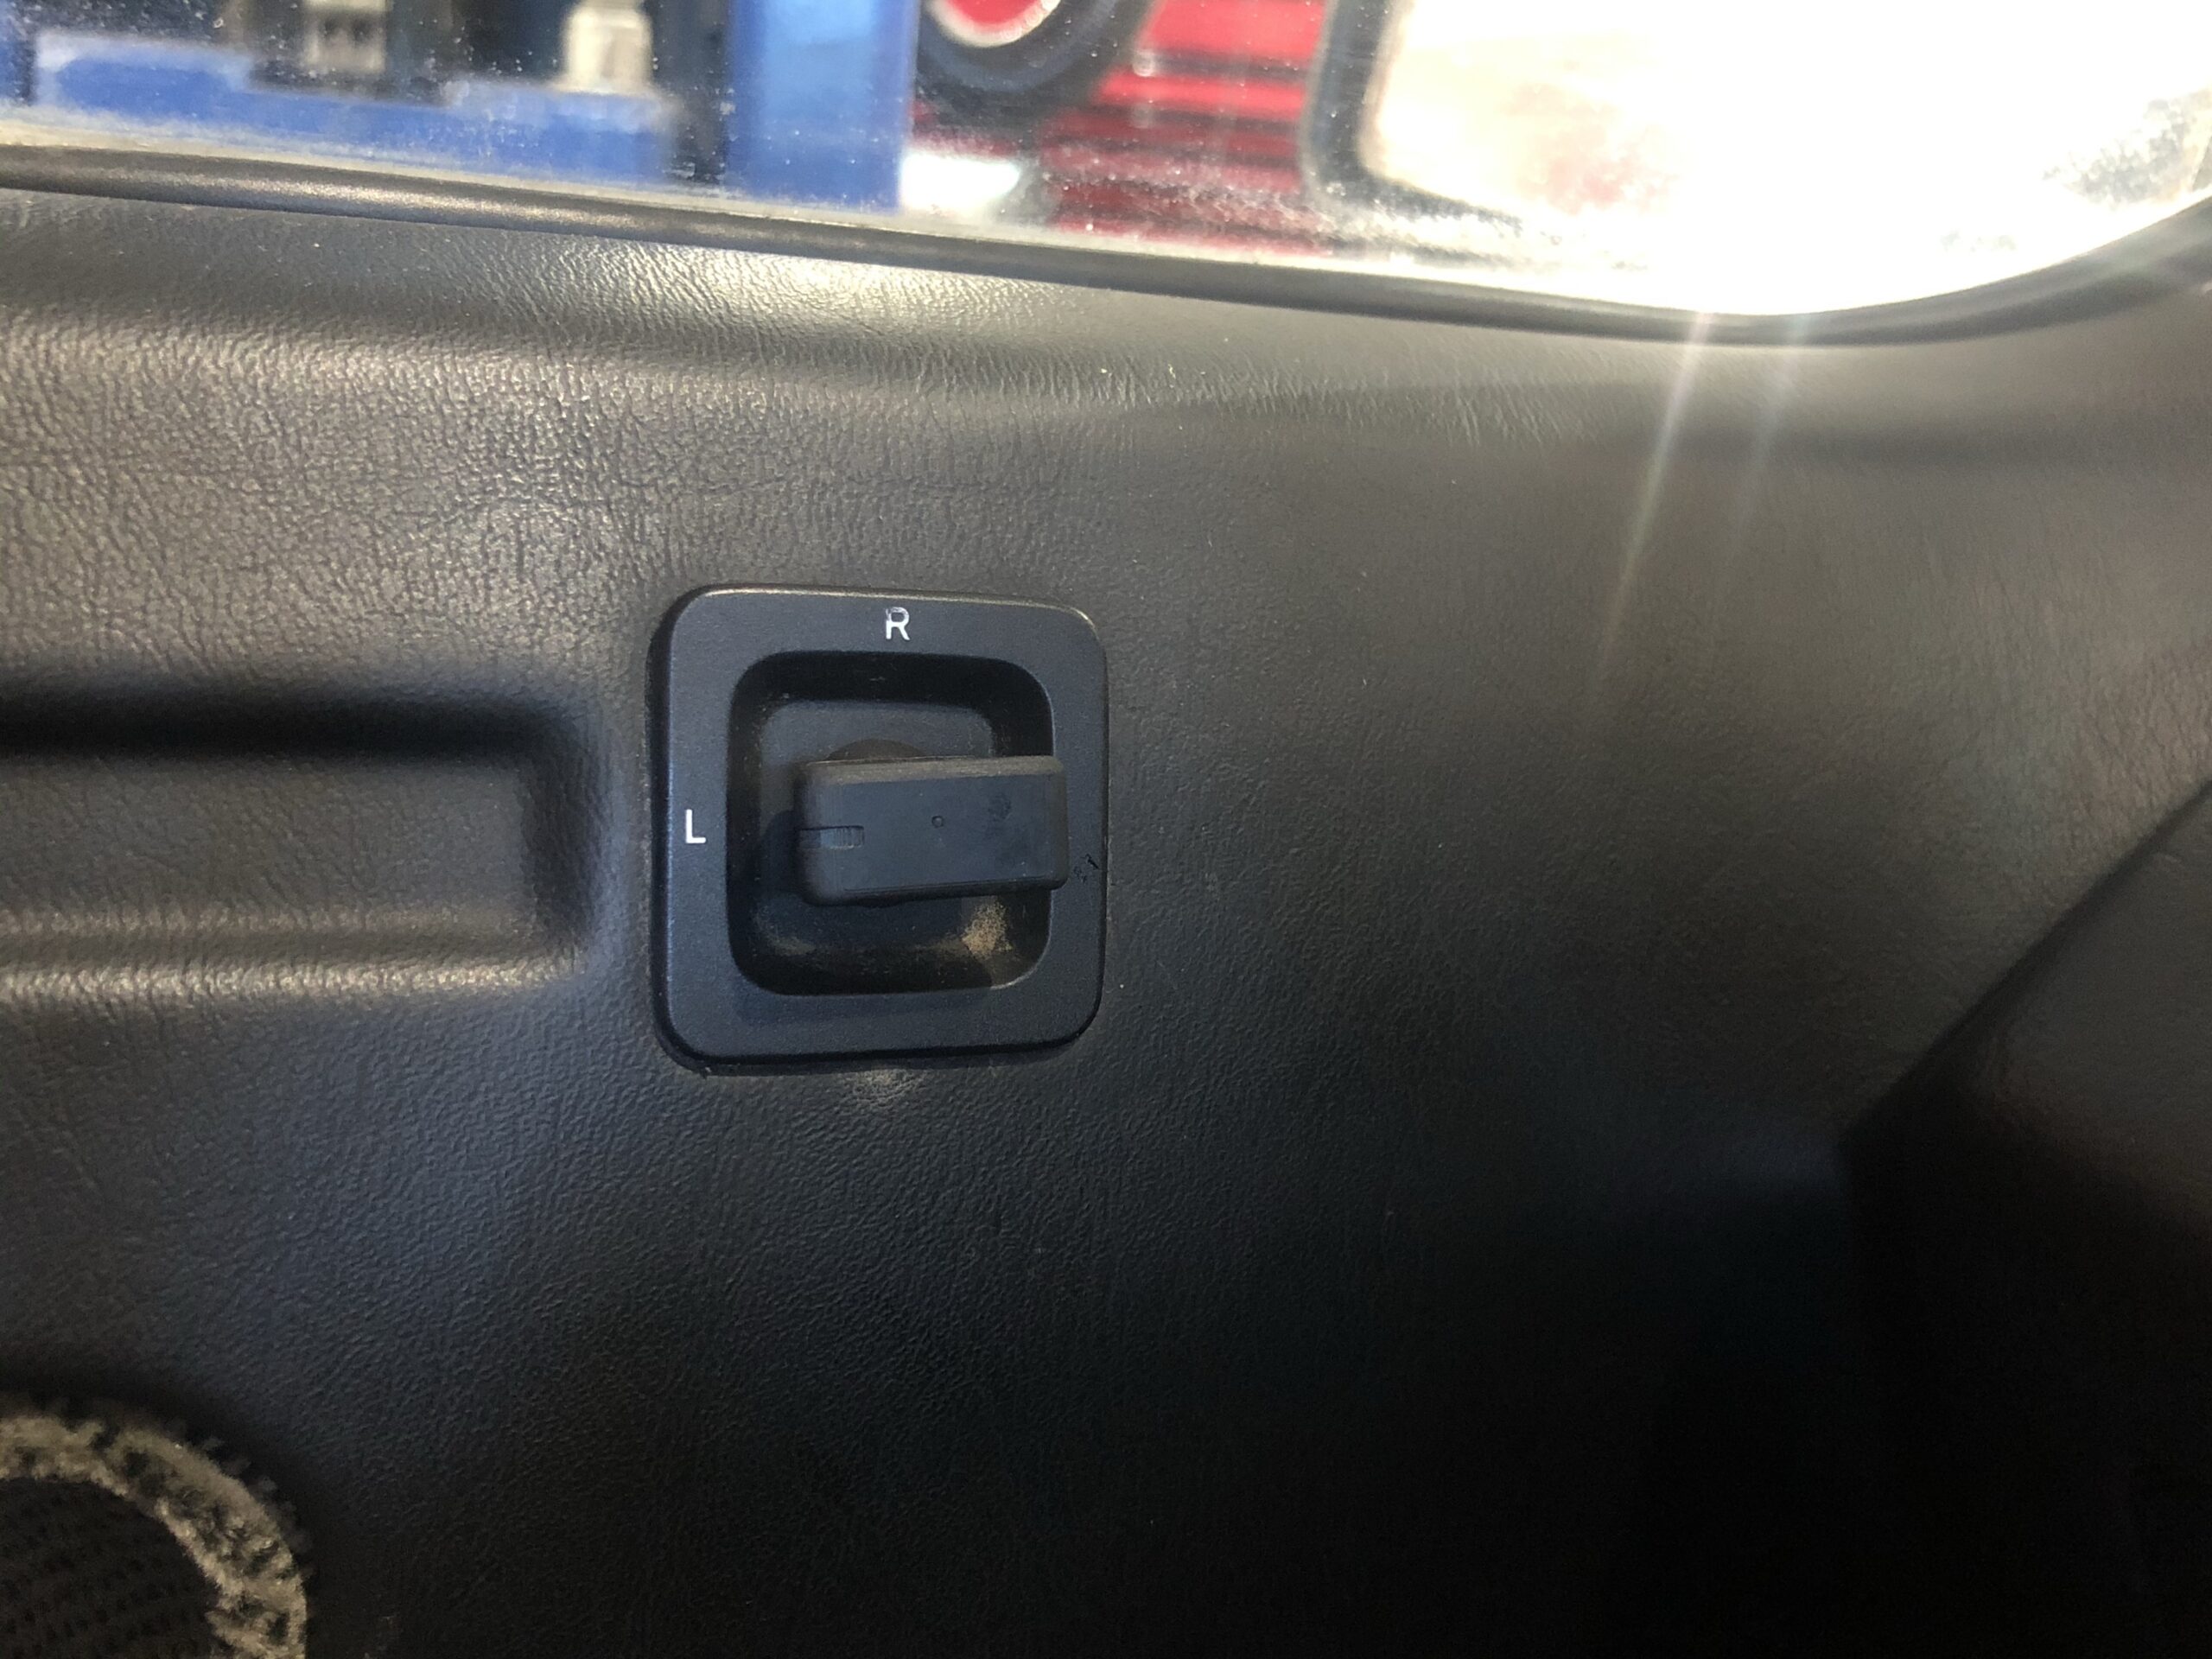
Mirror adjusting knobs
Printed a few knobs
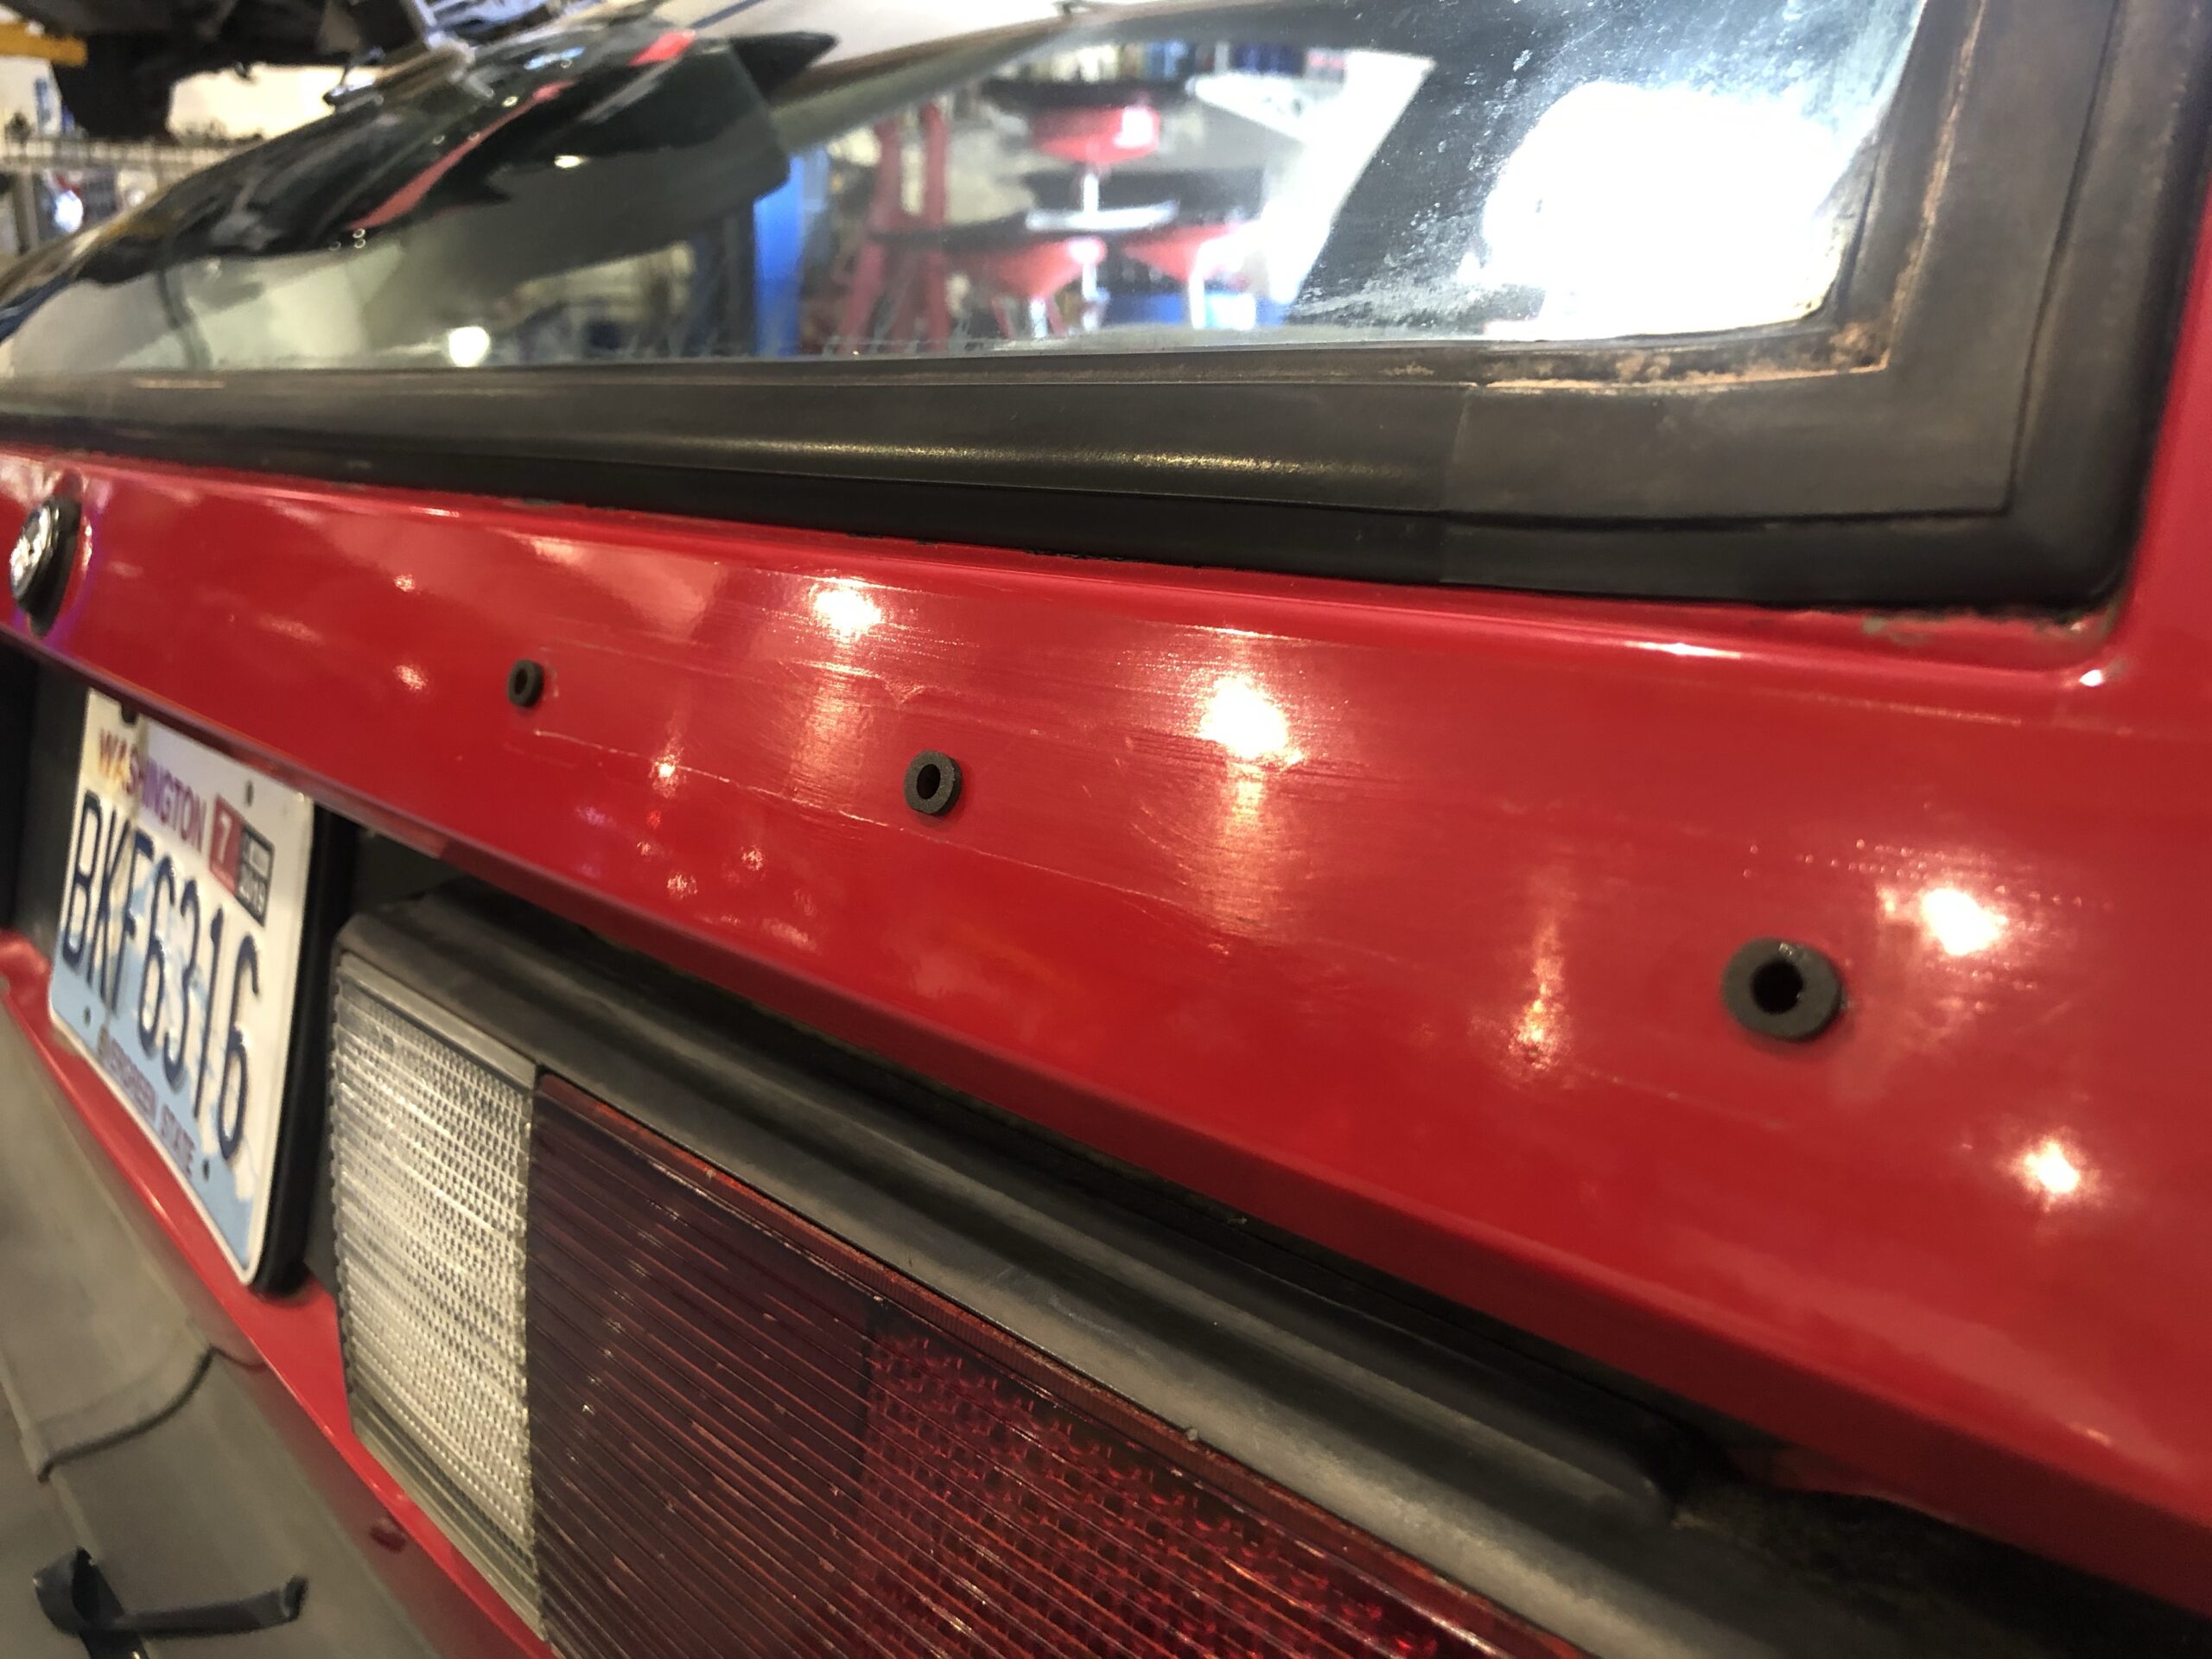
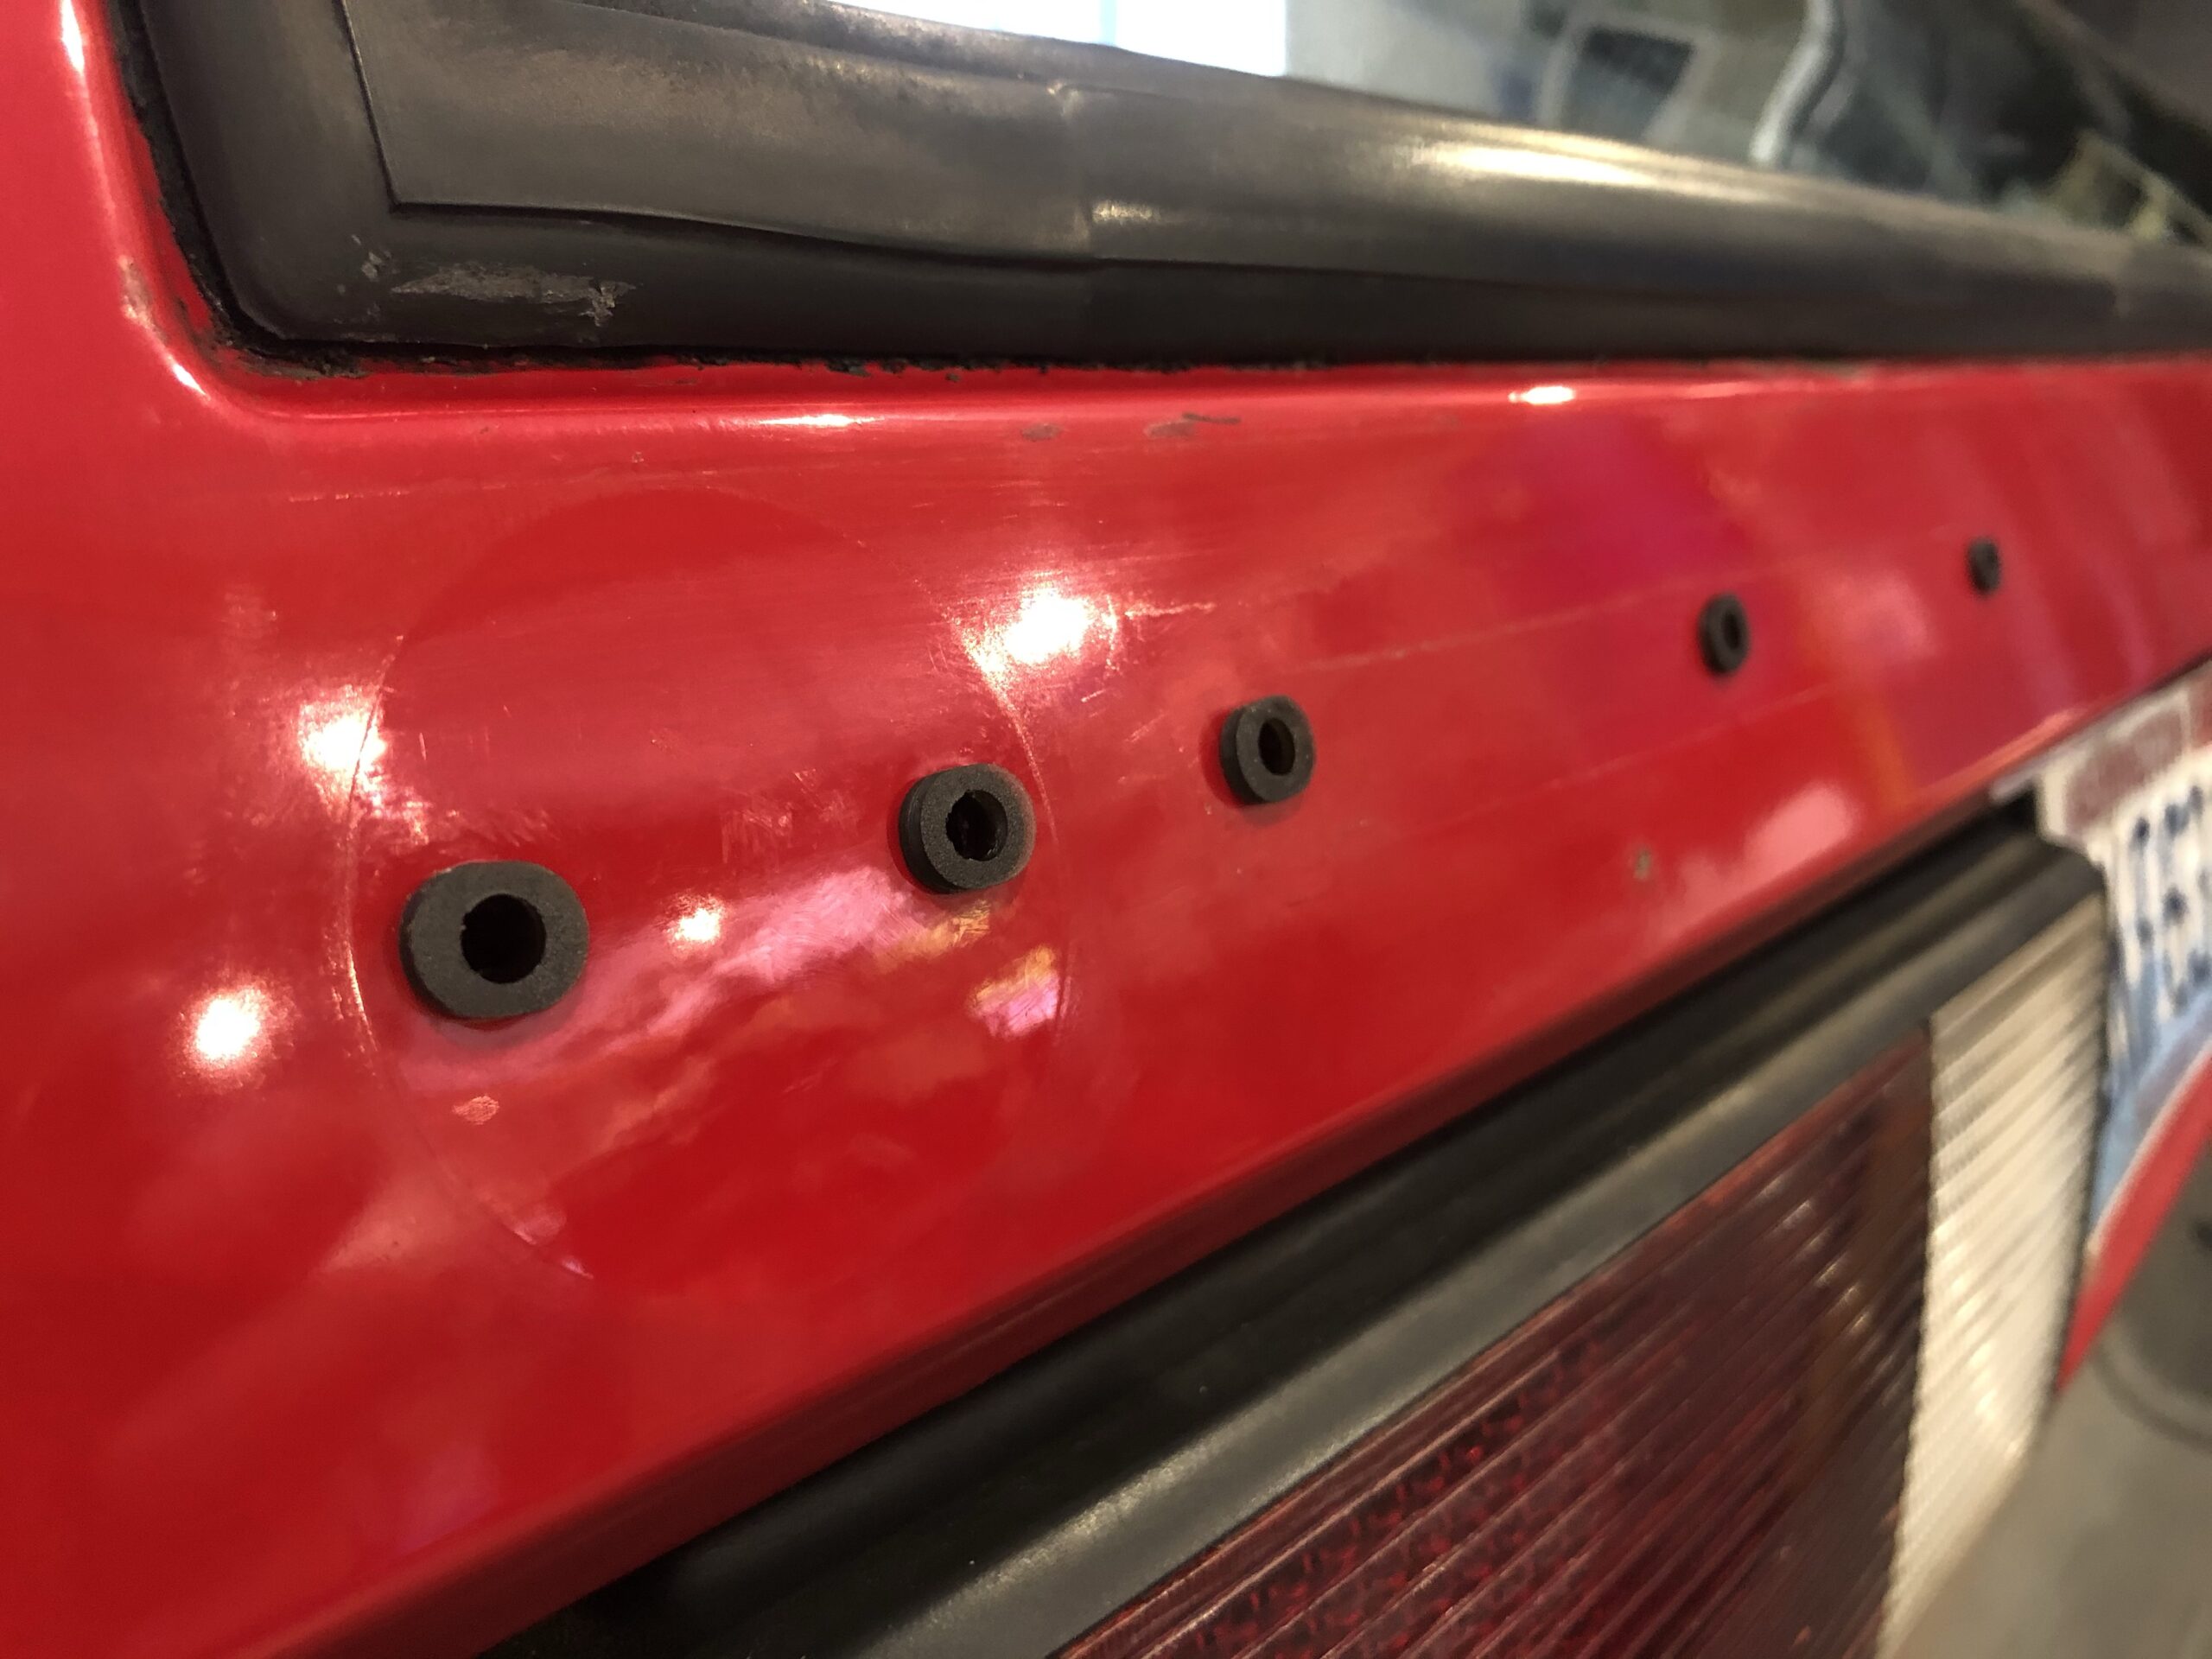
Shrunken bumper trim
3D printed bumper trim sample
Bumper trim test is perfect
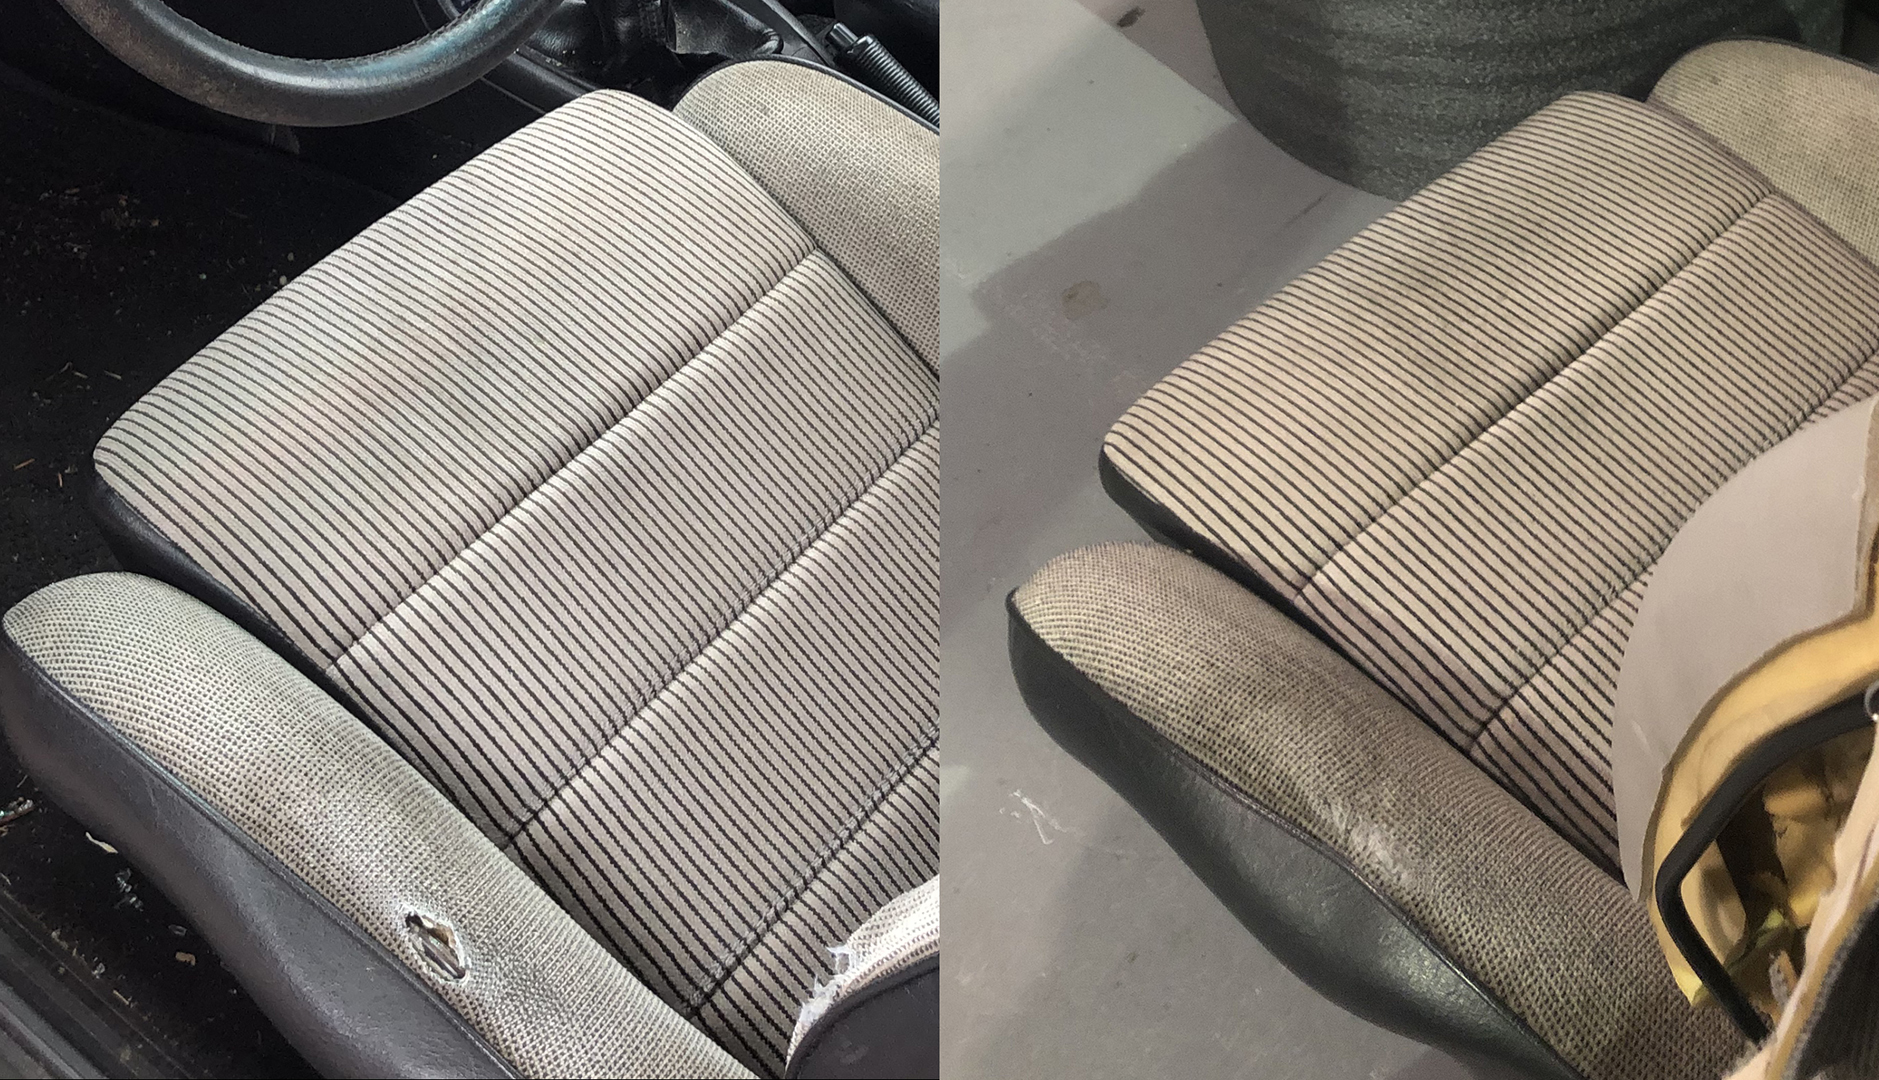
Stay tuned for more updates on this project and products. Coming up in future posts: Upholstery repair, B Pillar prep & decal install, 2.25″ Techtonics Tuning exhaust and engine maintenance.
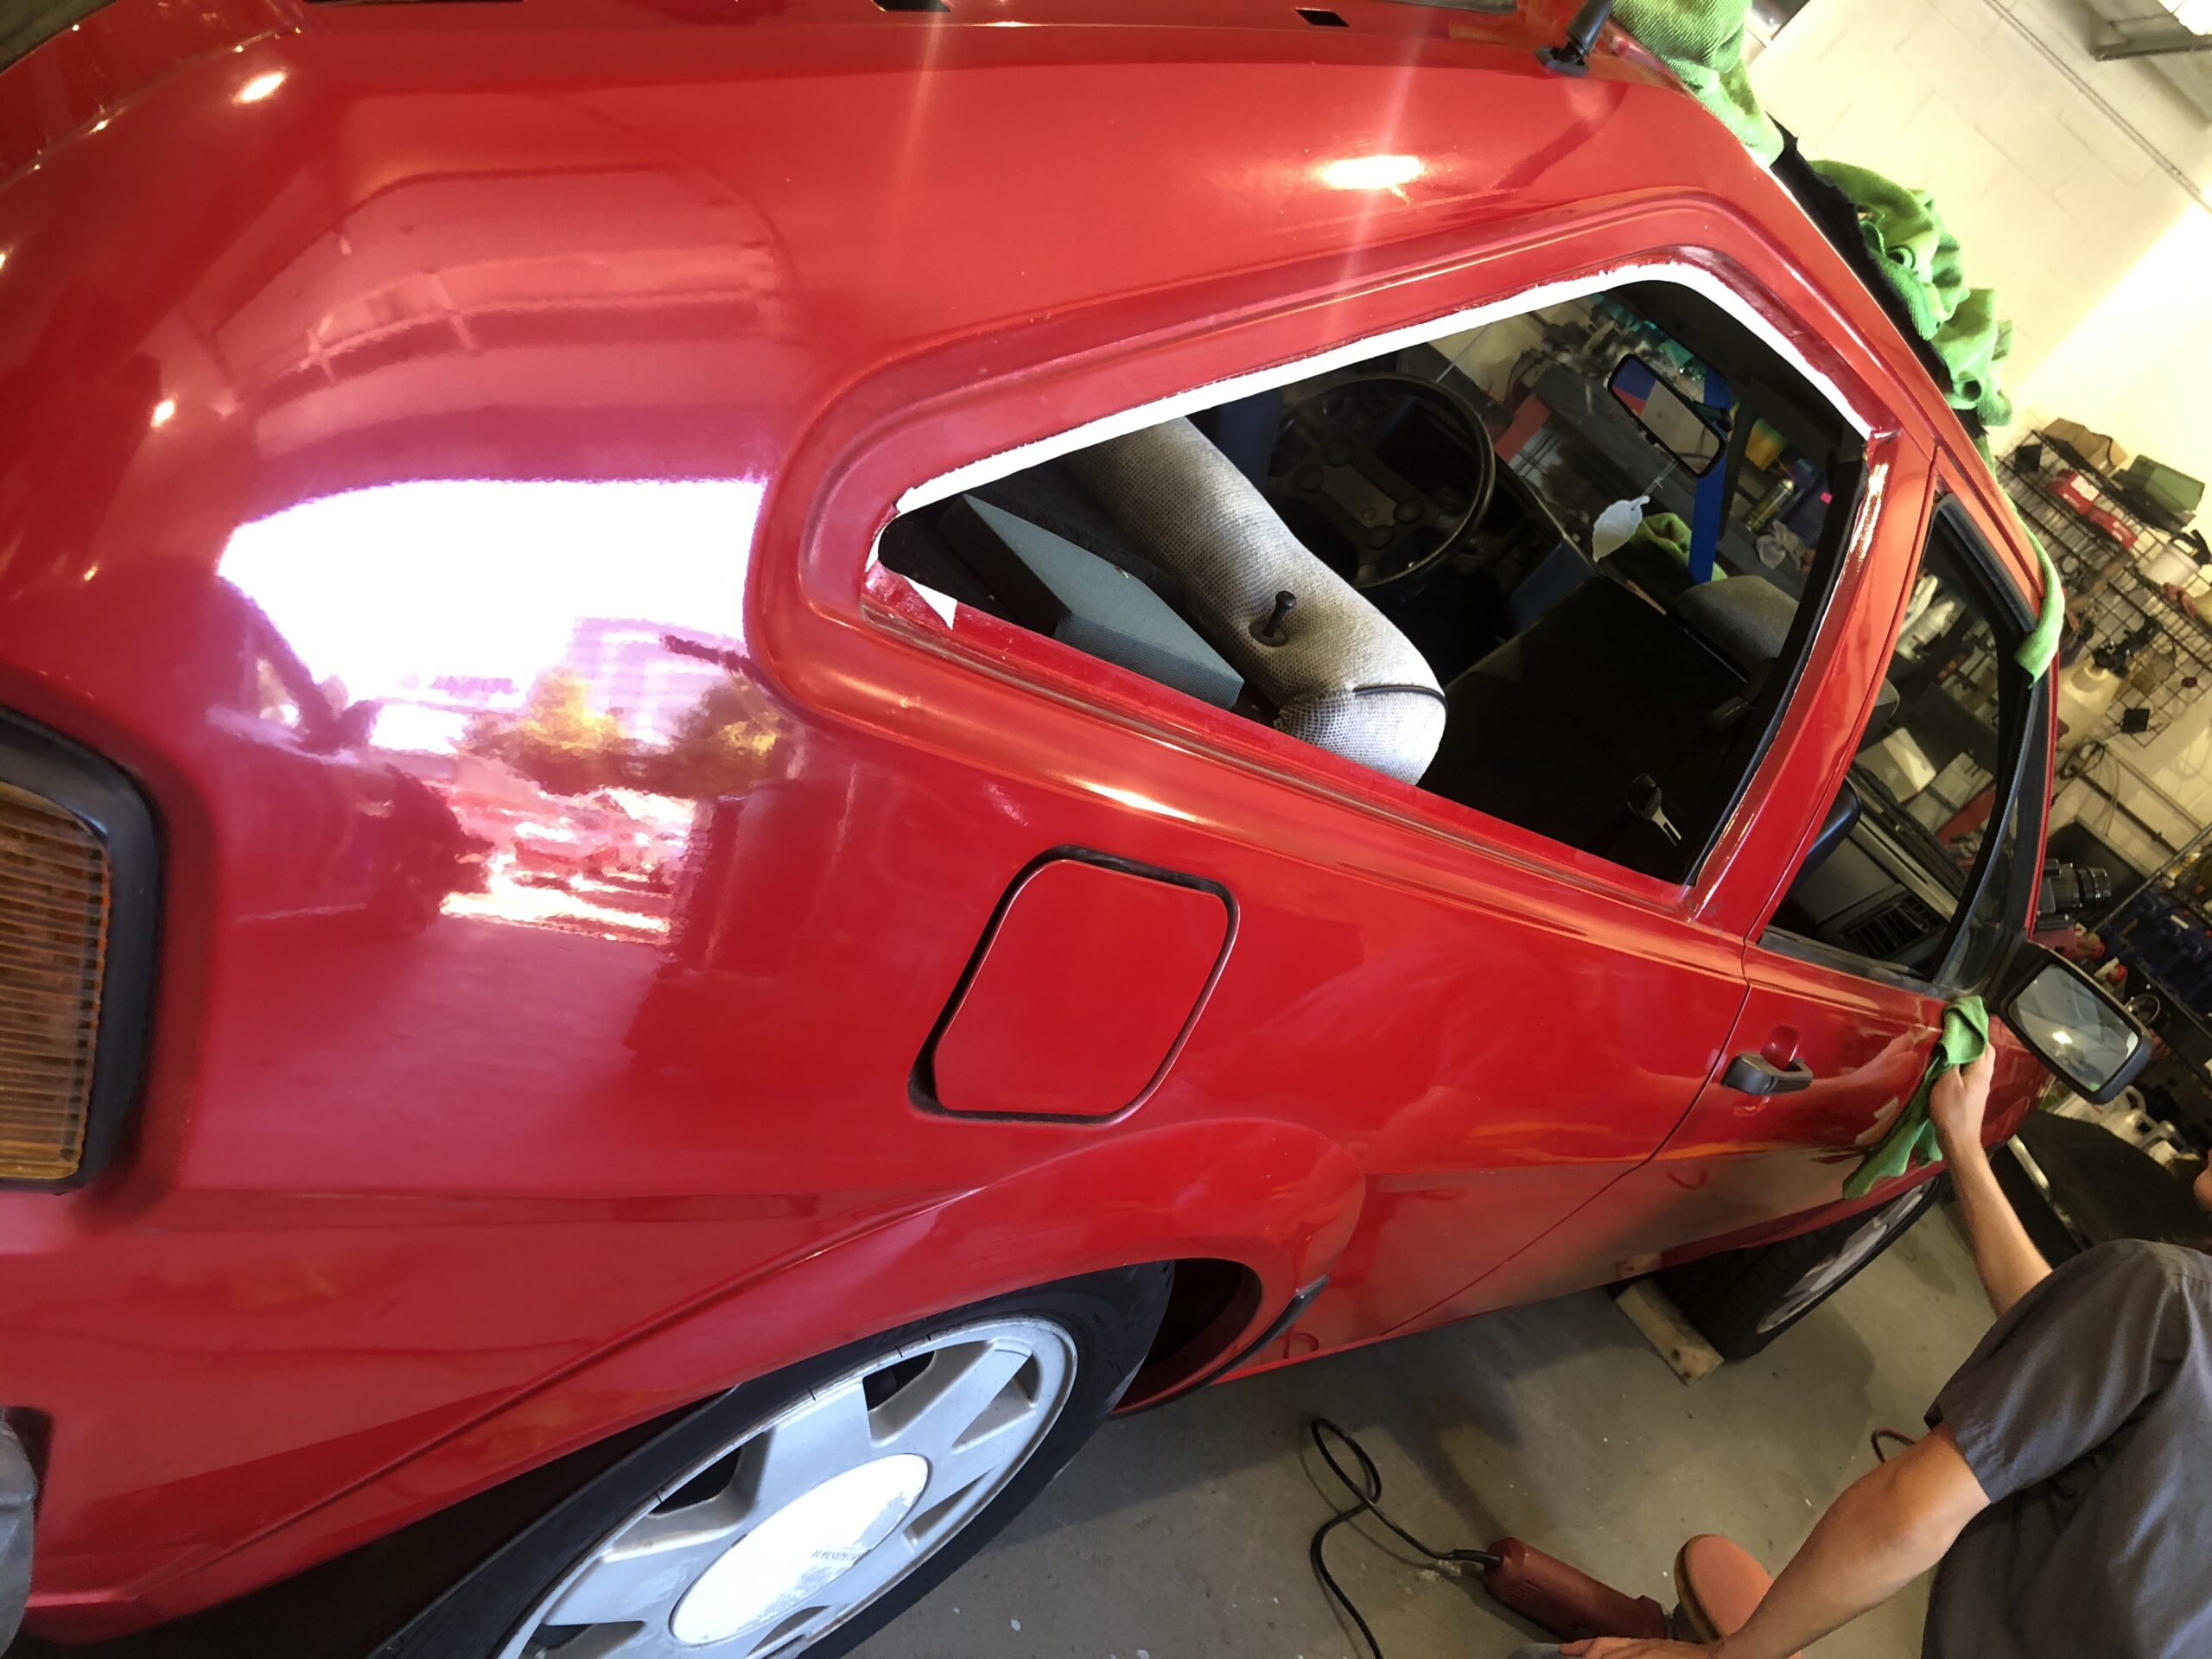
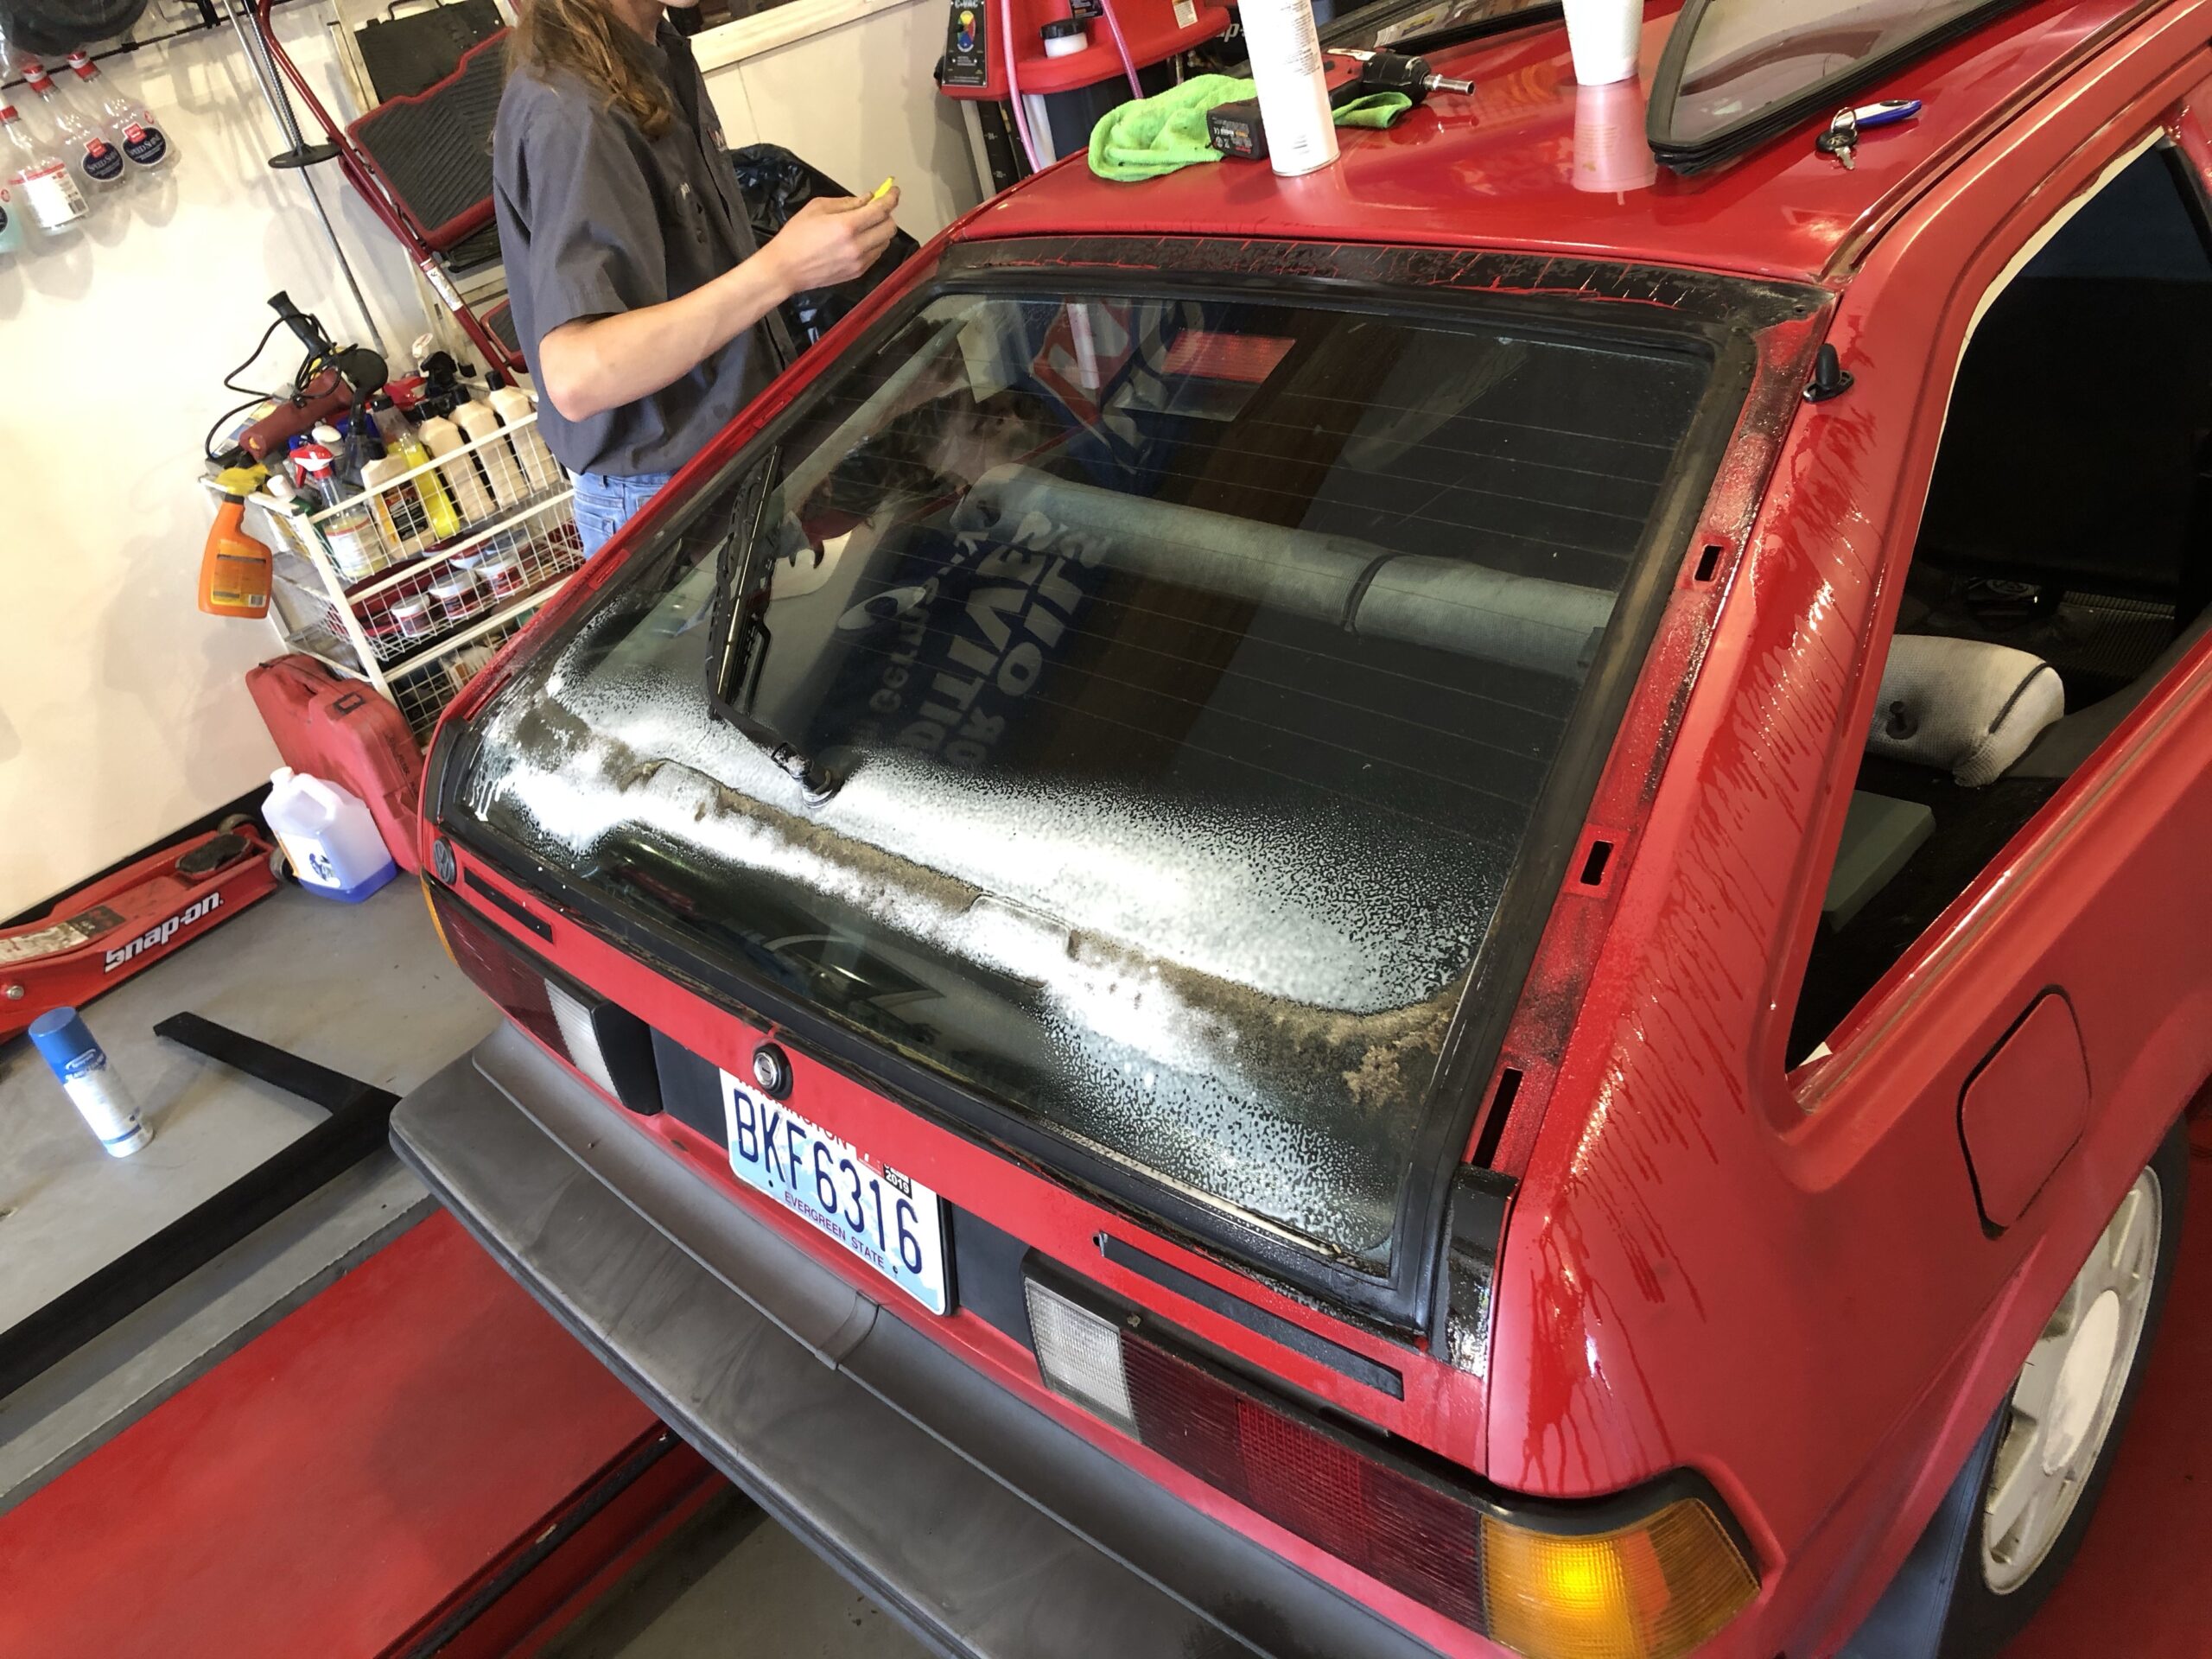
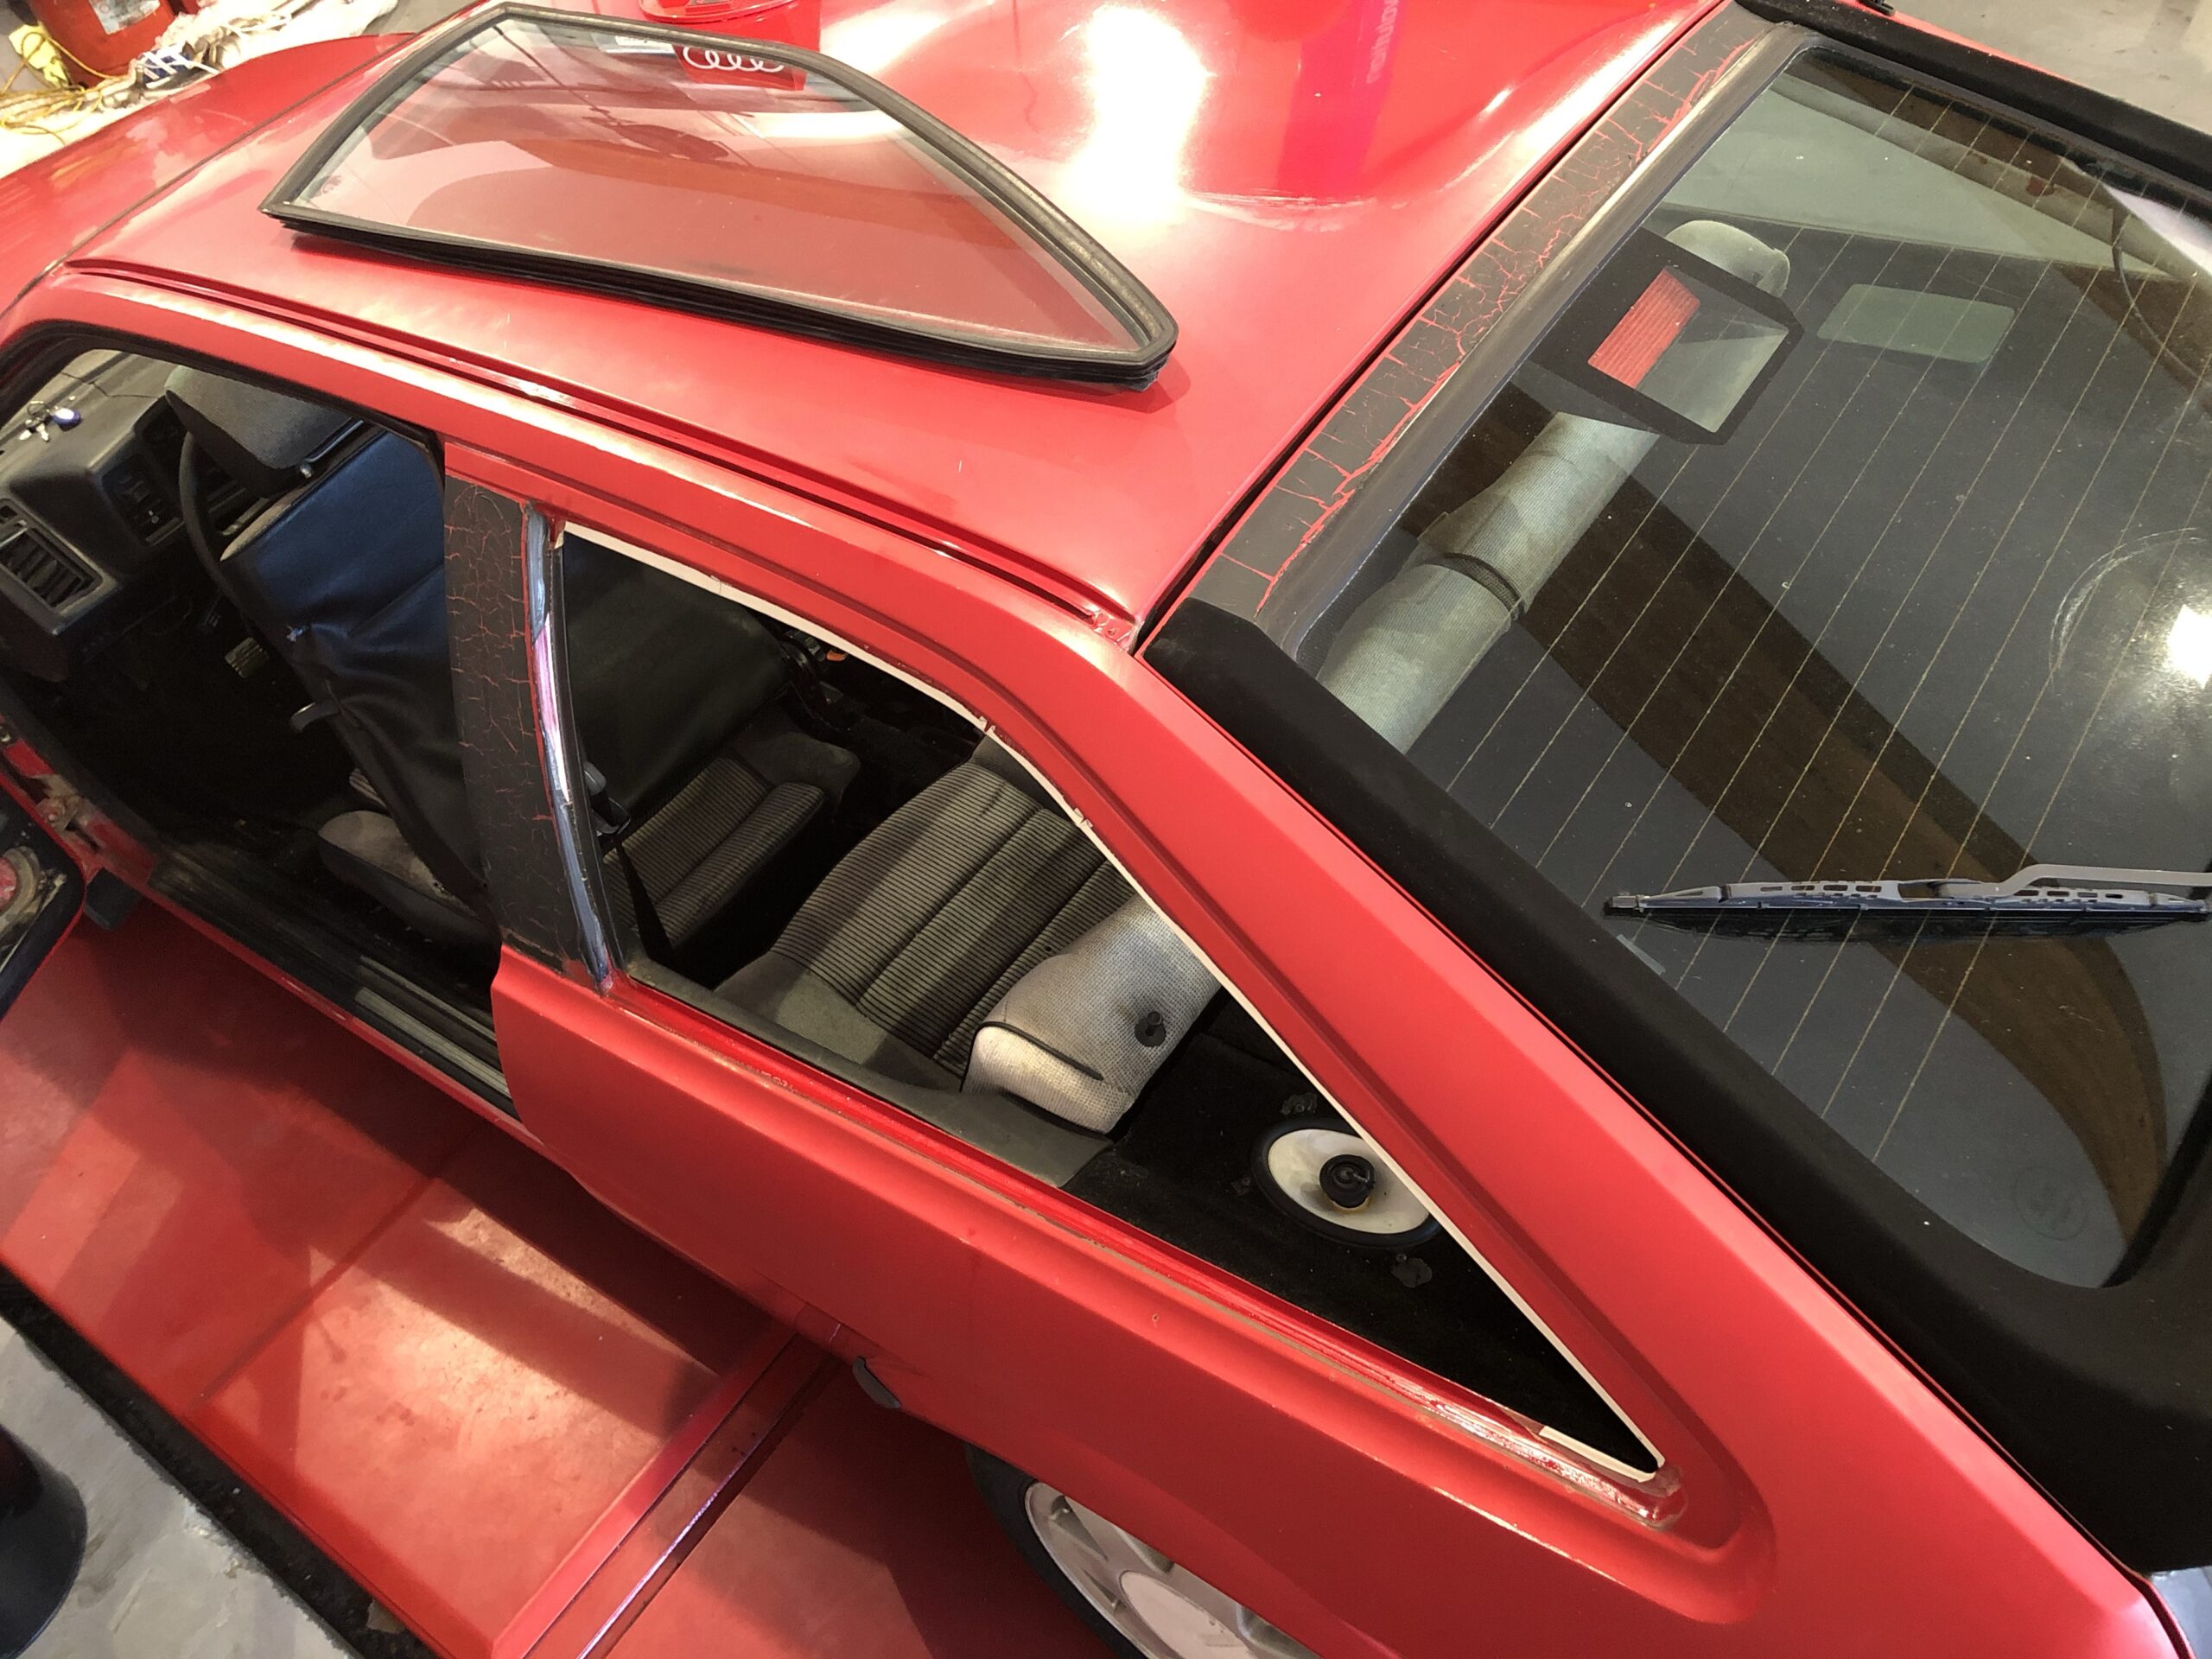
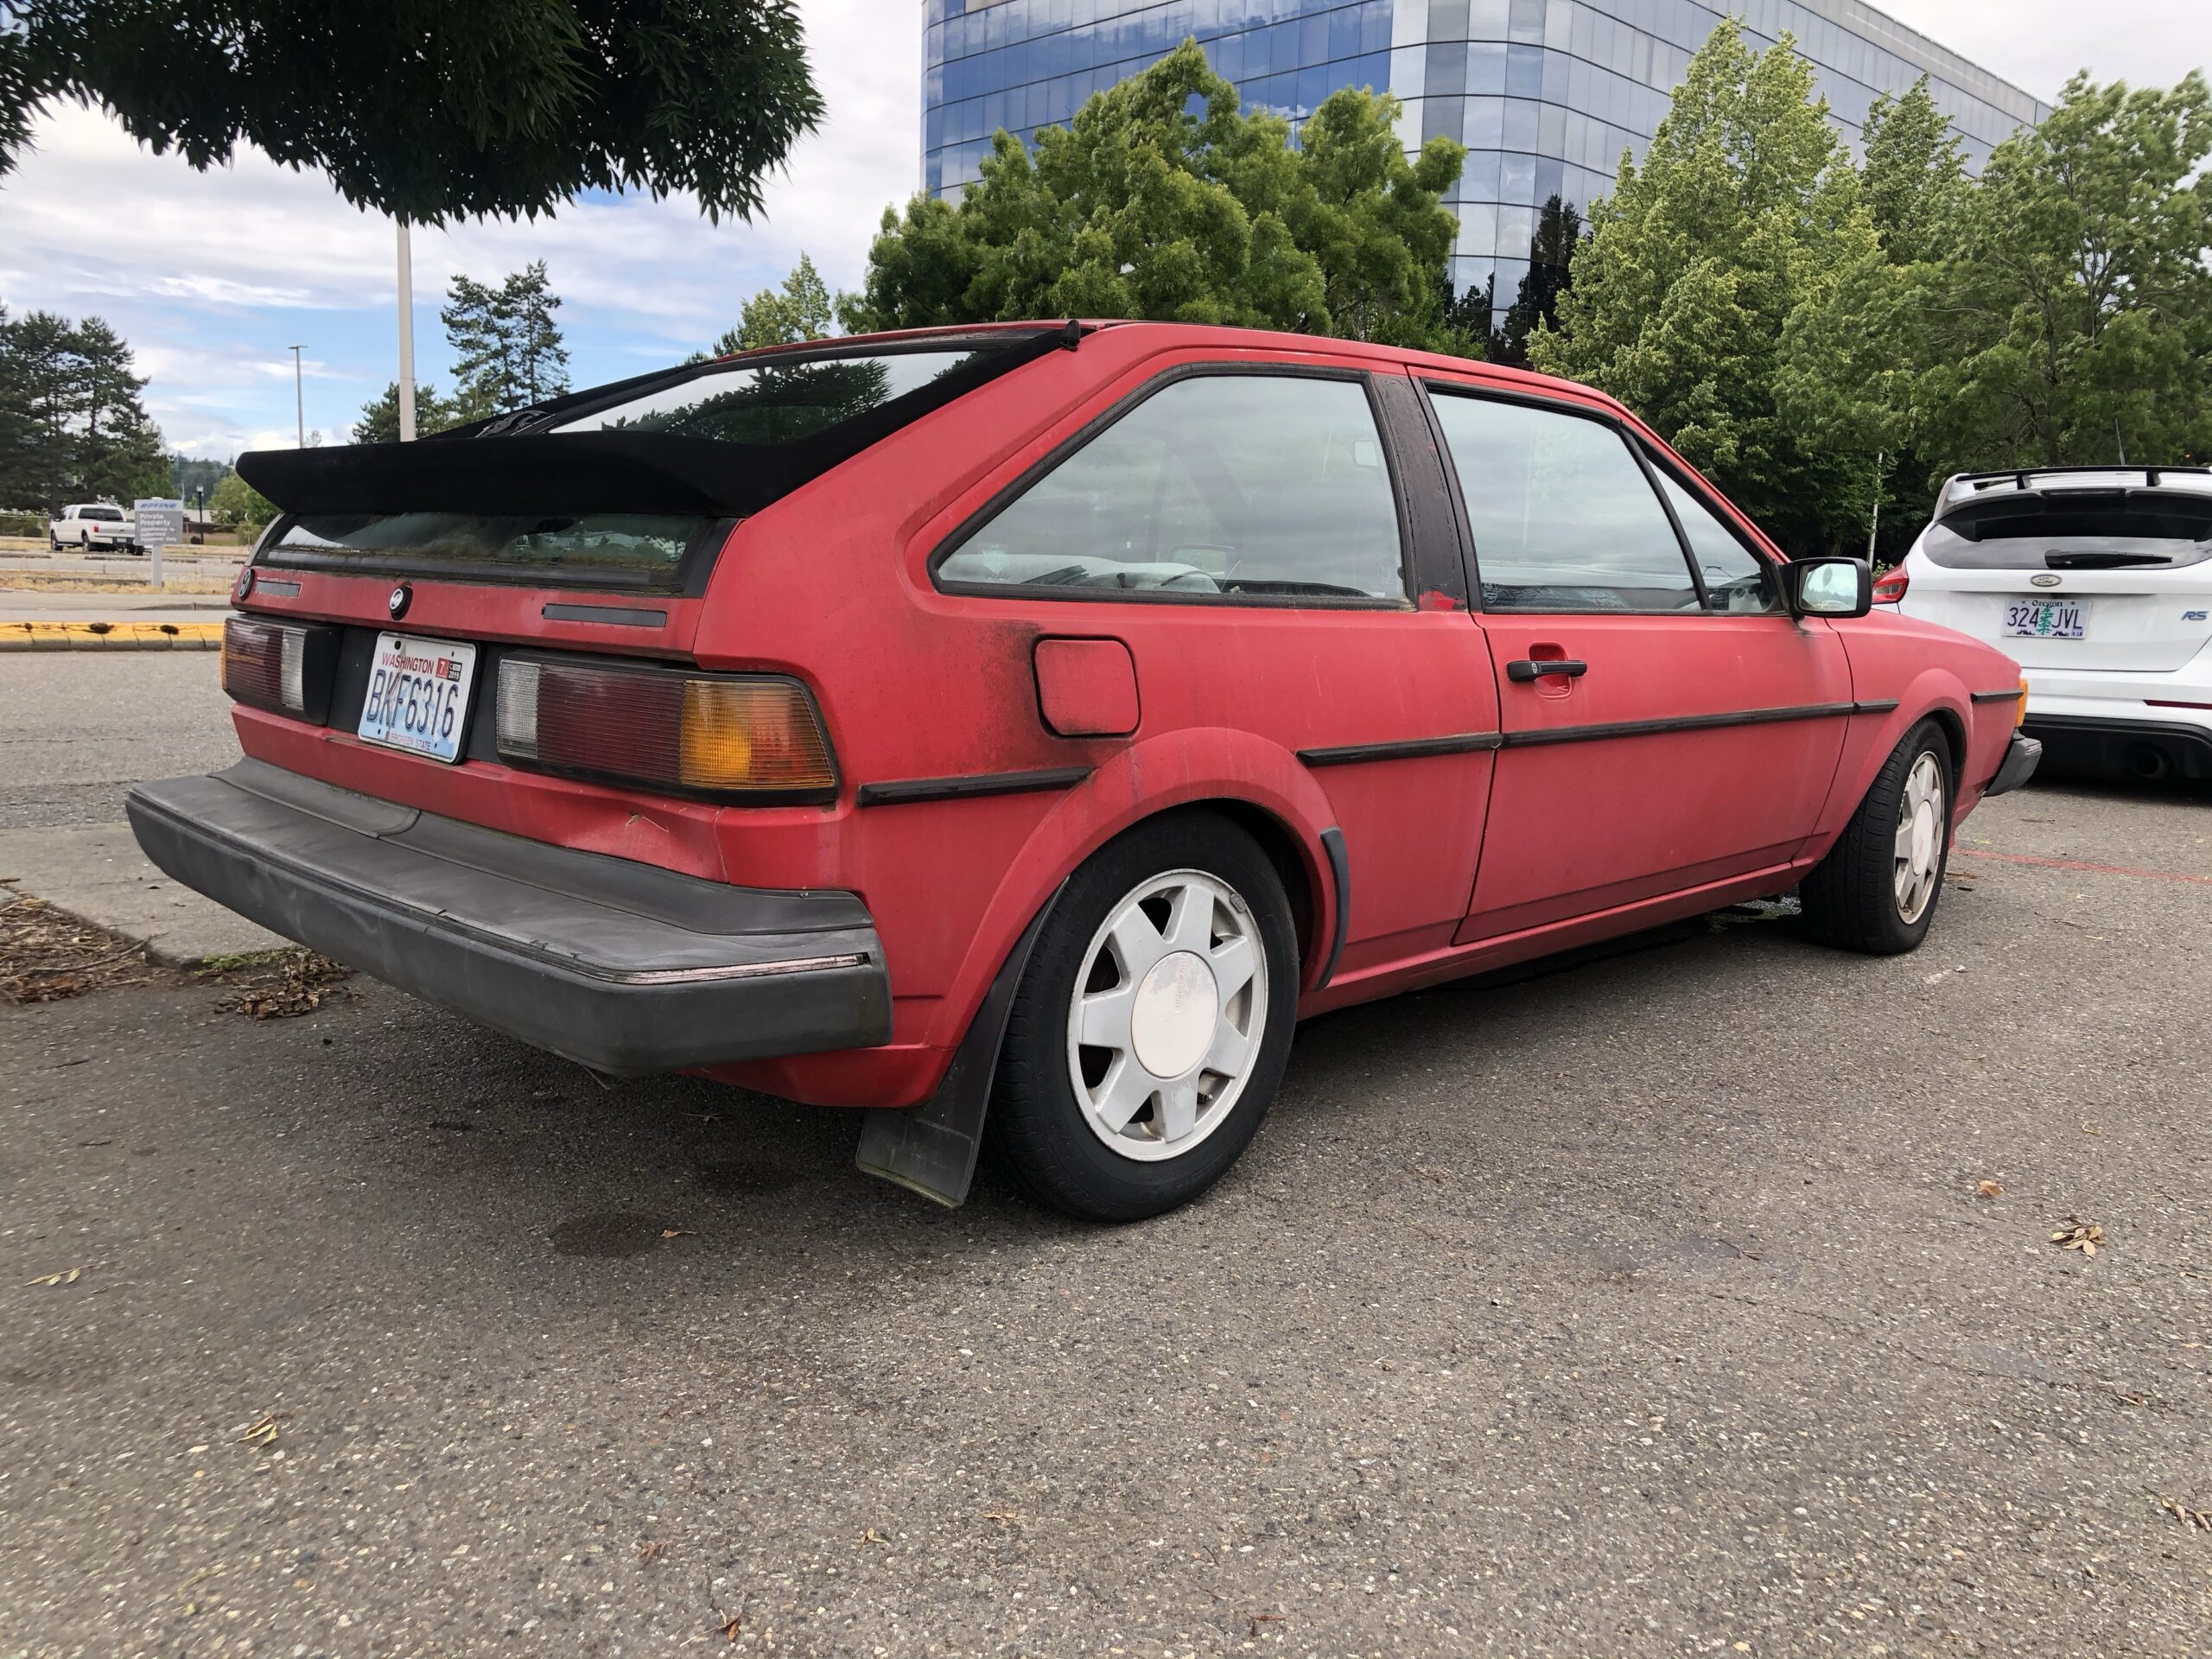
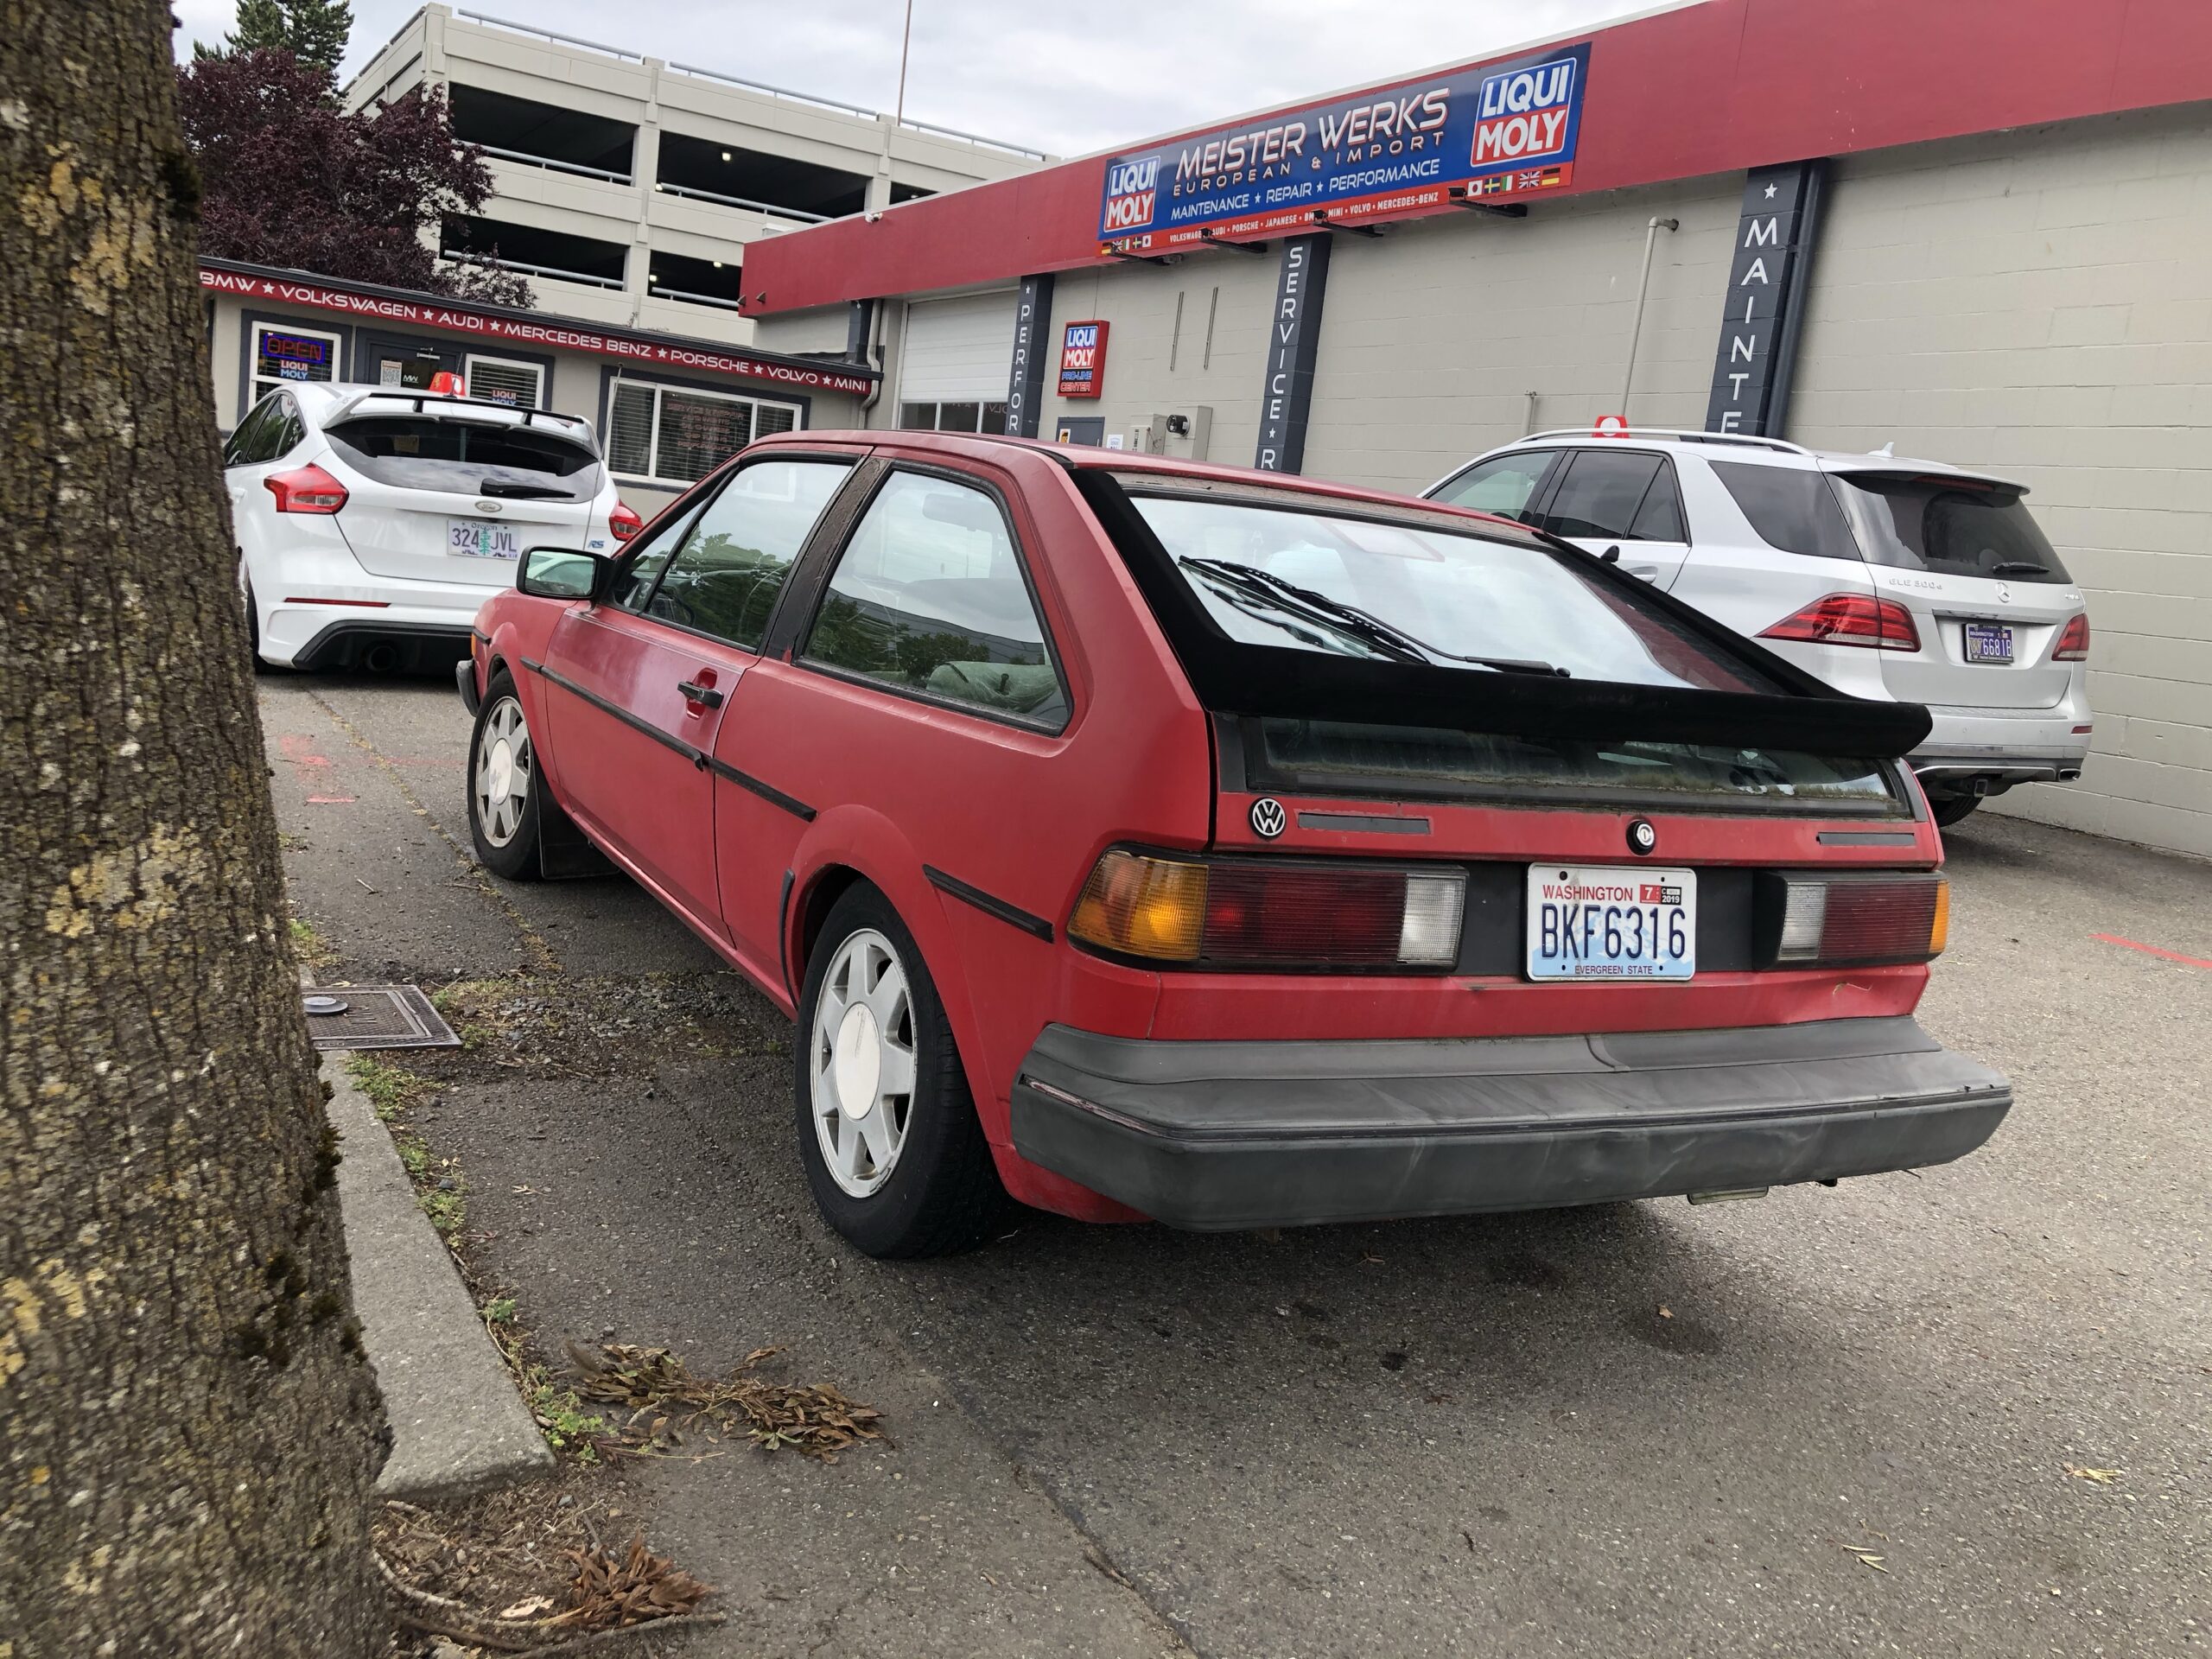
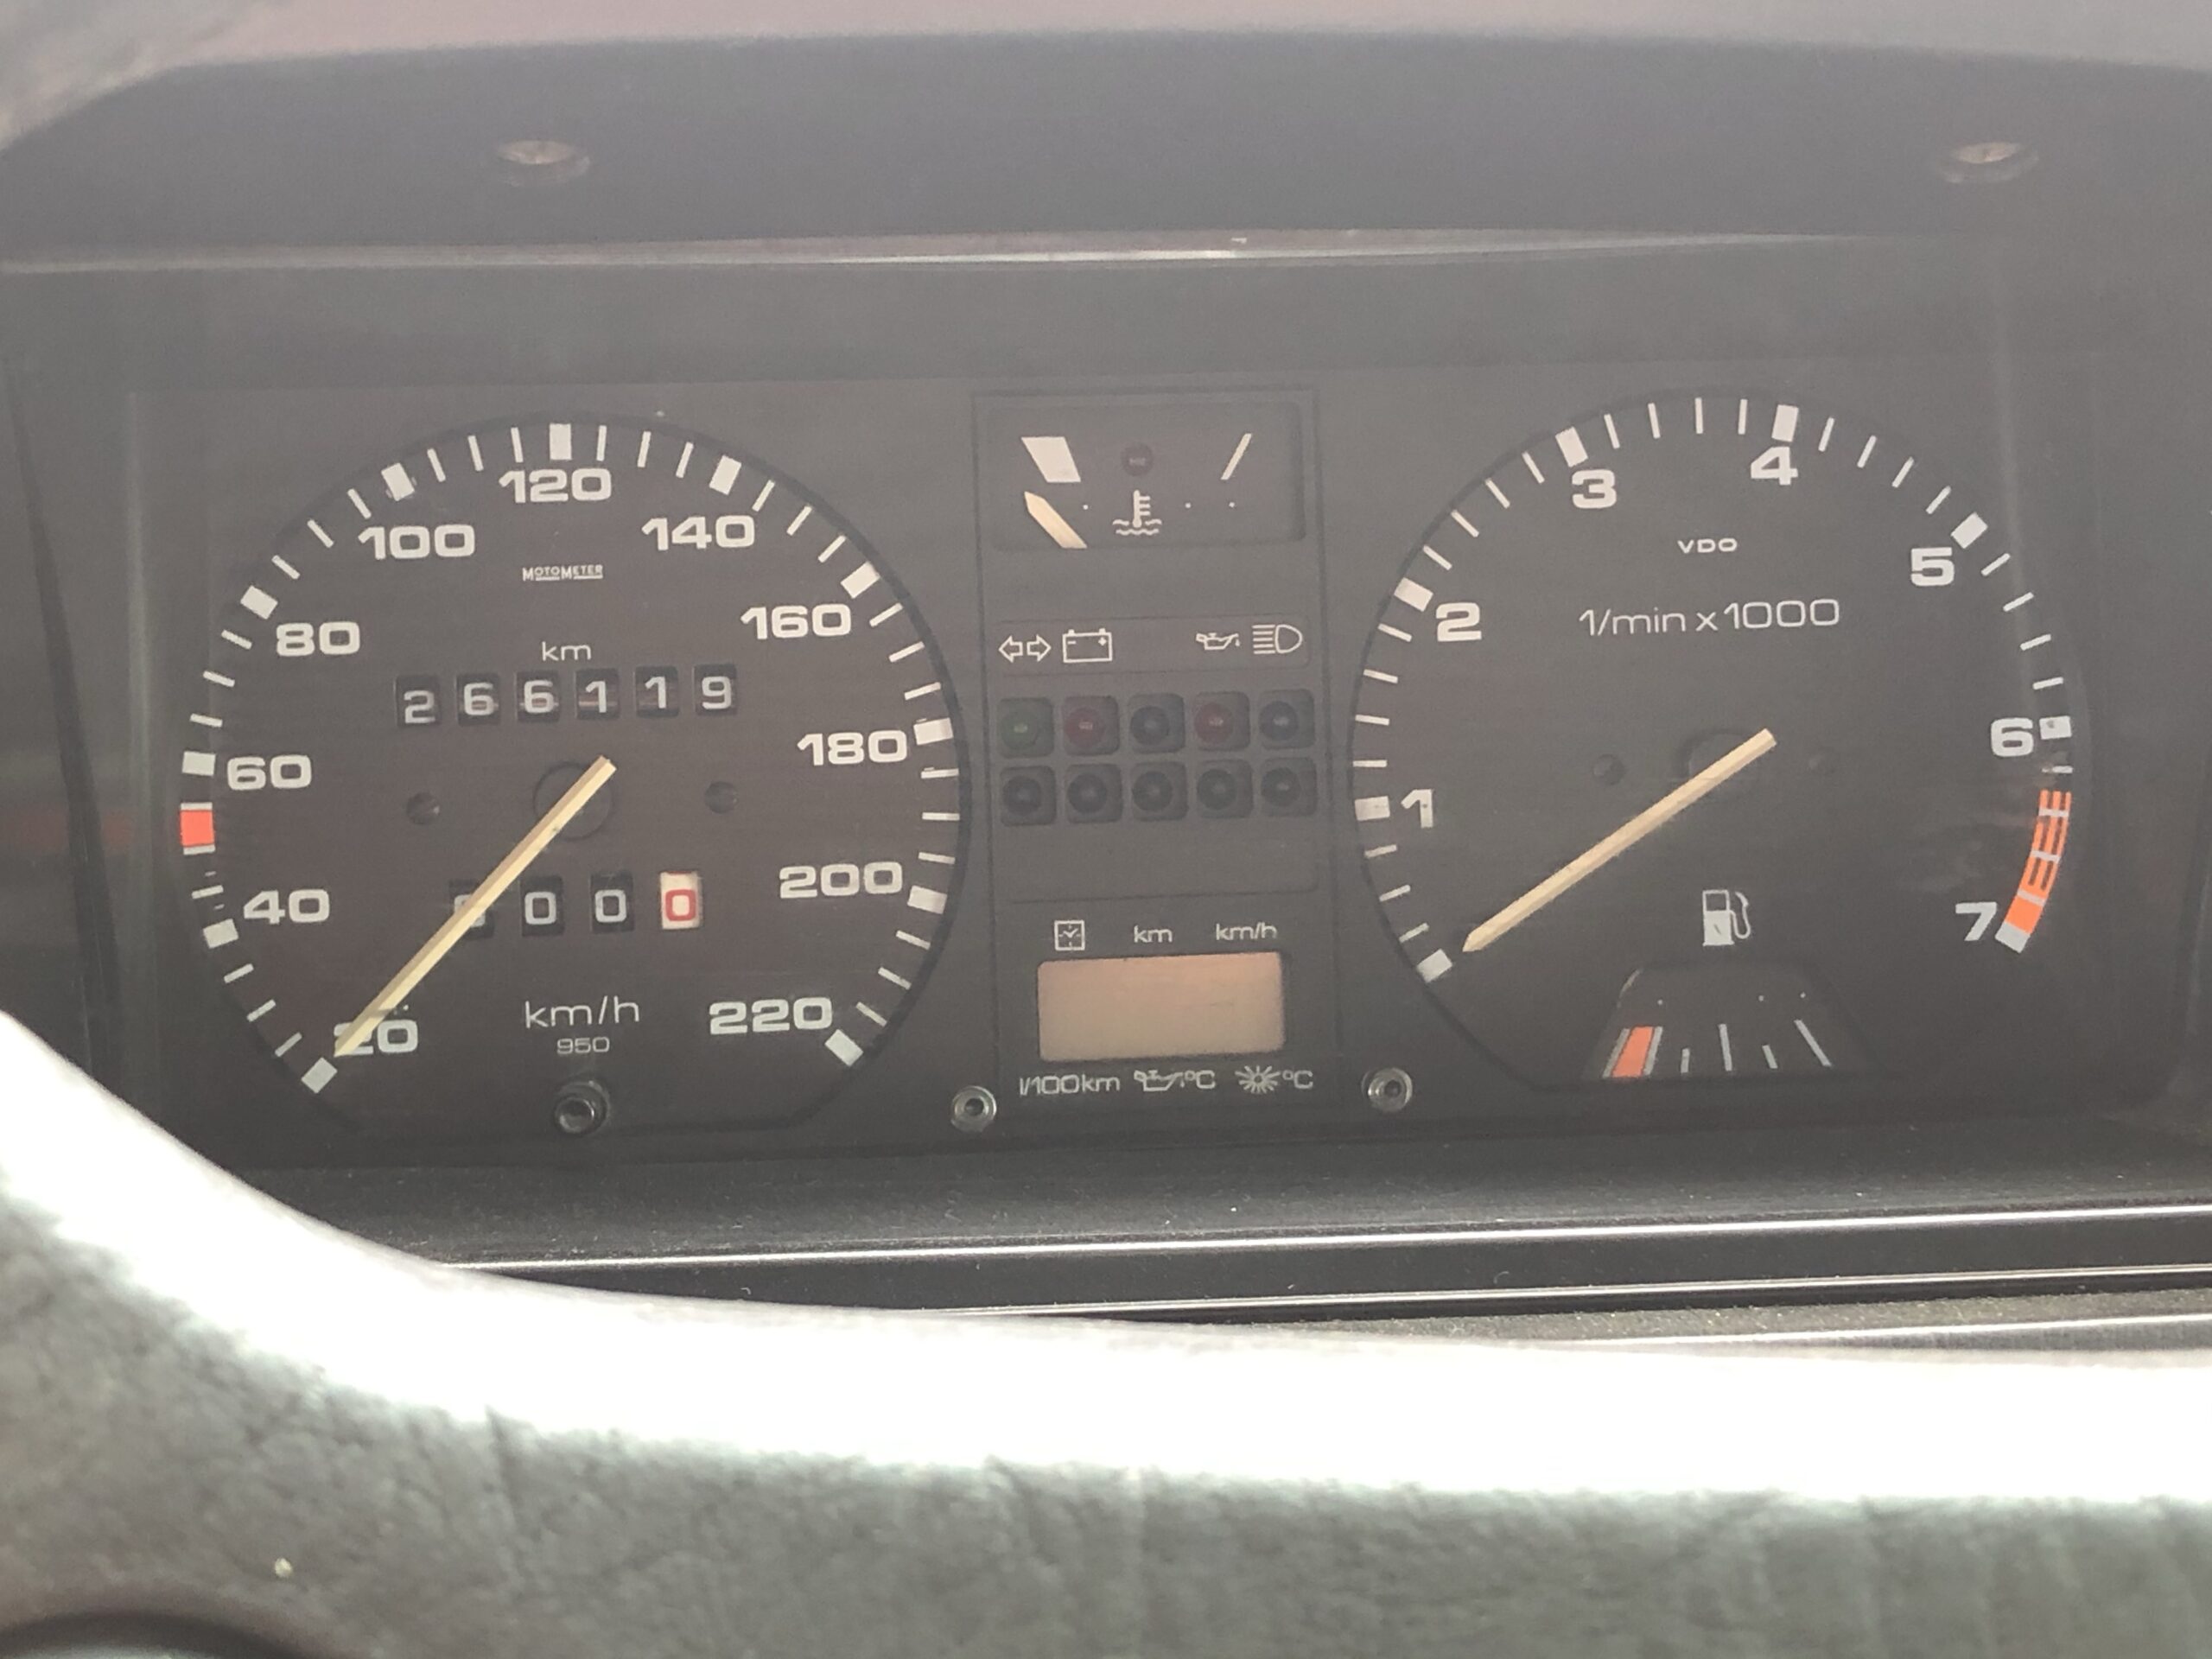
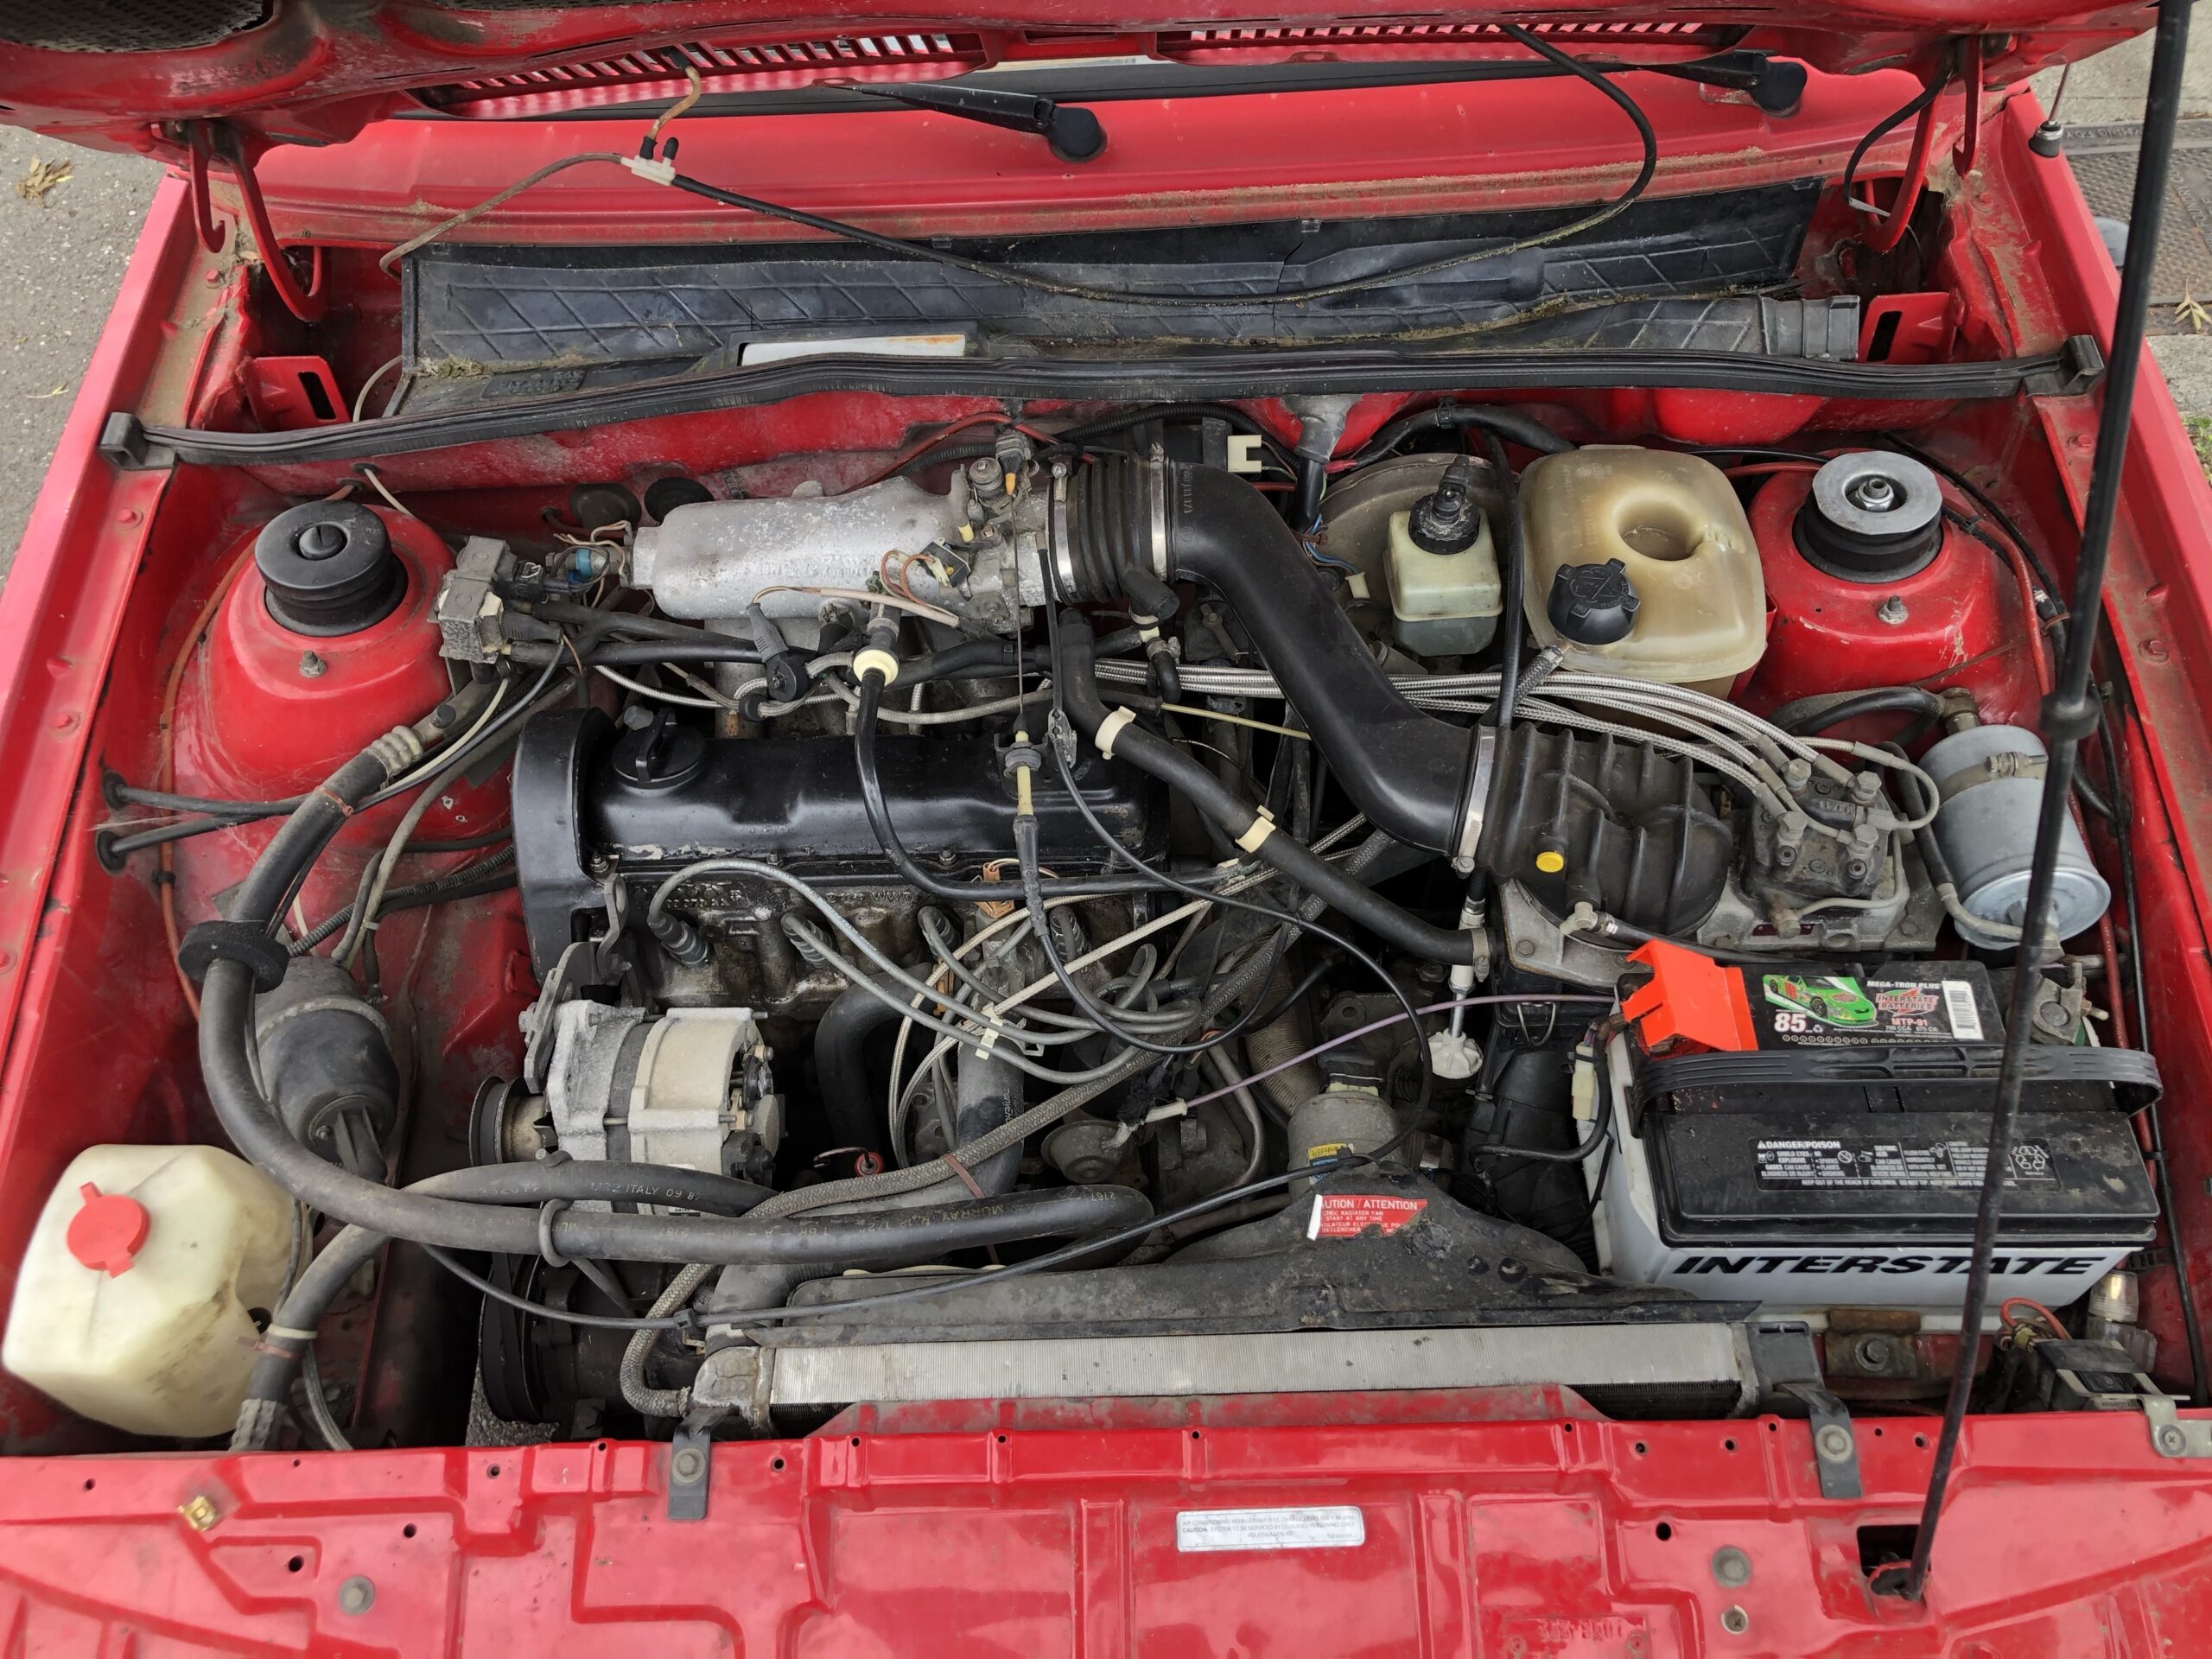
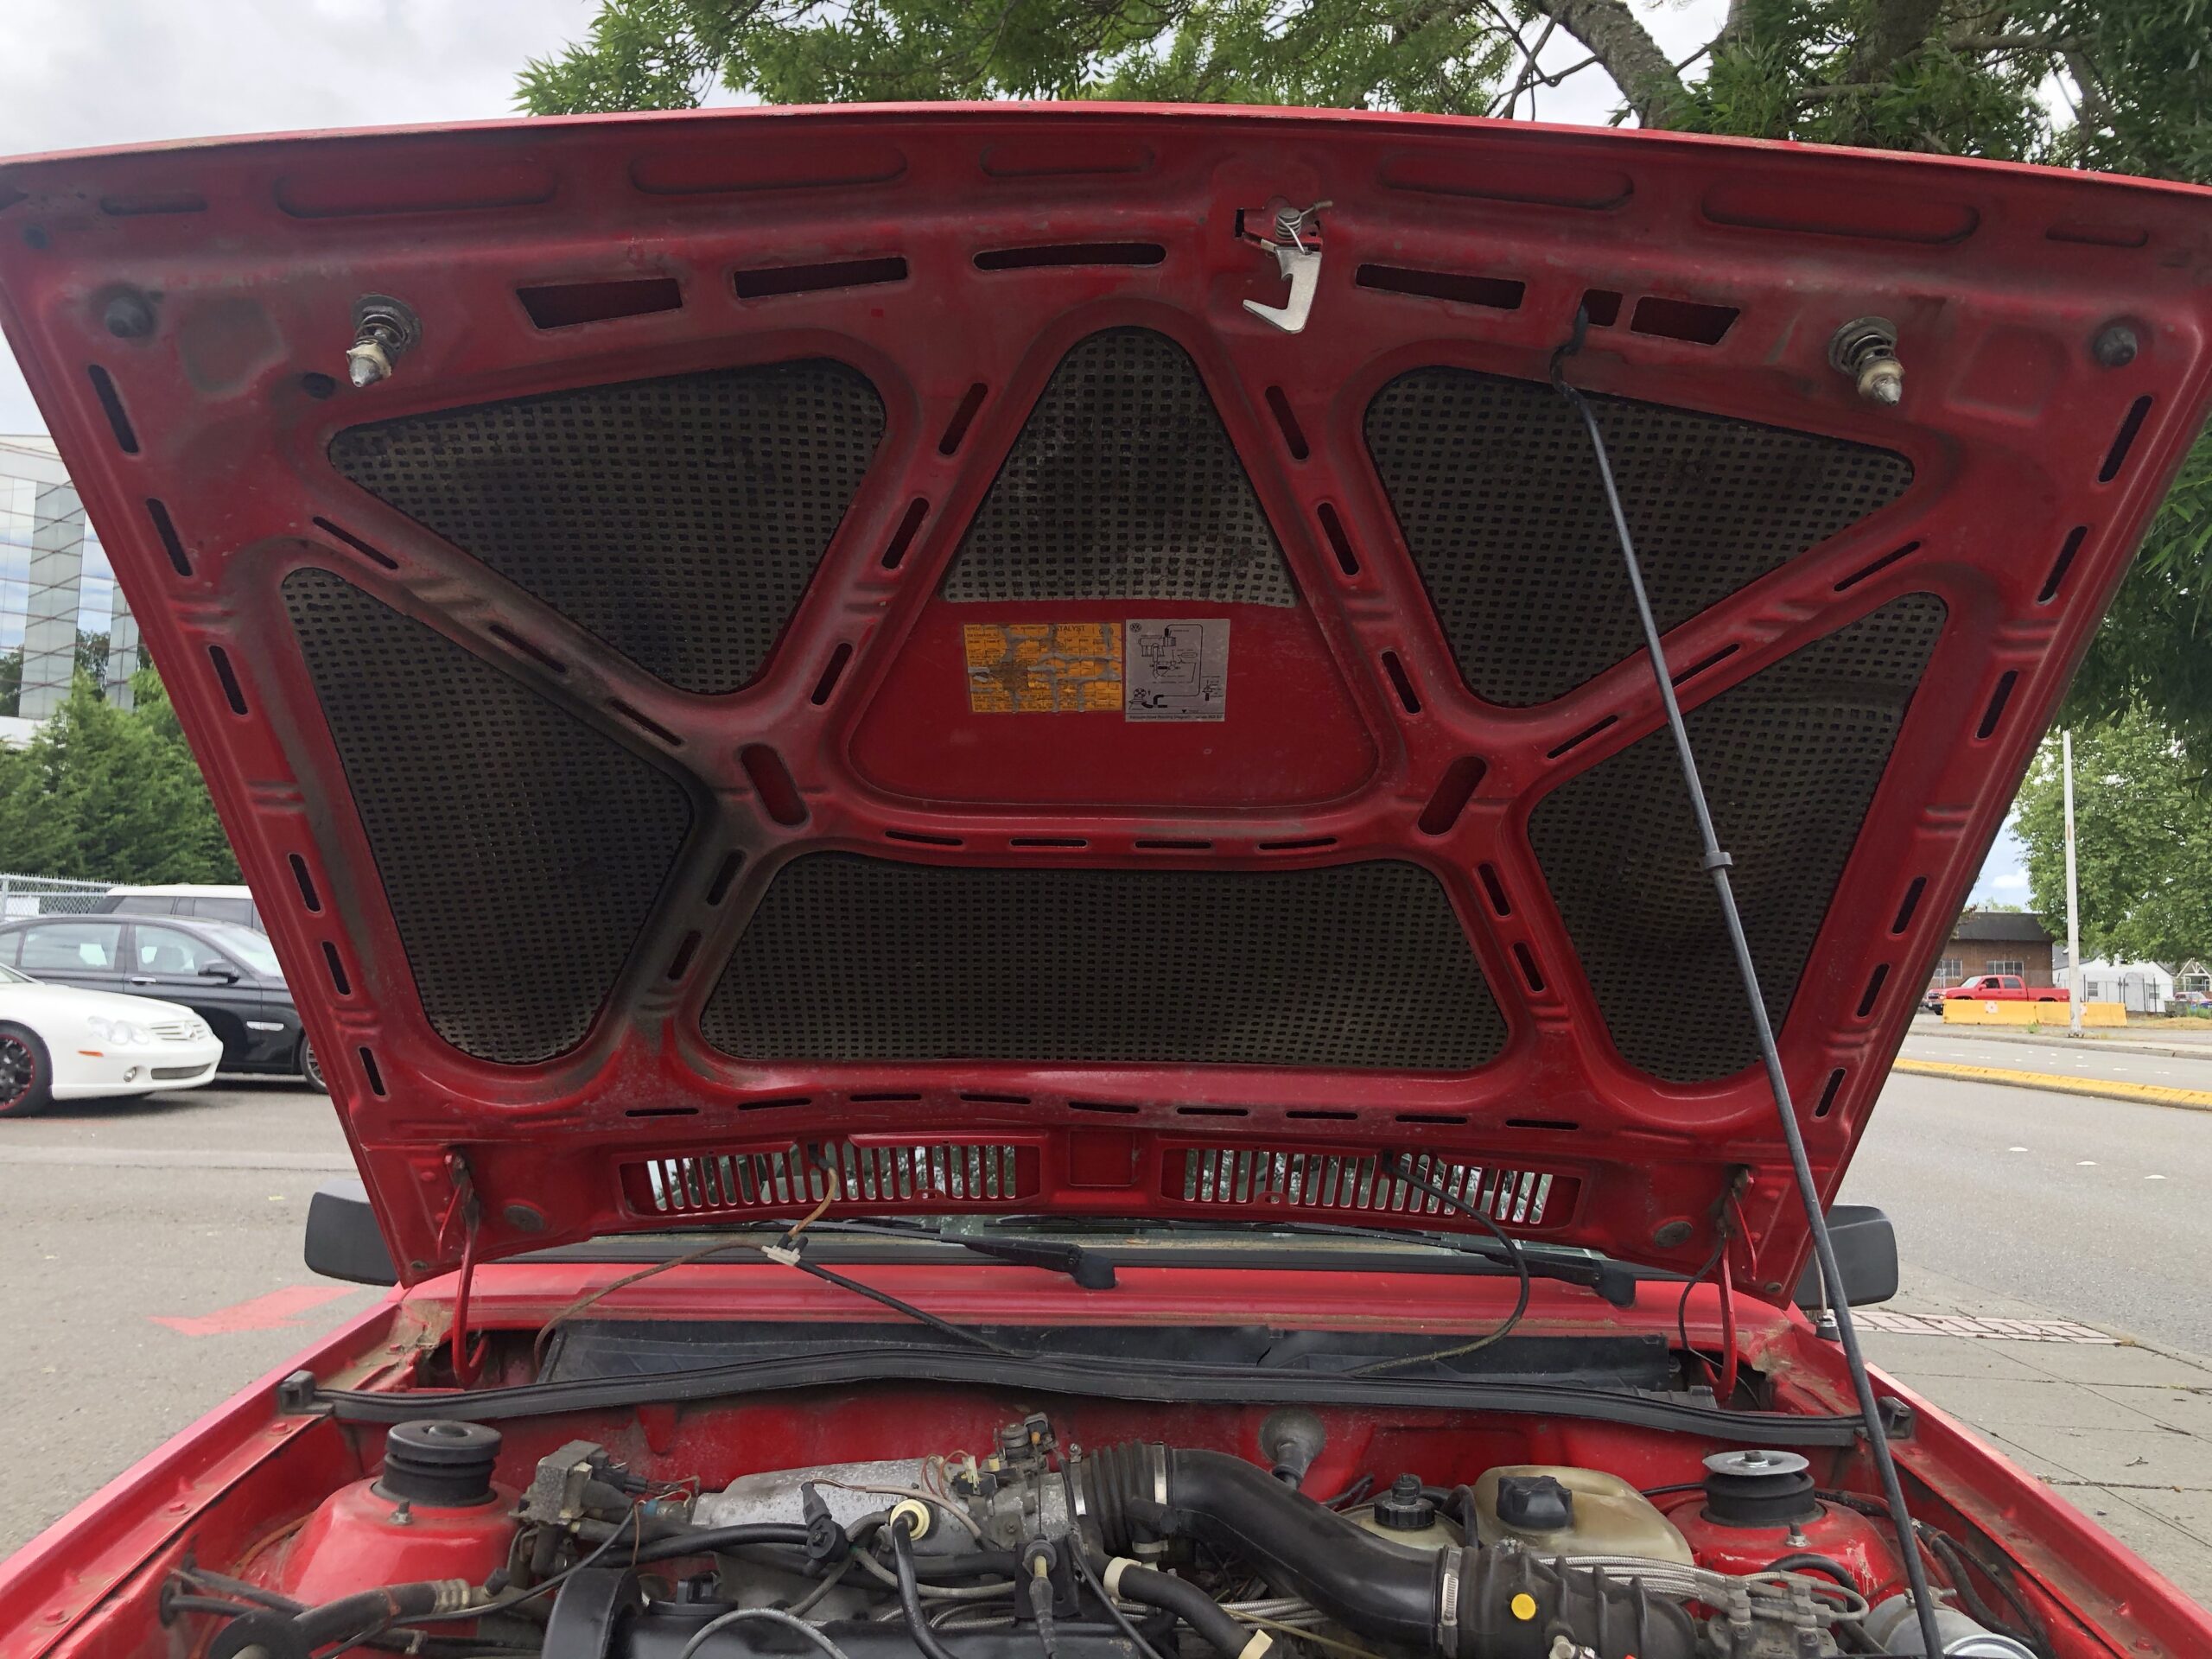
Last week we scored a 1989 8v Canadian Scirocco. We ran the VIN through Carfax and it looked like it was a well-maintained car. We bought it sight unseen at a decent price. We knew nothing about the car except for the fact that it was straight and looked fairly complete. The owner disclose the fact that it had a bad radiator and needed a battery.
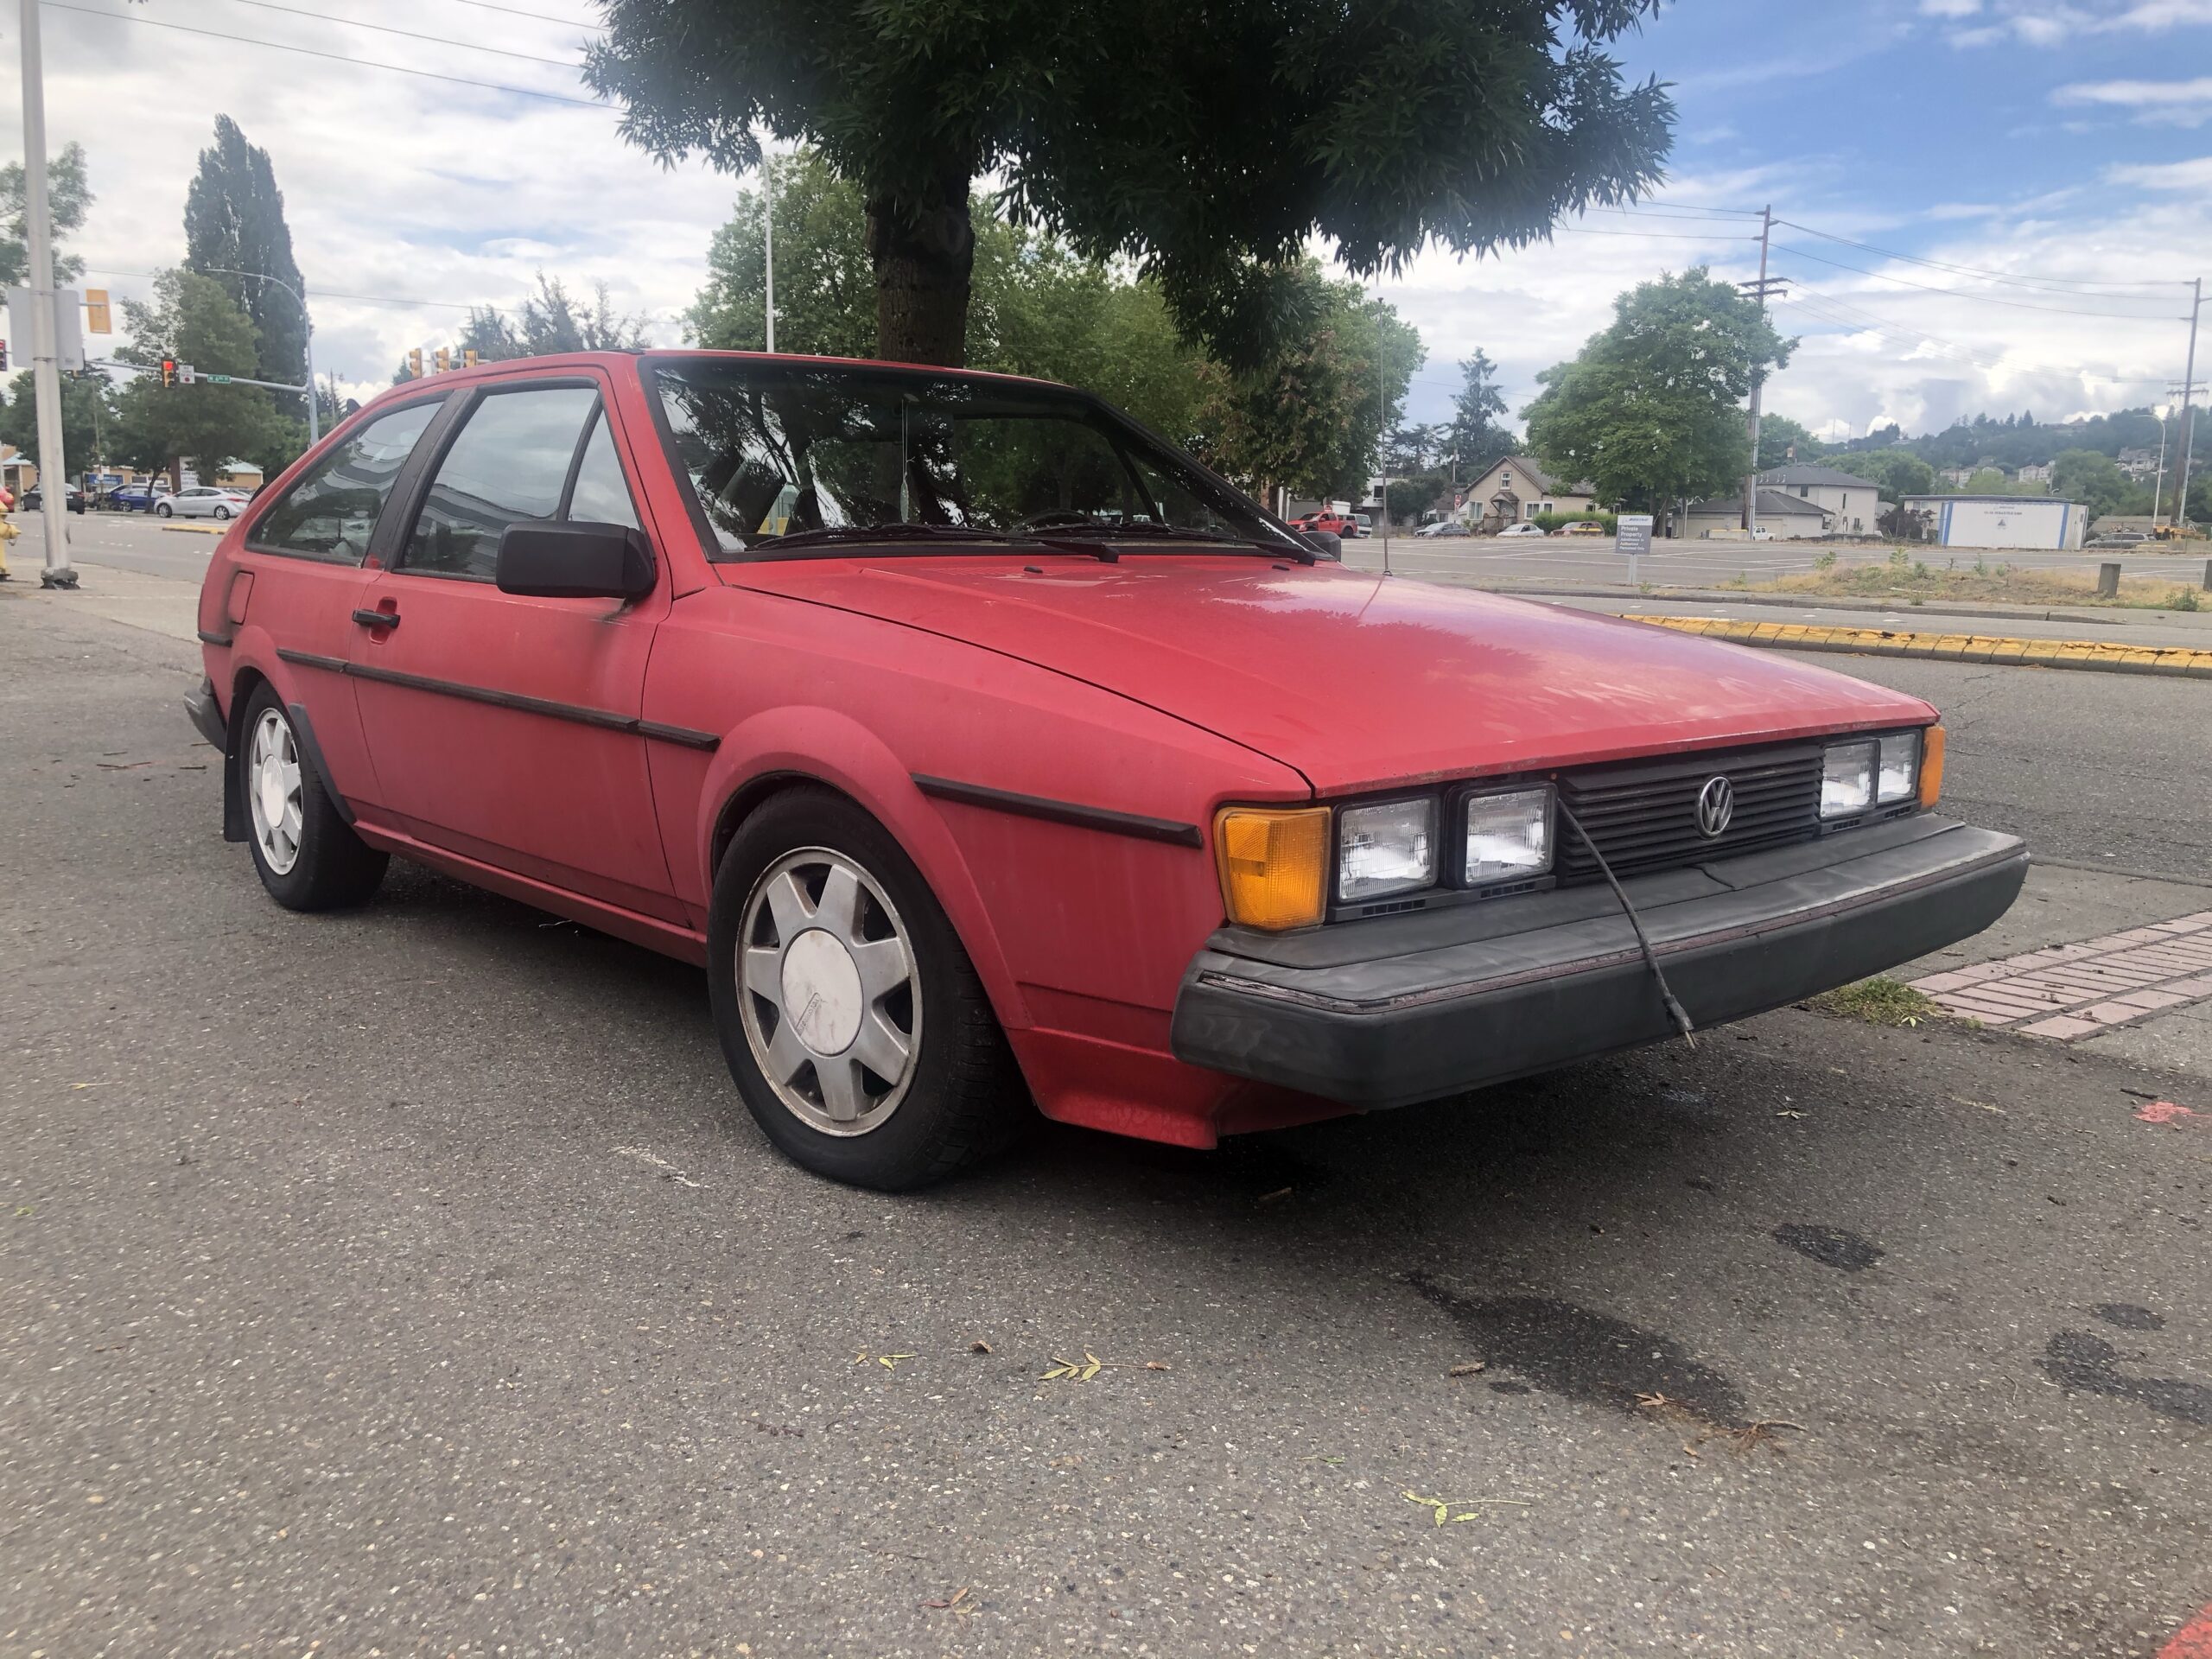
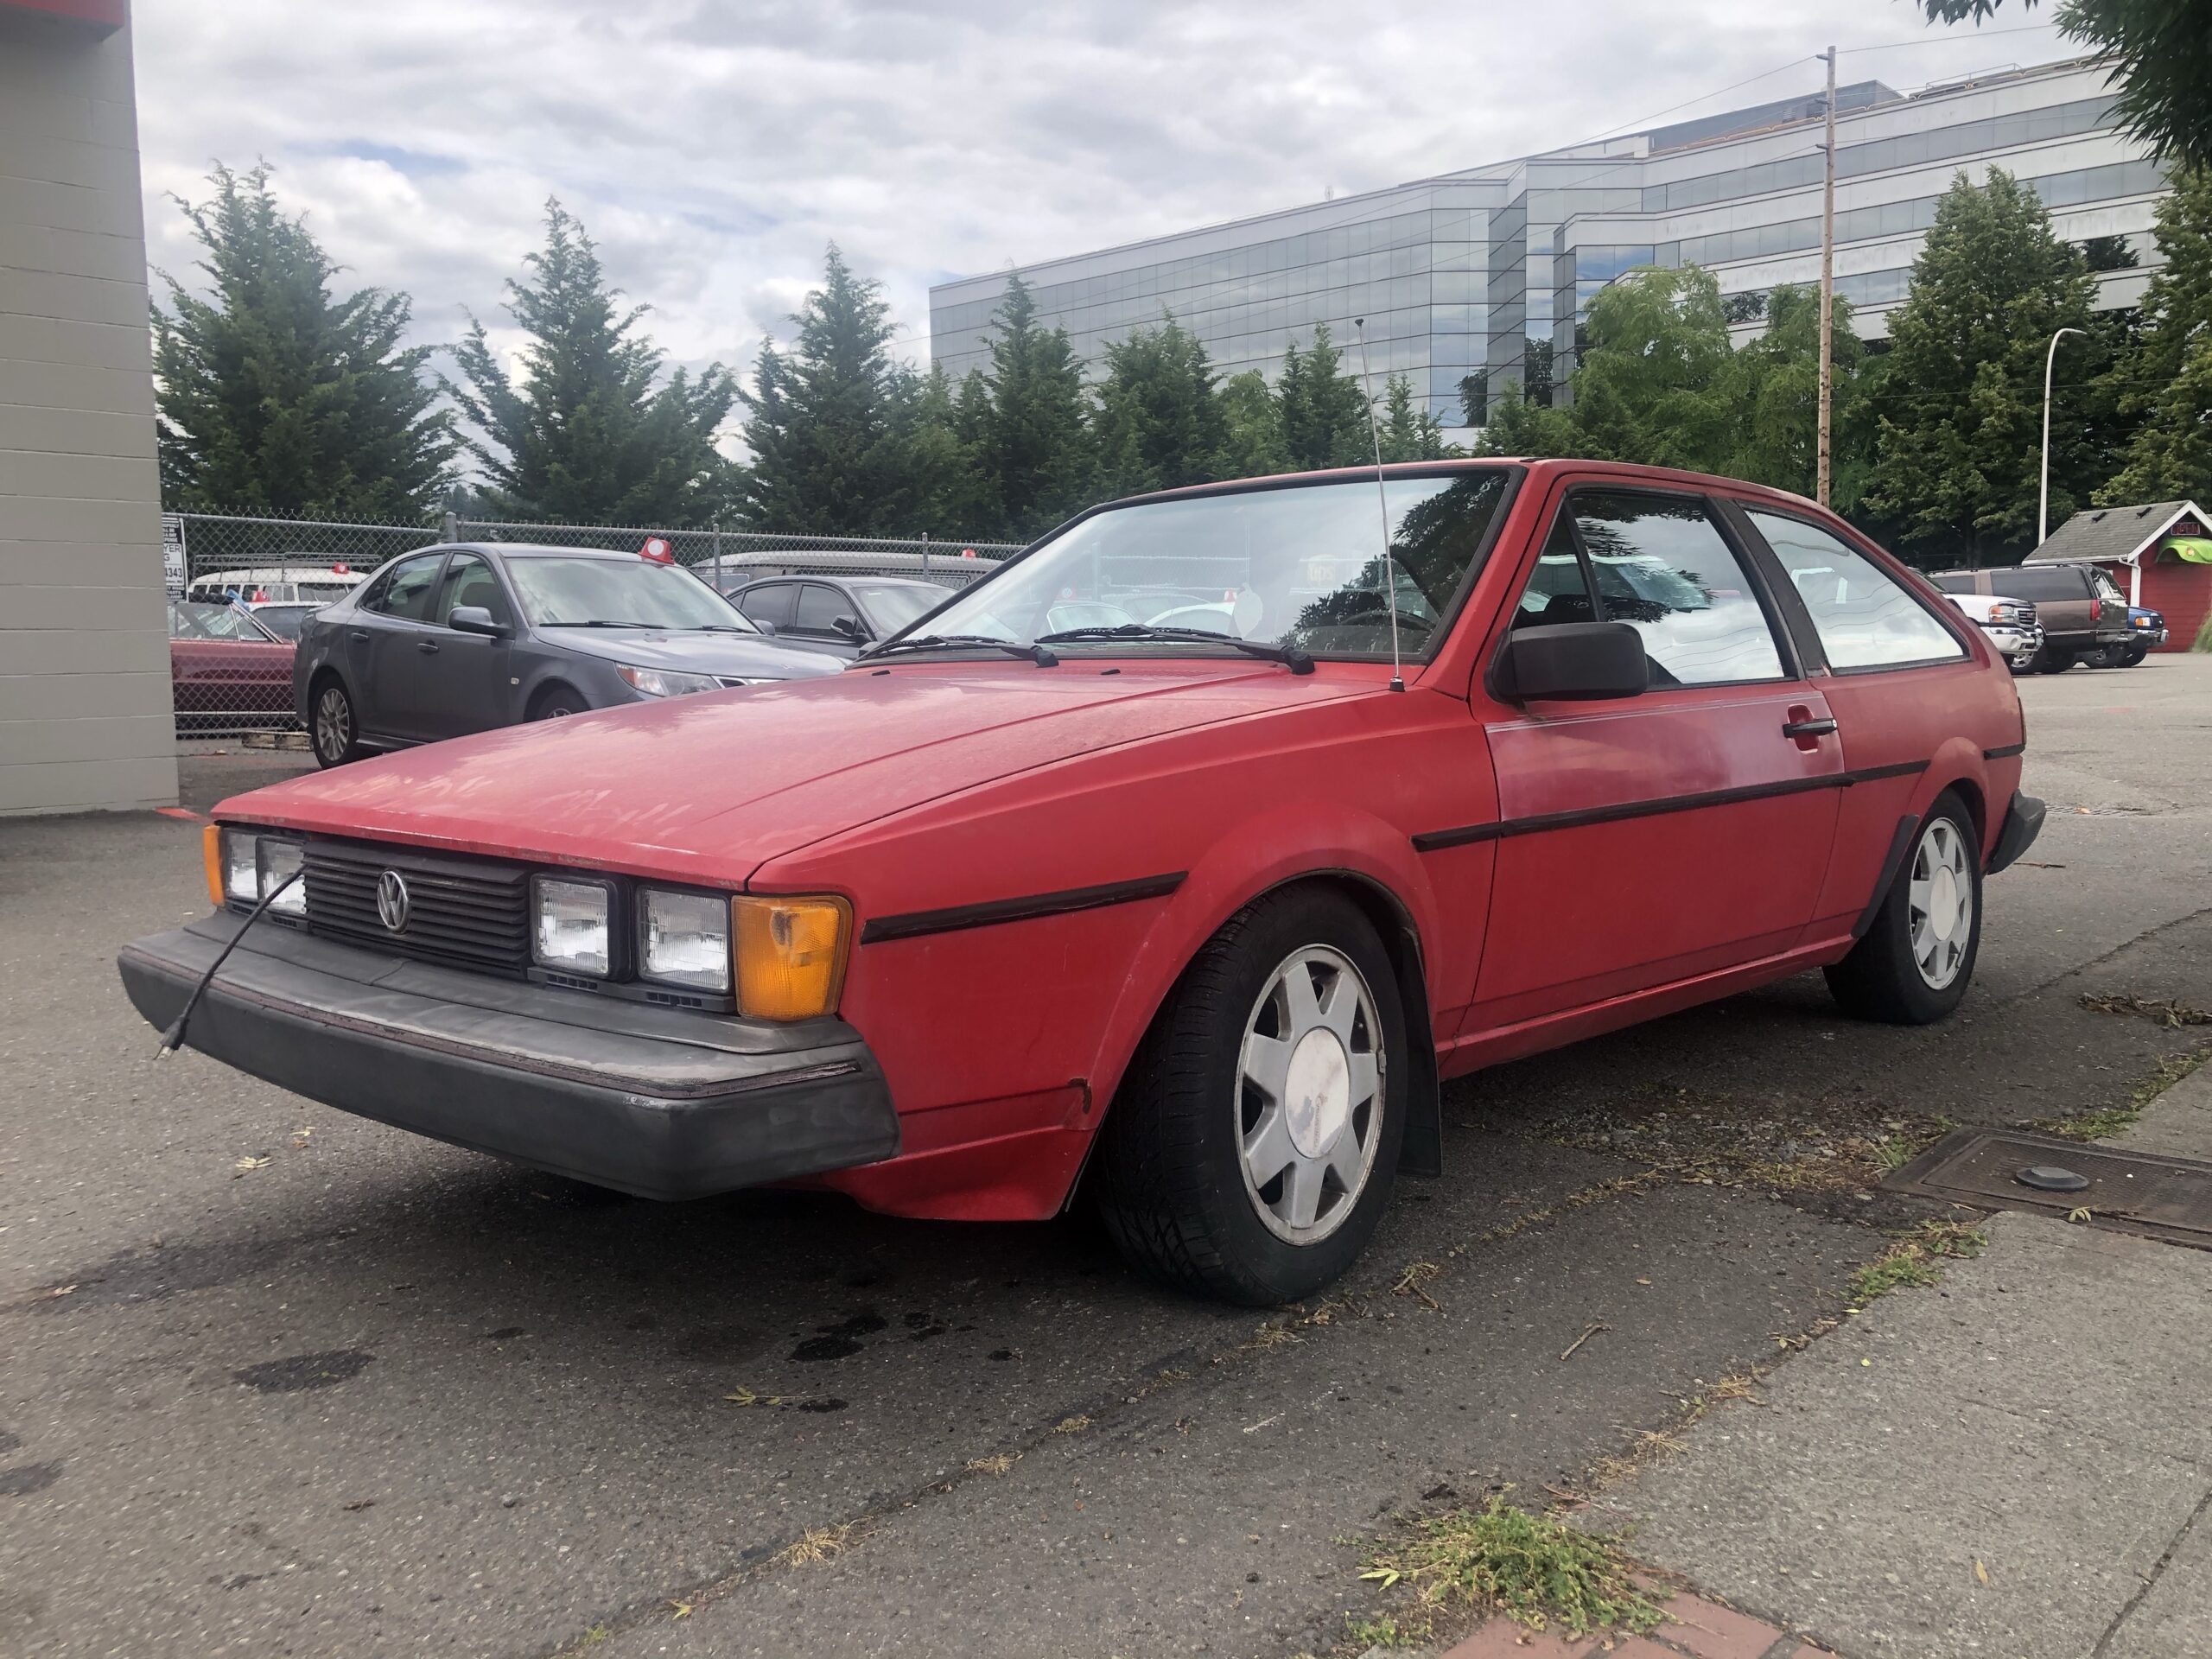
All the photos looked great so we made a offer and send a tow truck to pick it up. This is how it came in. See photos.
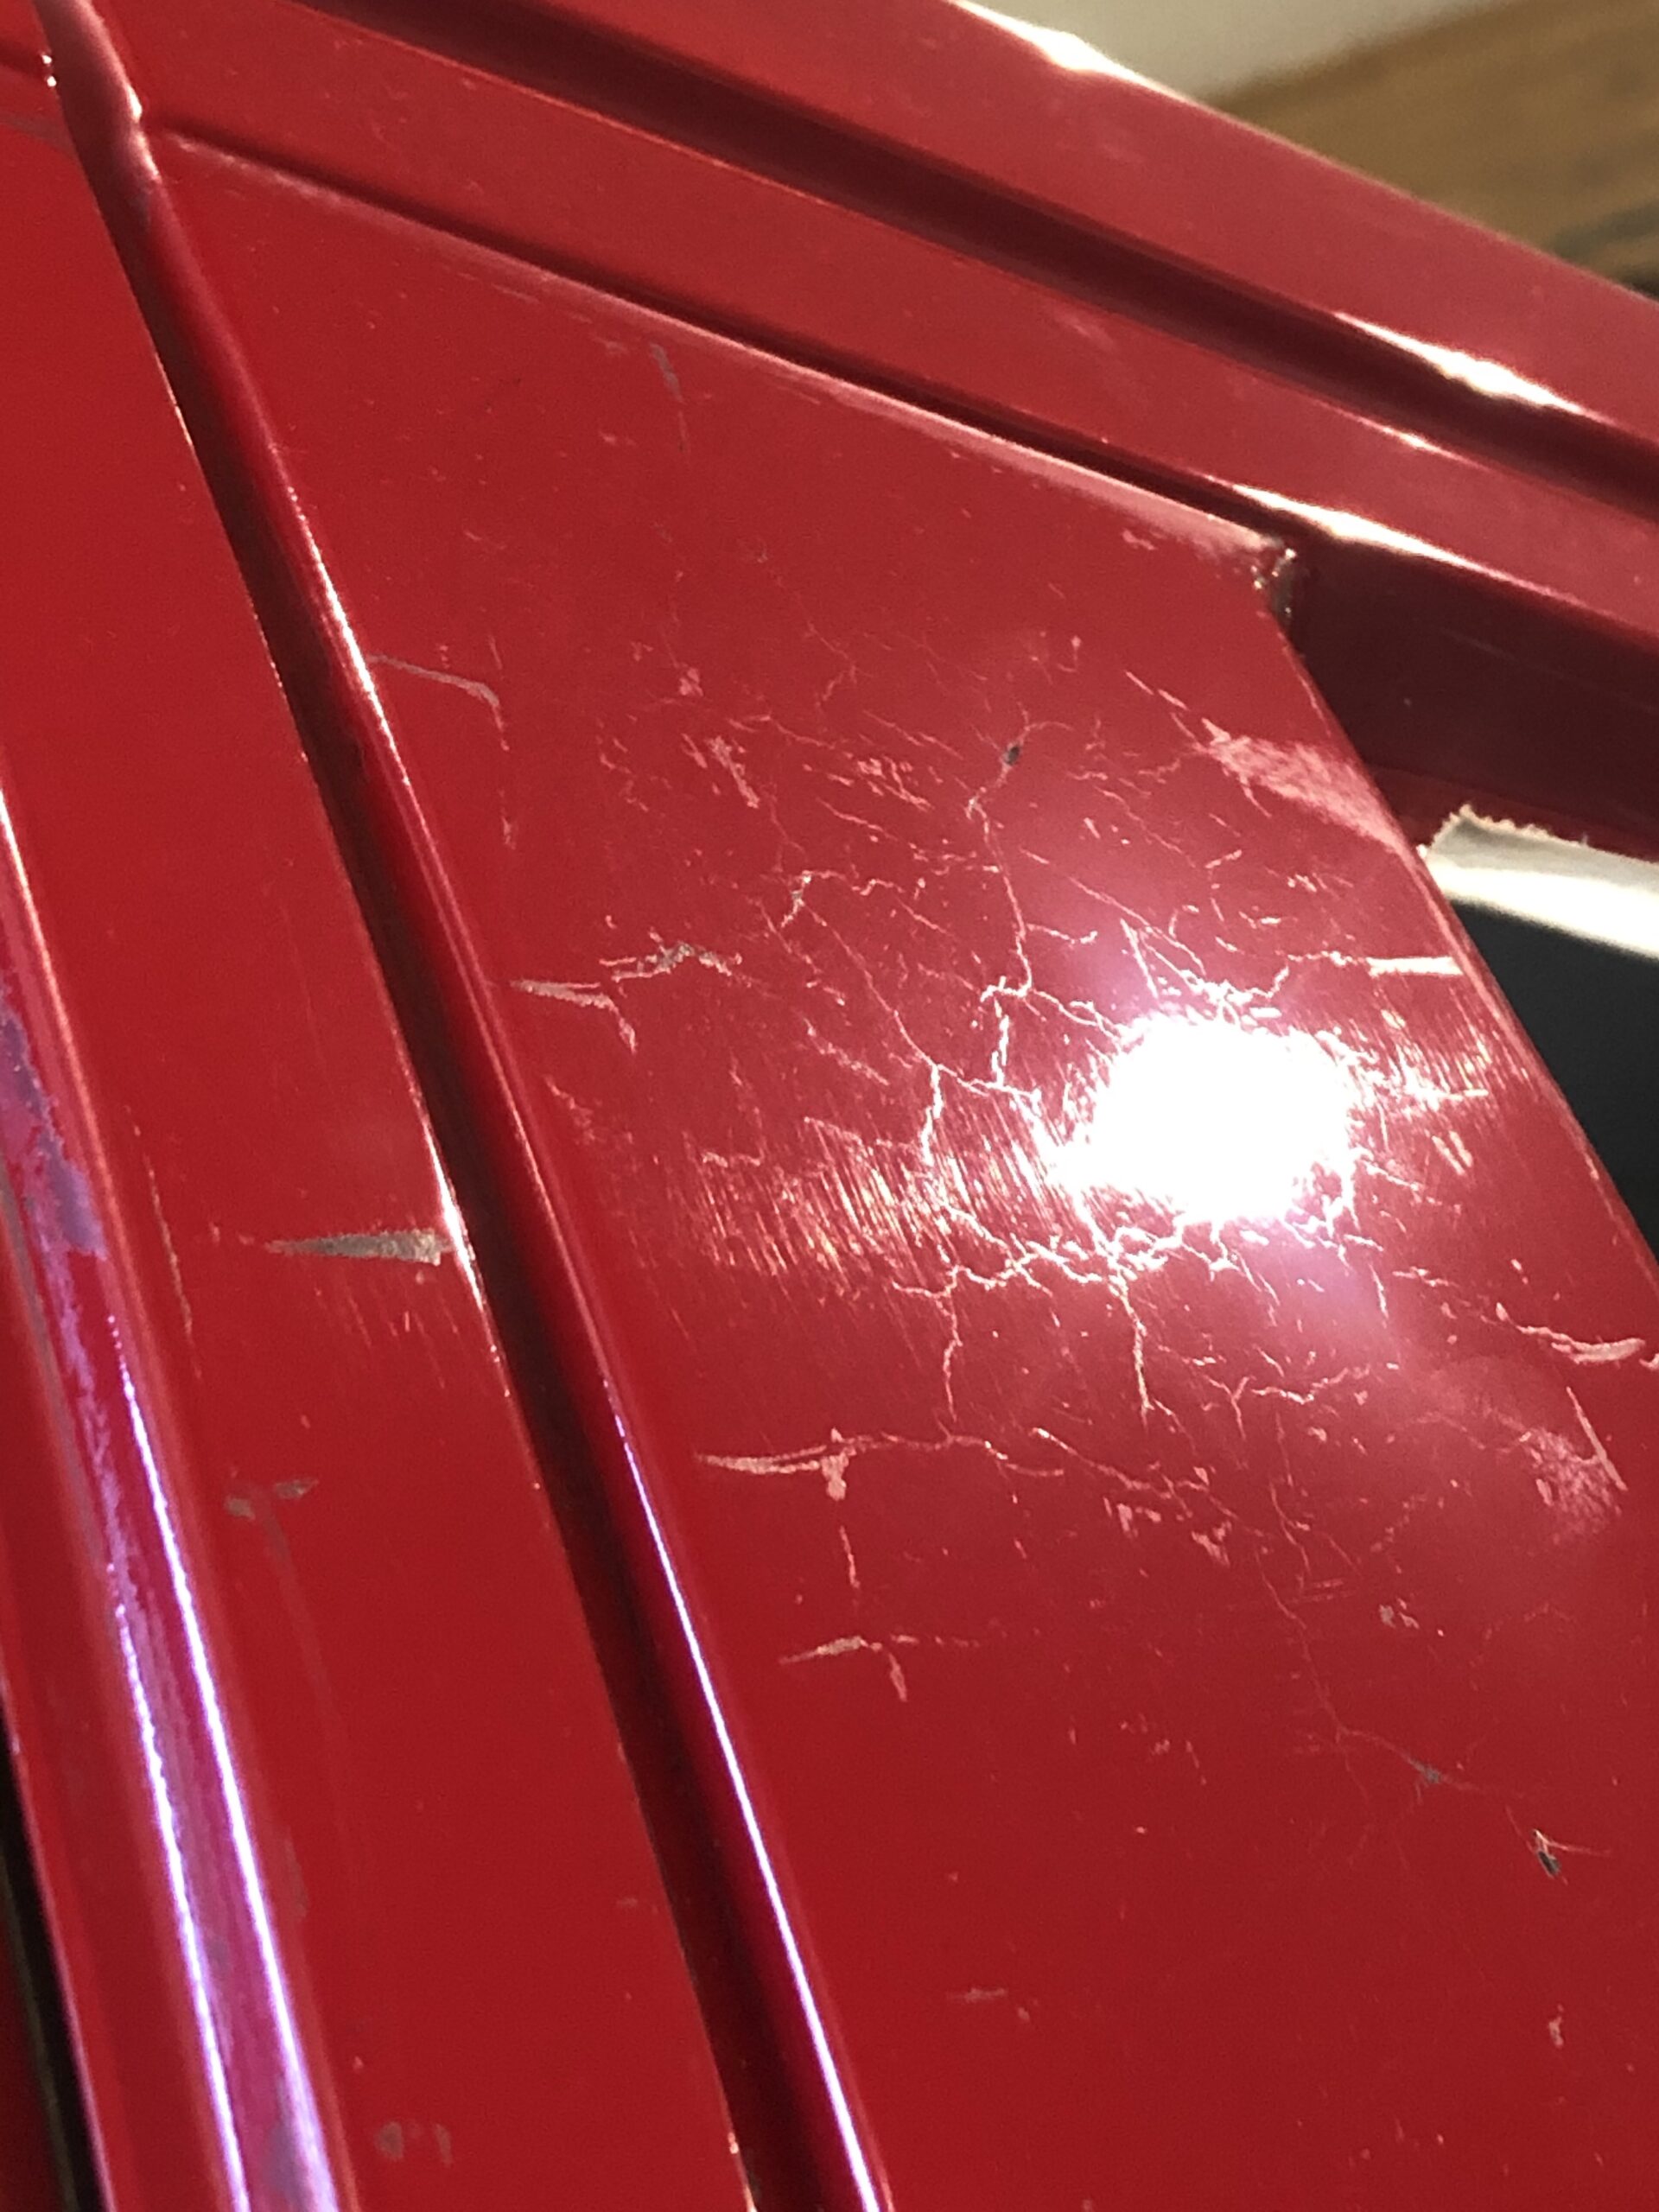
The paint was very oxidized. But after buffing a small section, we were pleasantly surprised that the paint looked so good.
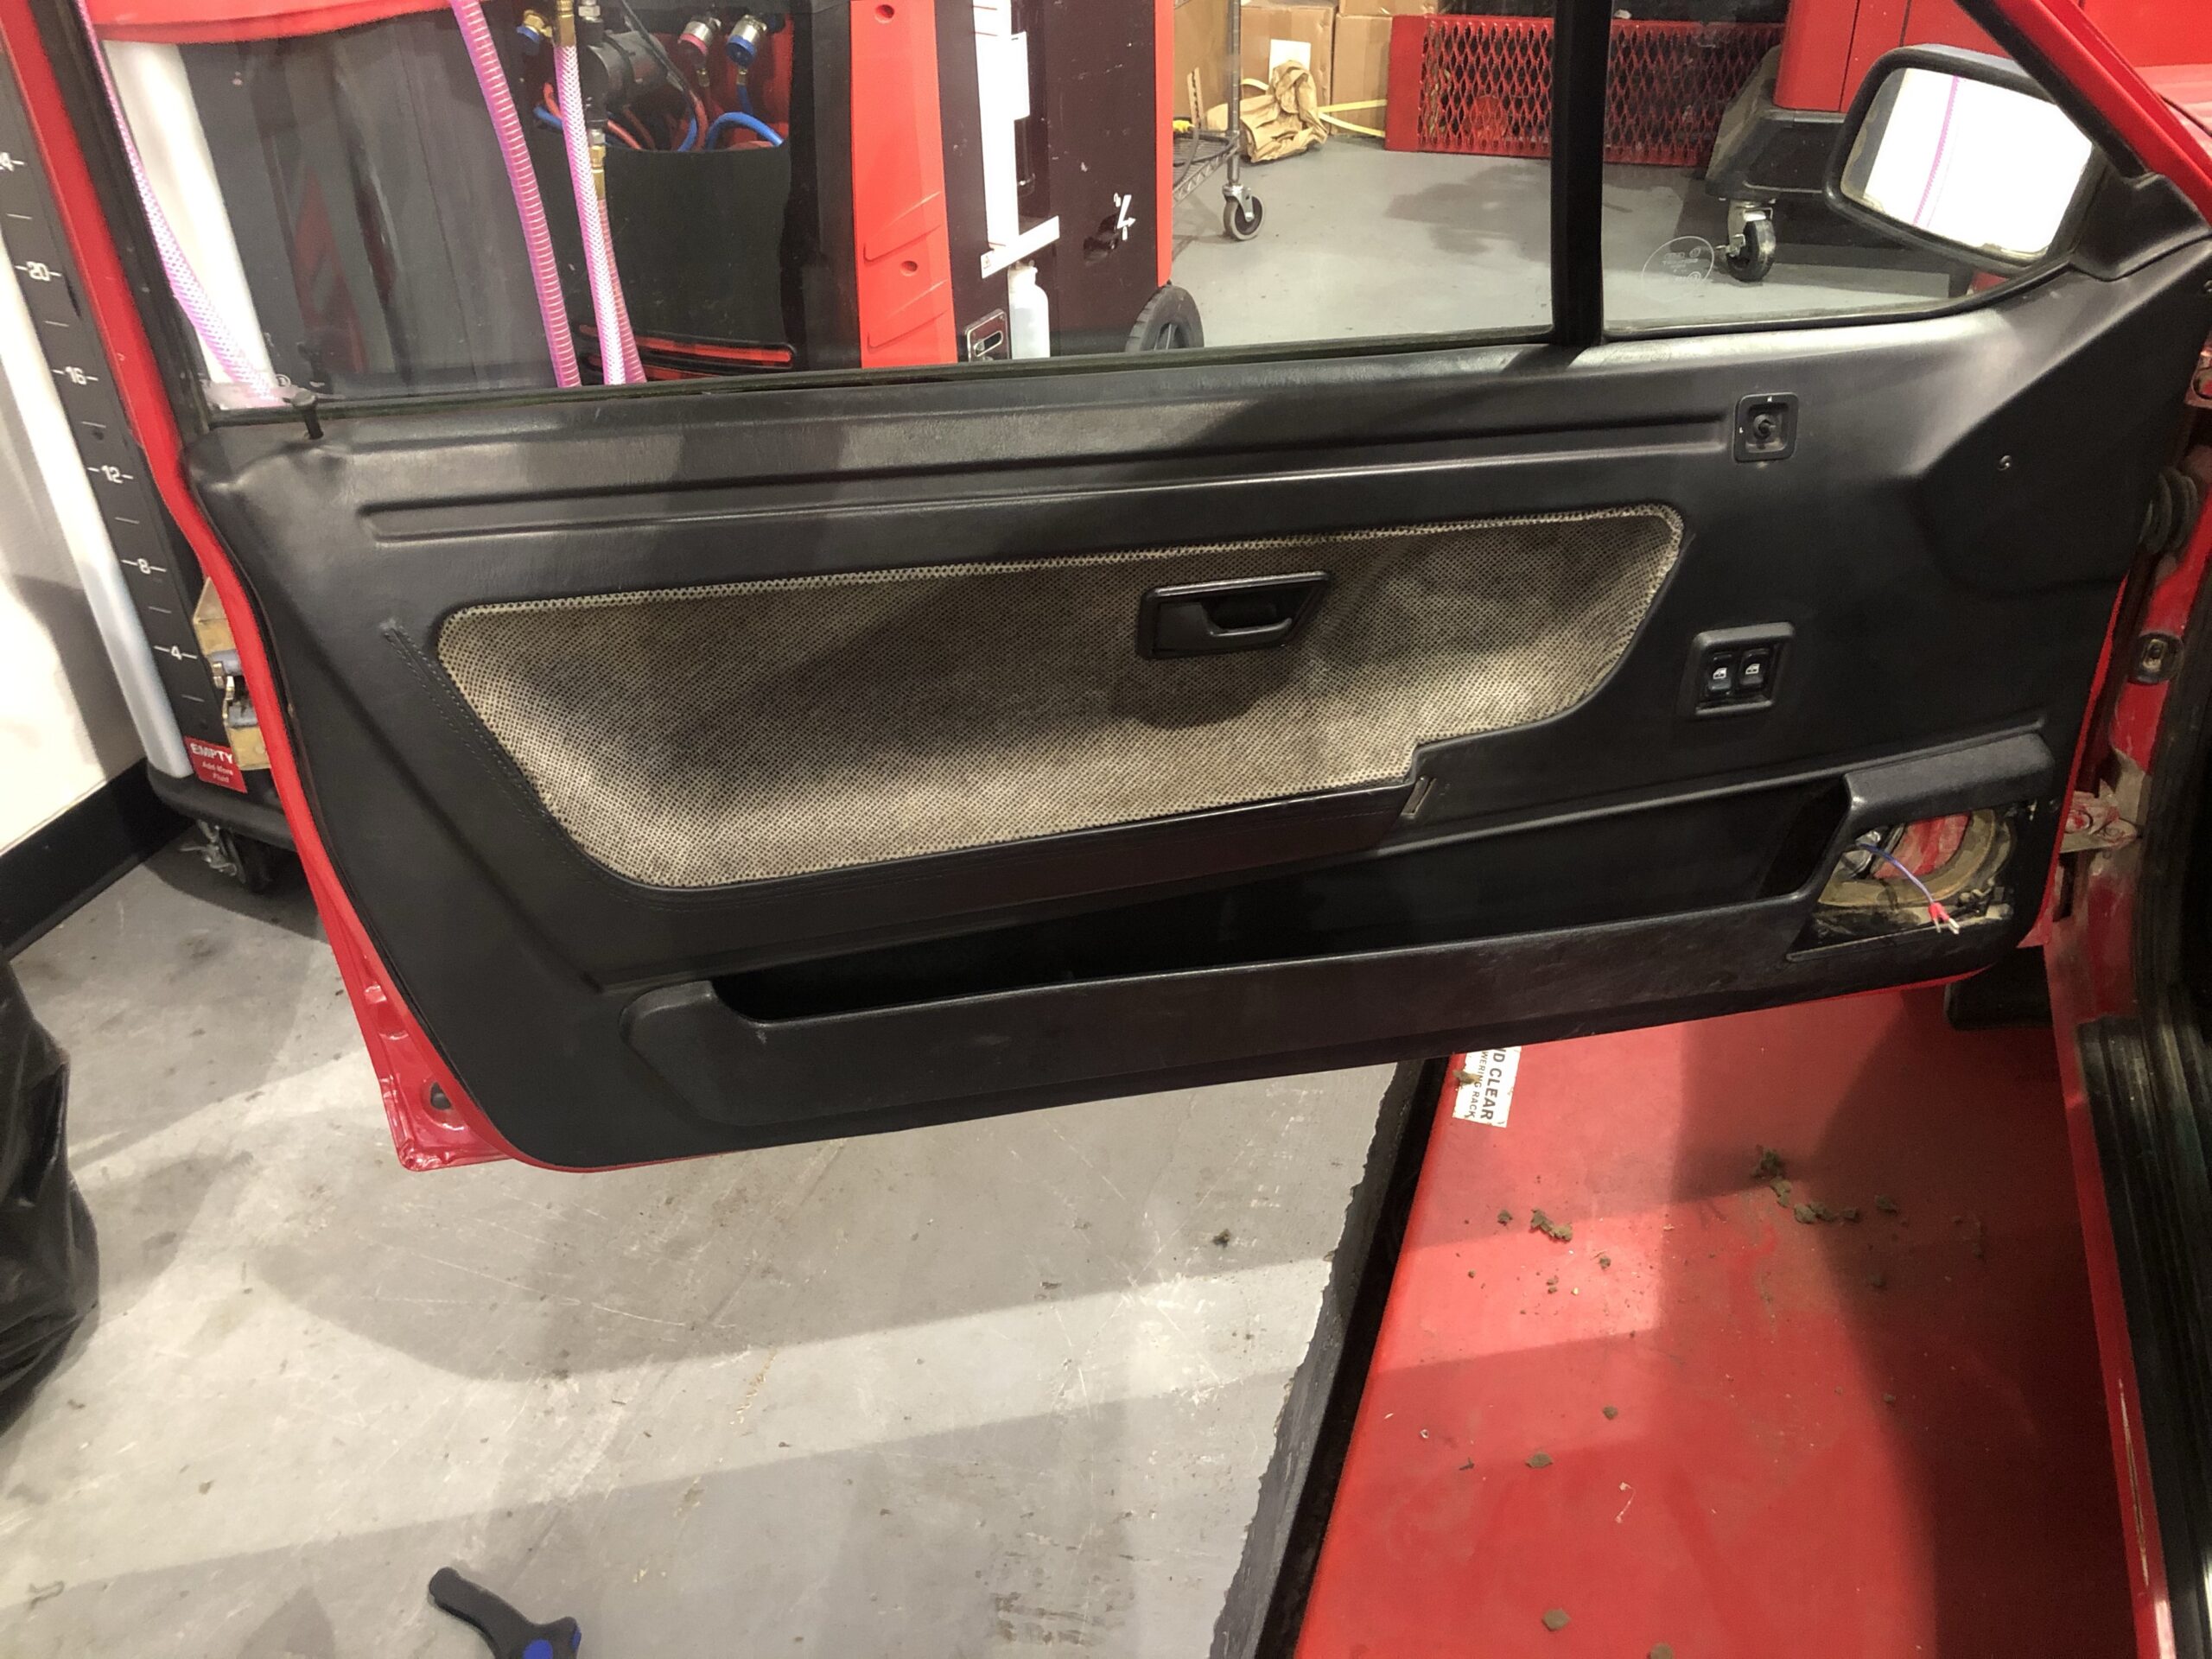
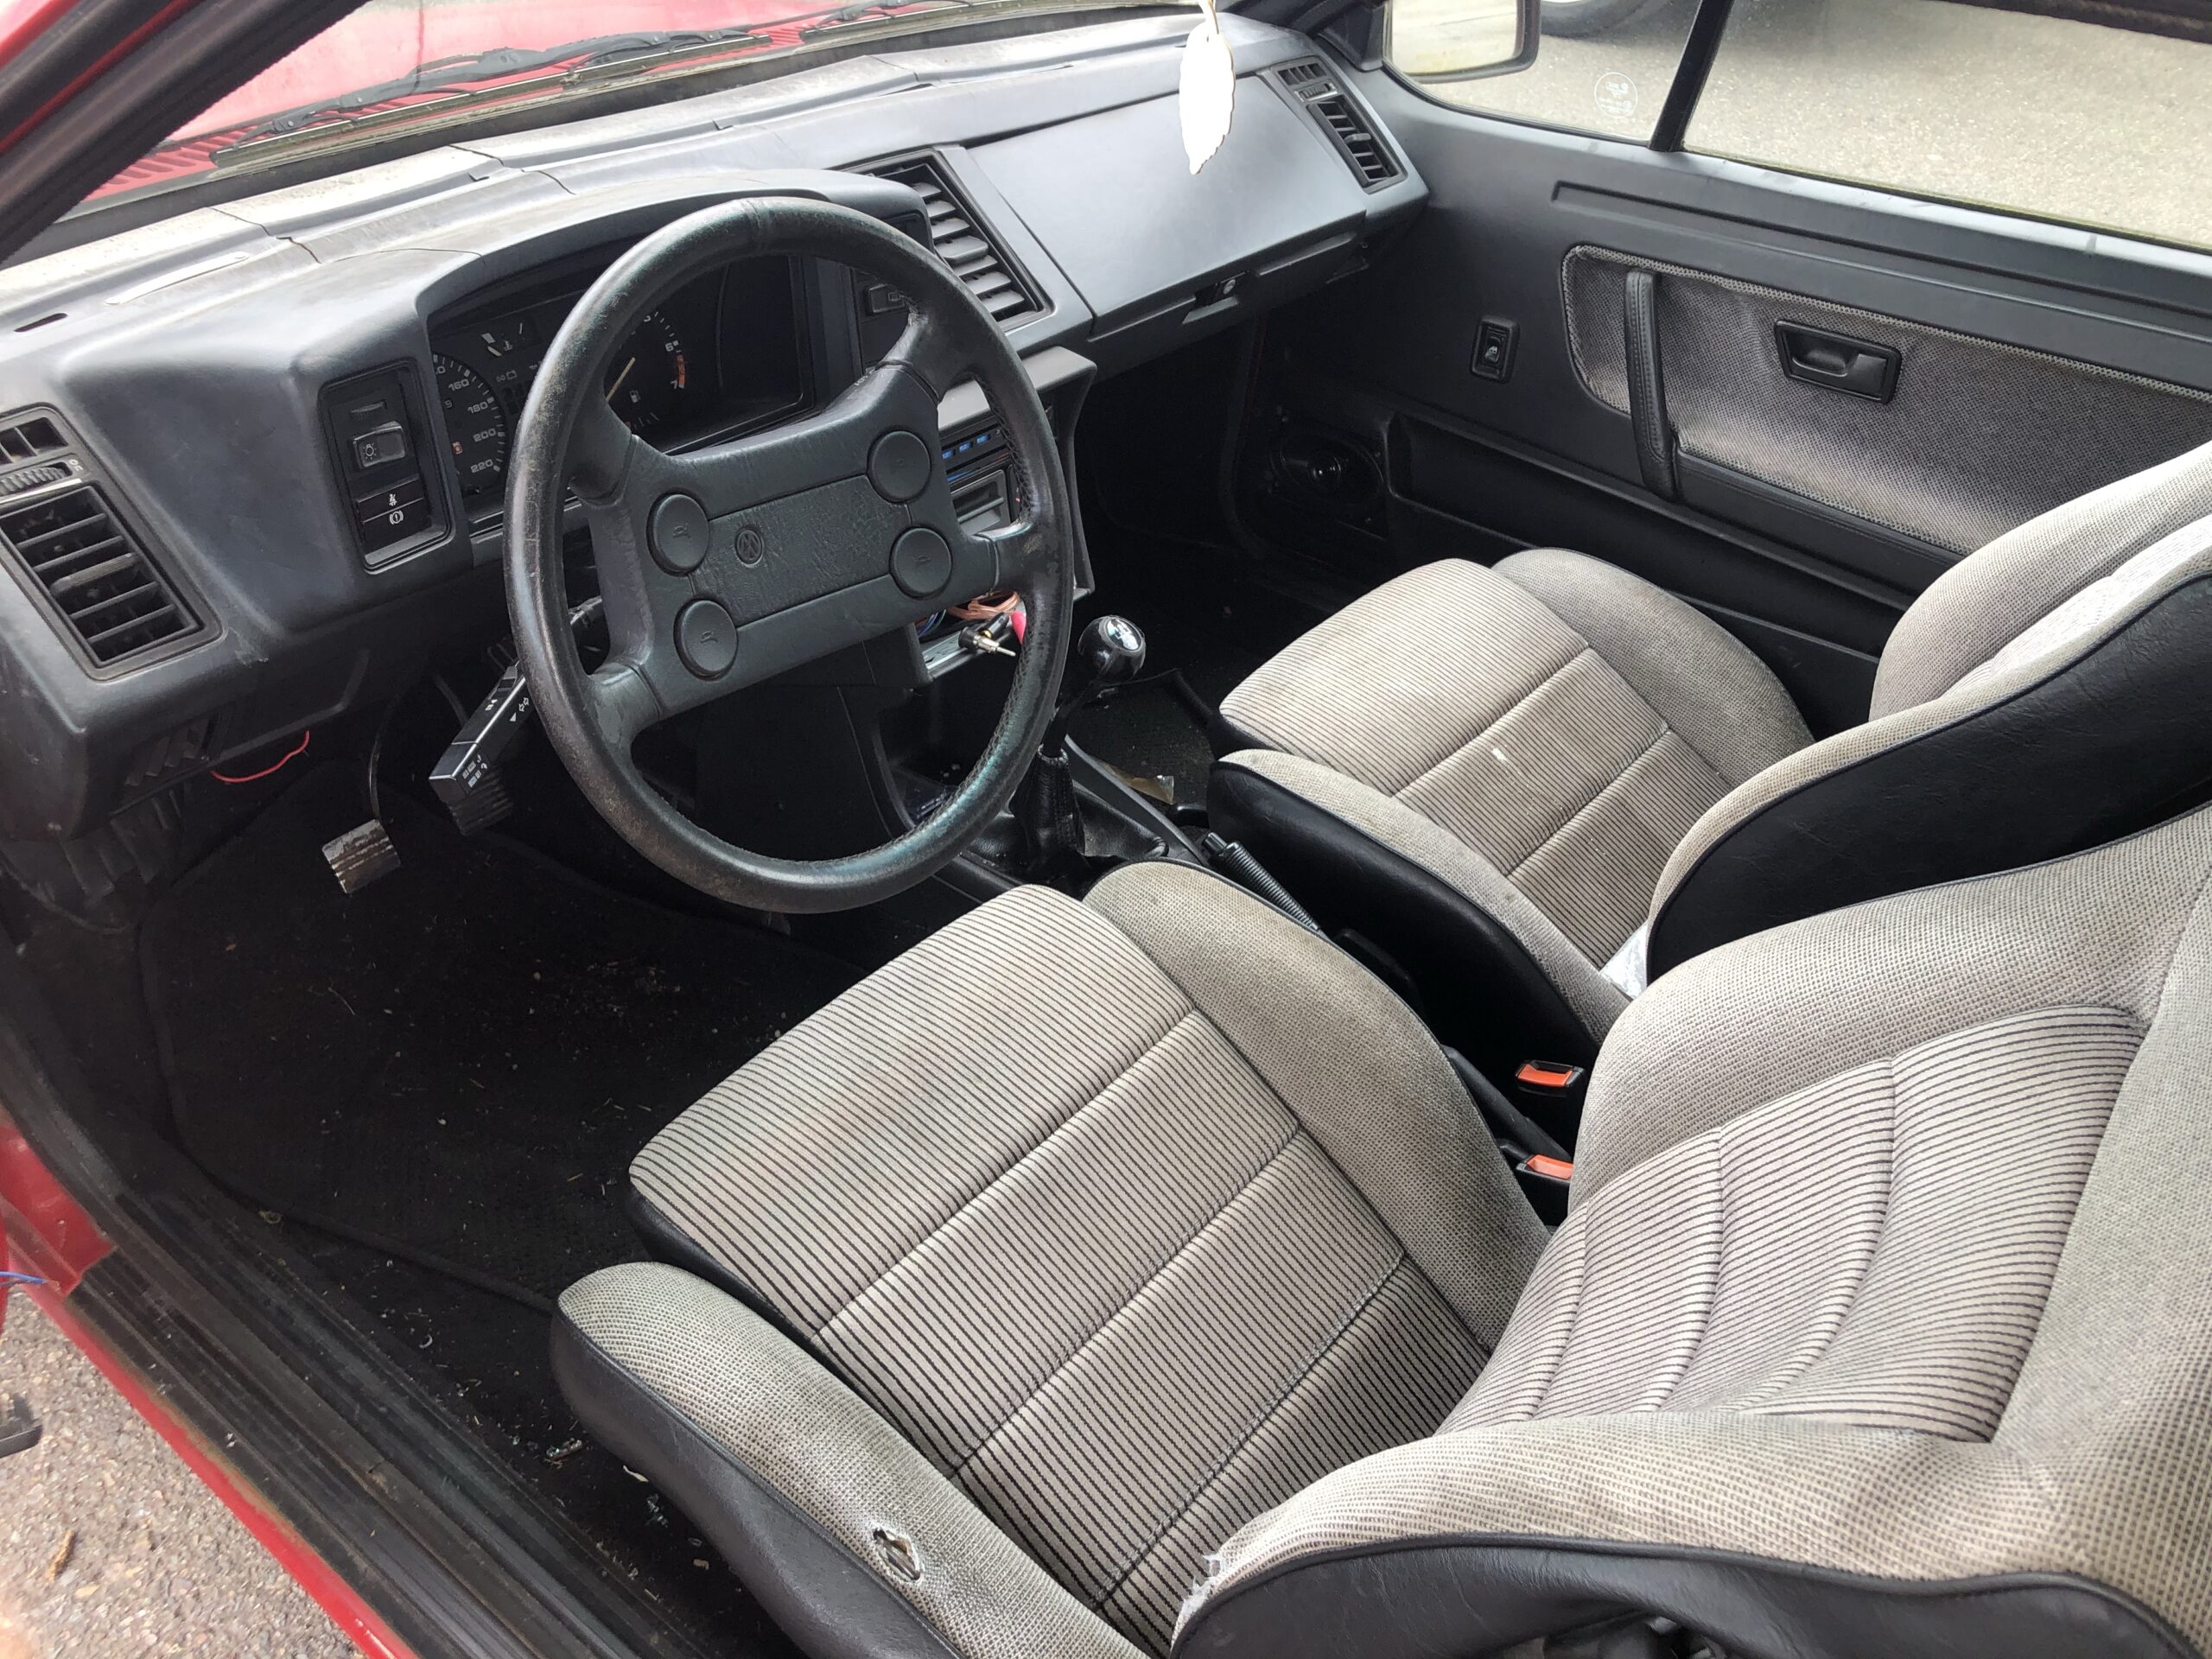
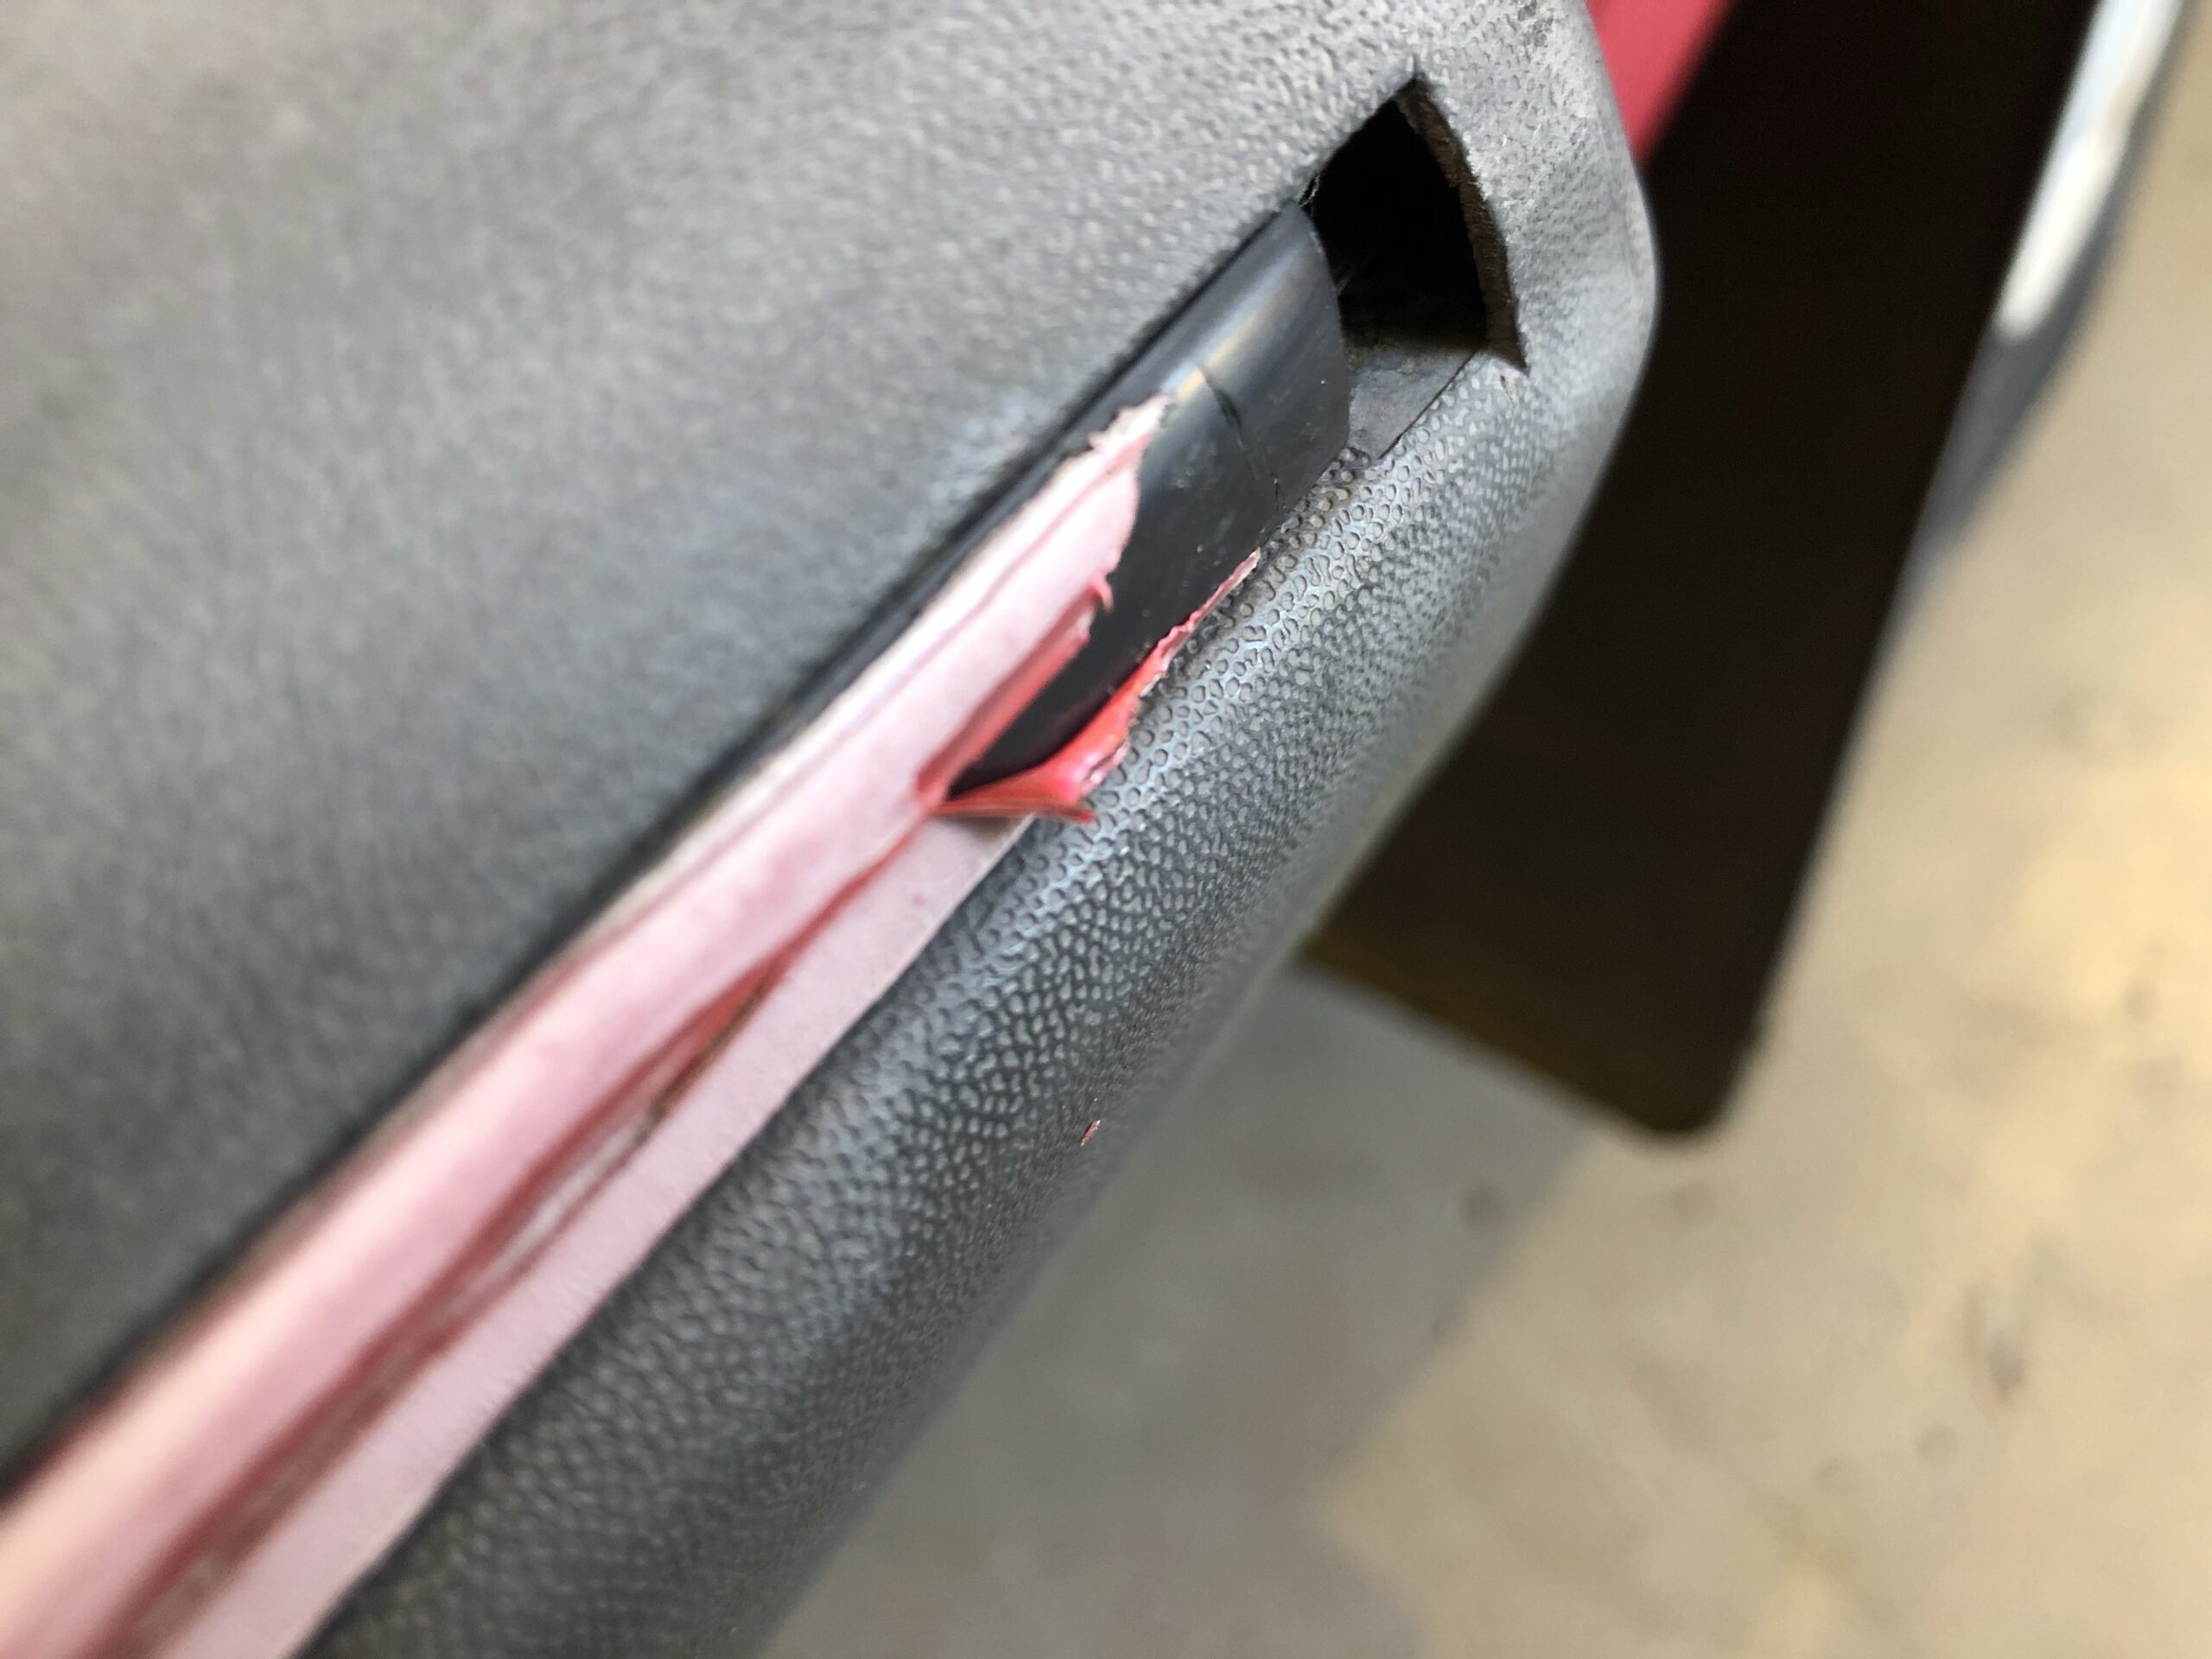
It was missing a driver side door card, window switch and the wiring was disconnected. Luckily most of the stuff was easily fixable and the hardest part of this car will be bringing the paint back to life.
Stay tuned for more updates on this project as a progress.
The Canada Rocc Project Part 1: Rescuing a 1989 Mk2 Scirocco
Starting a new restoration project often begins with a bit of a gamble. At WestCoastRoccos, we recently took that leap by acquiring a 1989 8v Canadian Scirocco. After running a Carfax and verifying its maintenance history, we purchased the vehicle sight unseen. While buying a car without a physical inspection carries risks, the potential for a “straight and complete” shell was too good to pass up. Consequently, the “Canada Rocc Part 1” has officially entered our shop to begin its journey back to perfection.
Assessing the Initial Condition
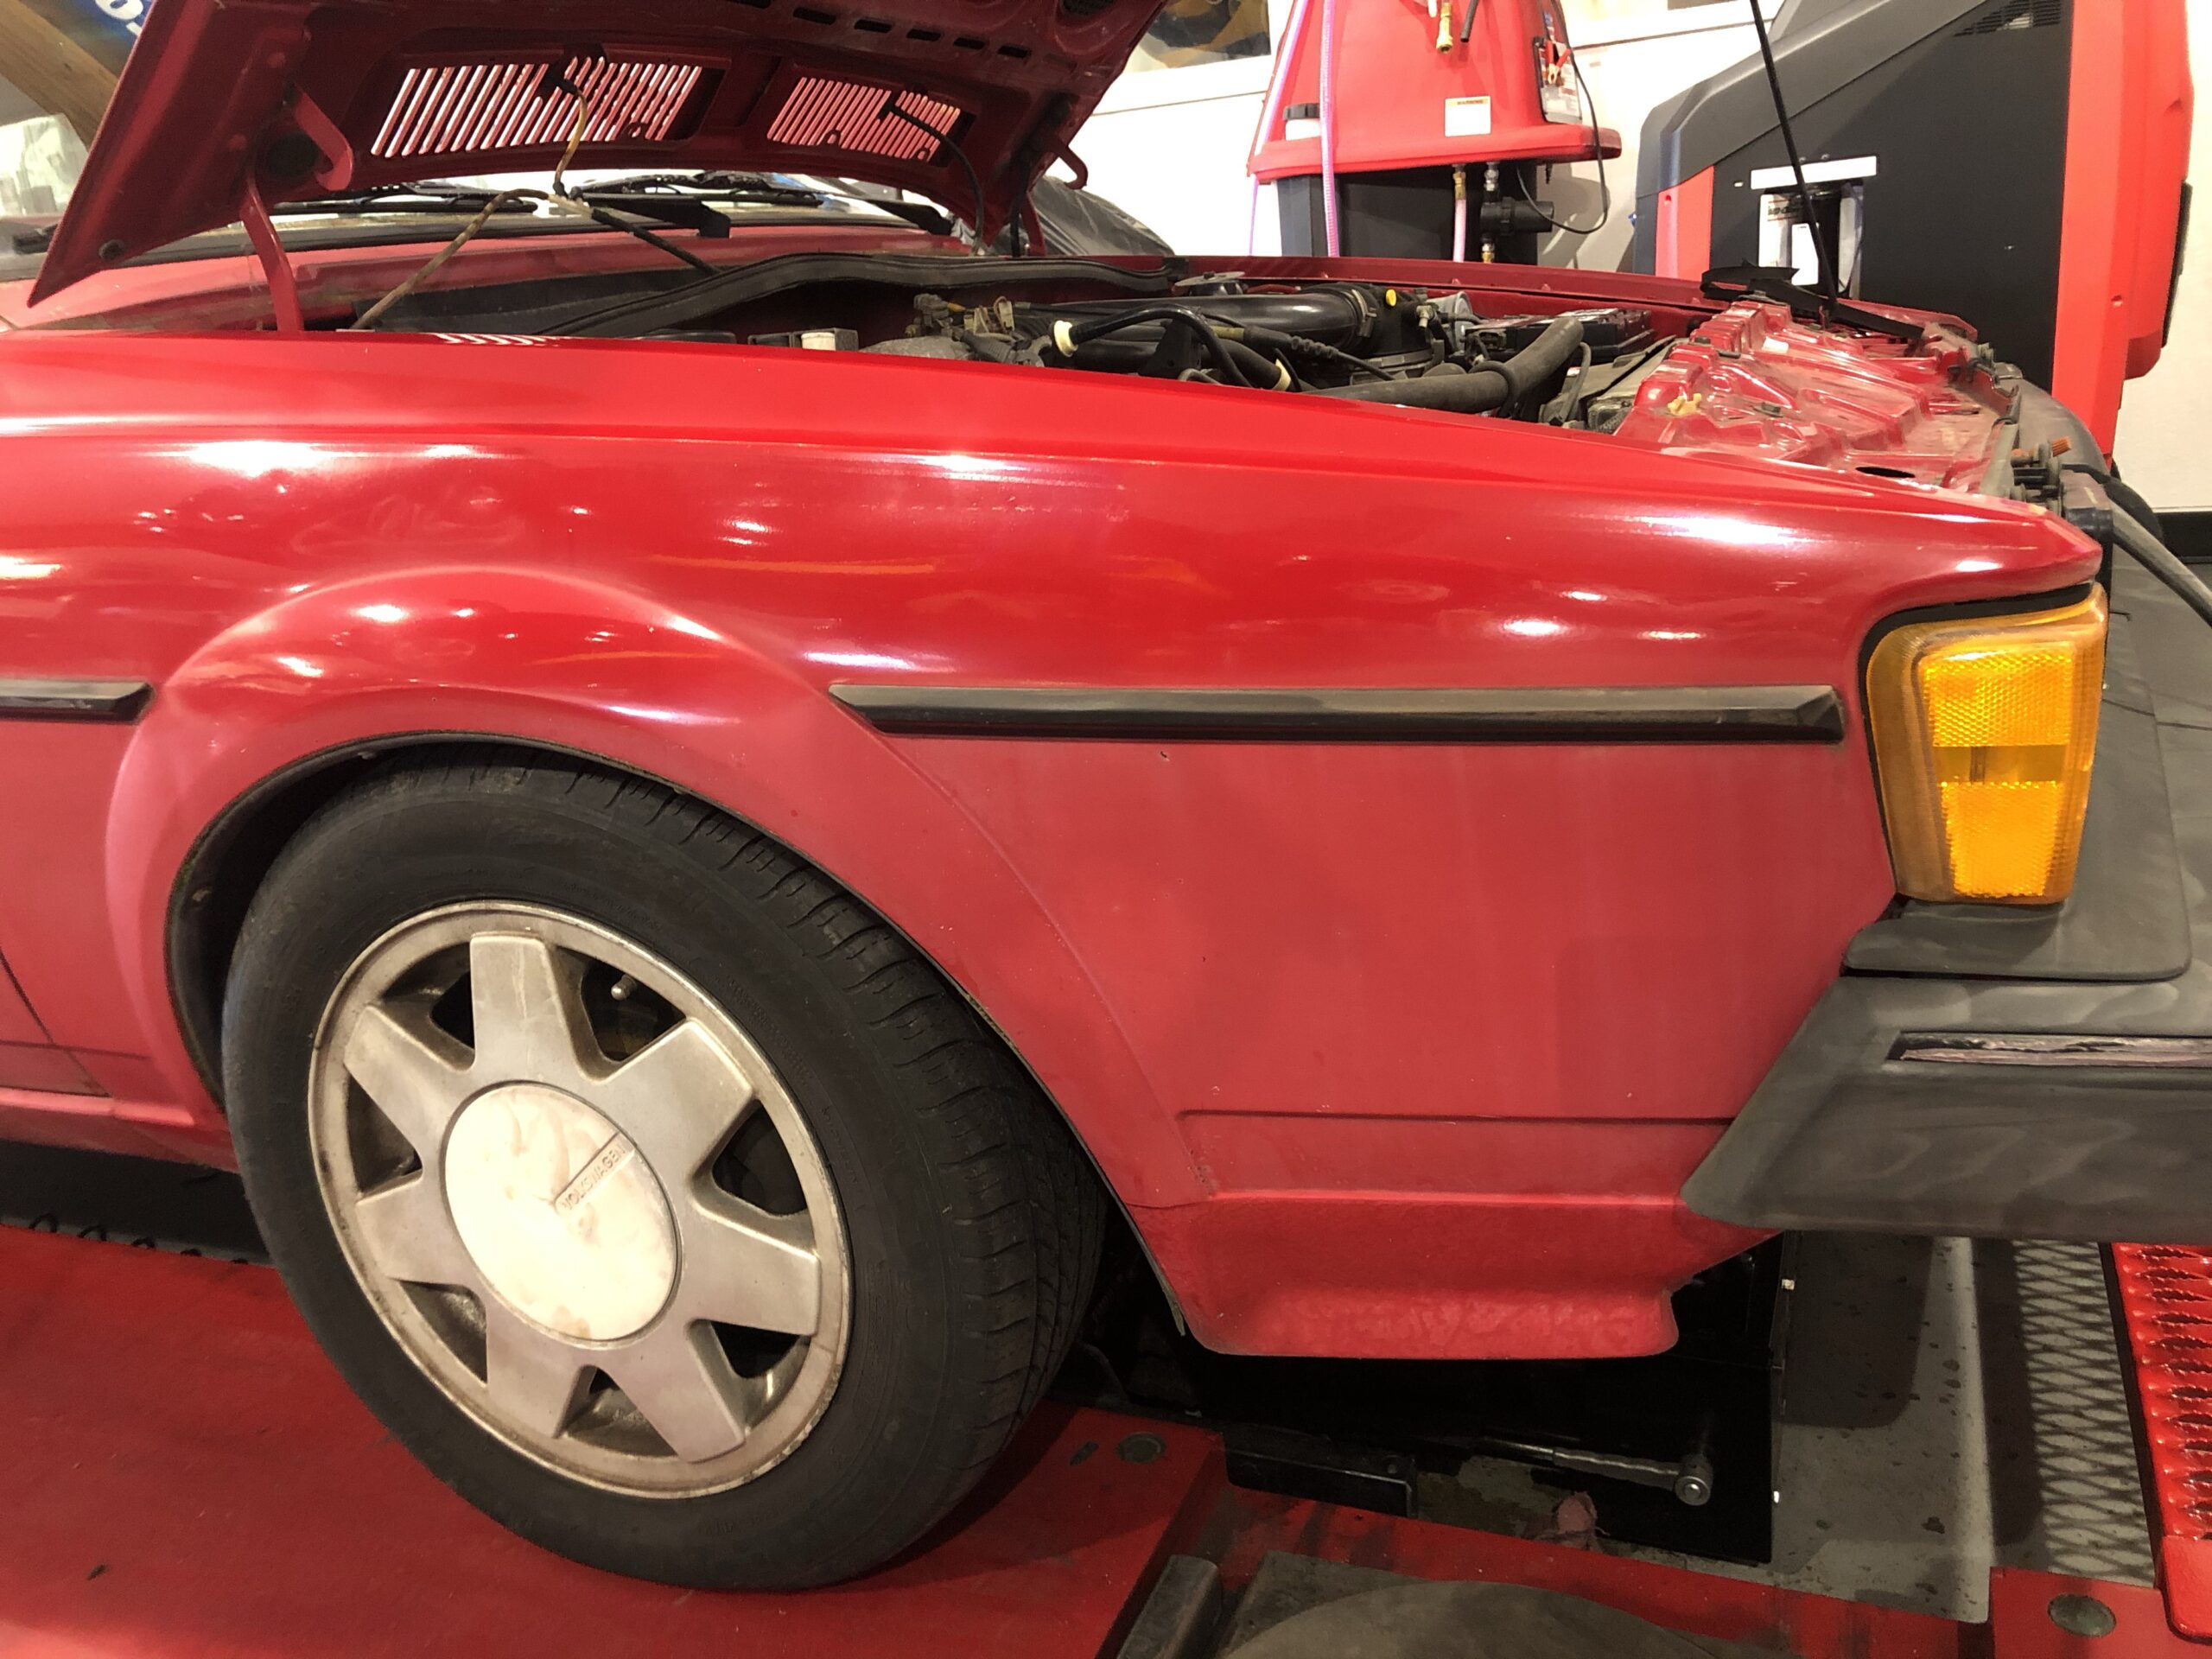
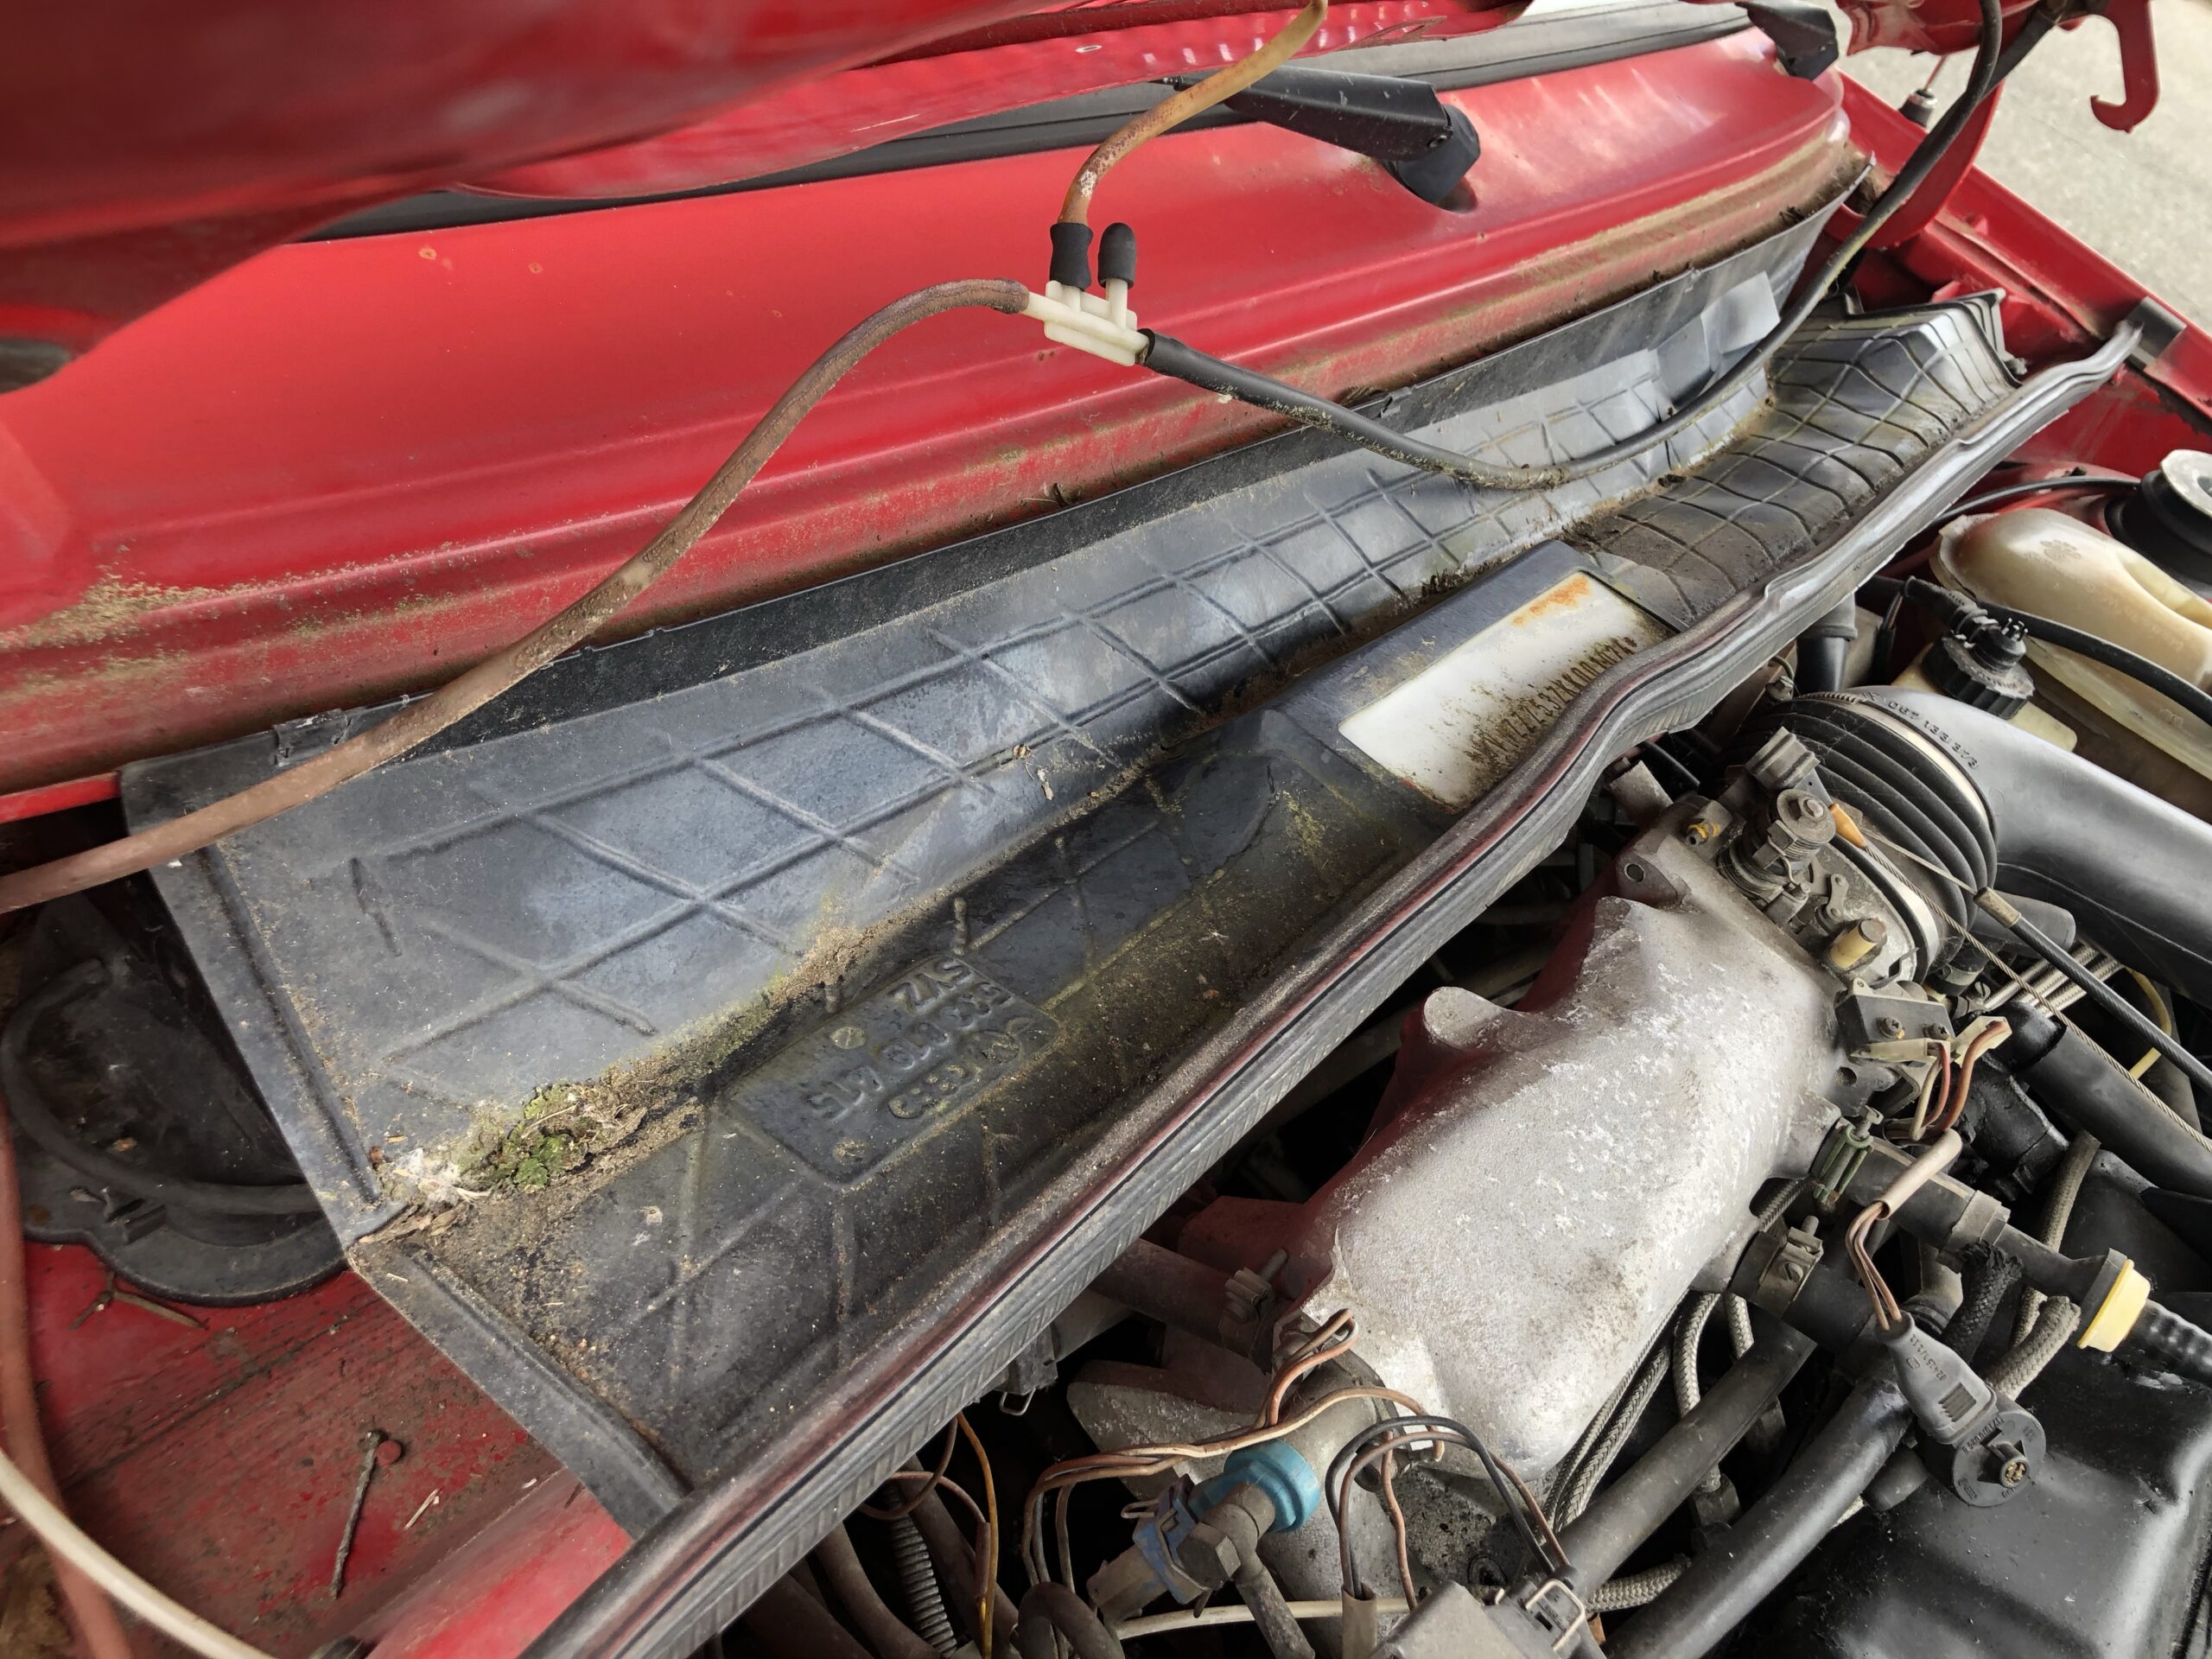
The previous owner disclosed a few known mechanical issues before the car arrived. Specifically, the Scirocco needed a new battery and a replacement radiator to become roadworthy. However, the real story began when the tow truck dropped the car off at our facility. We found a vehicle that was remarkably straight but definitely showed its age through years of exposure.
The exterior paint suffered from heavy oxidation, which hid the car’s true potential. Fortunately, we performed a test buff on a small section of the bodywork. The results were pleasantly surprising. As a result, we now know that beneath that dull surface lies a finish worth saving. While bringing the paint back to life will be the most time-consuming task, the foundation is solid.
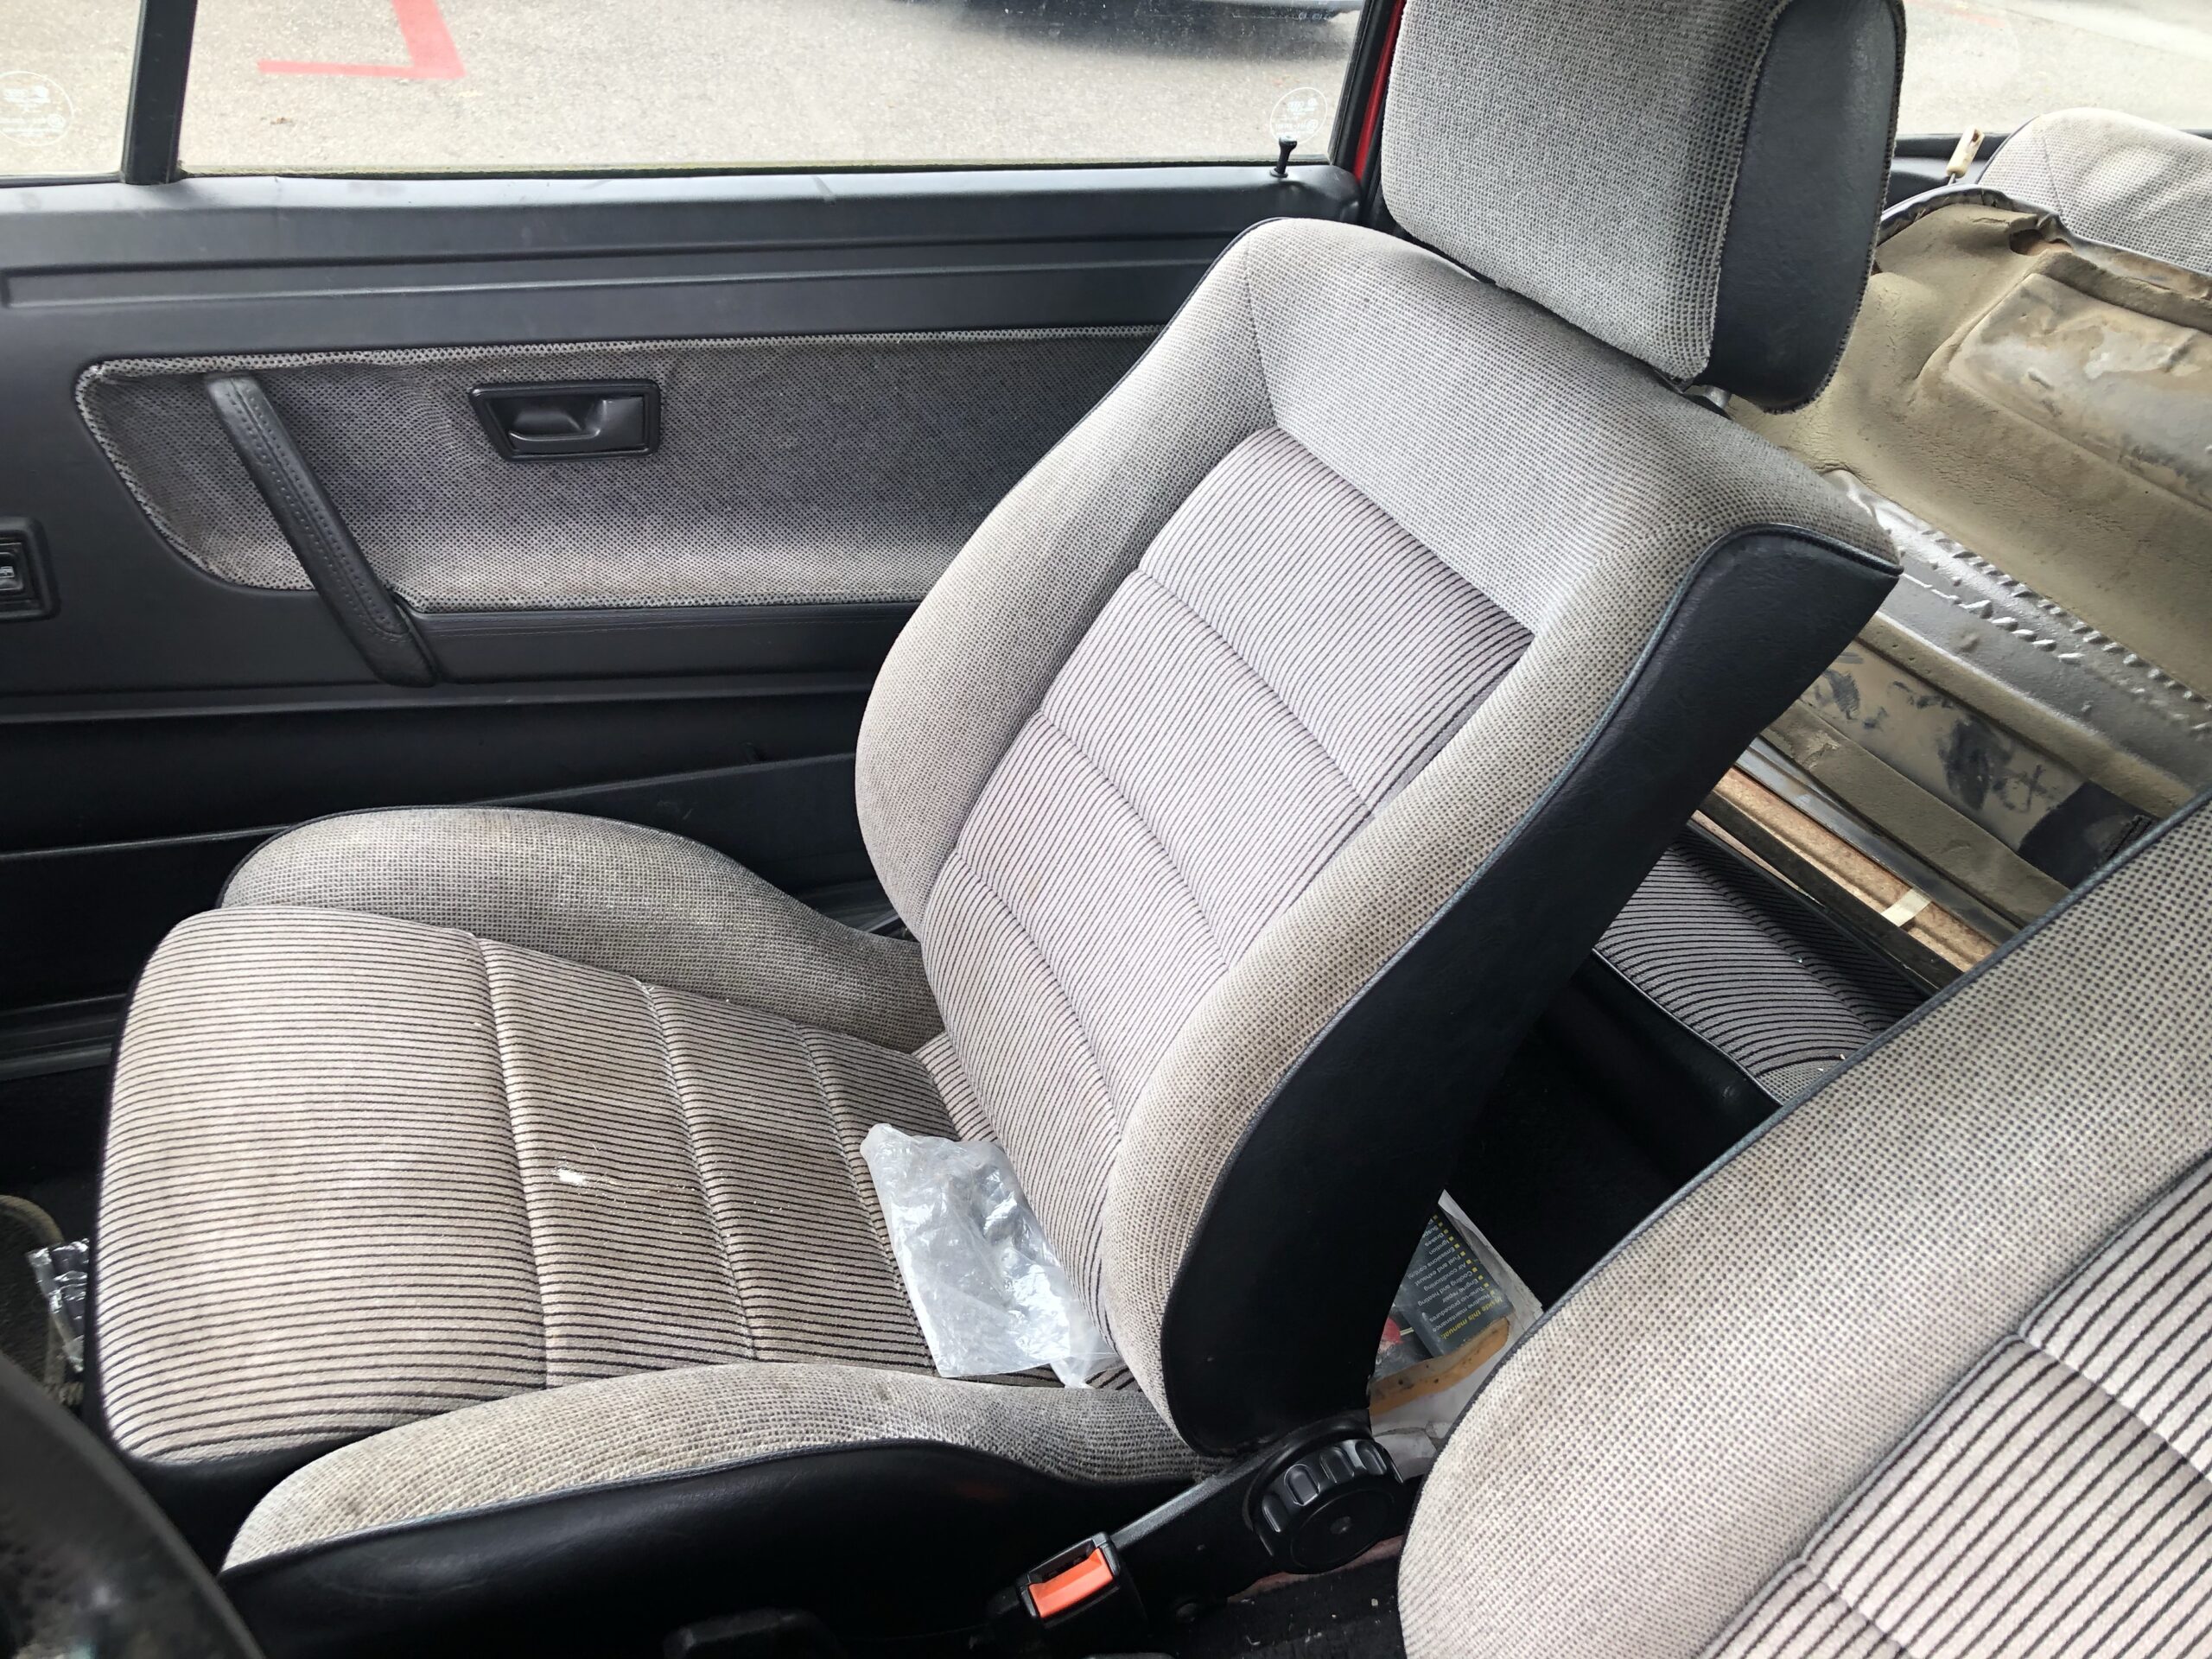
Tackling the Interior and Mechanical Gremlins
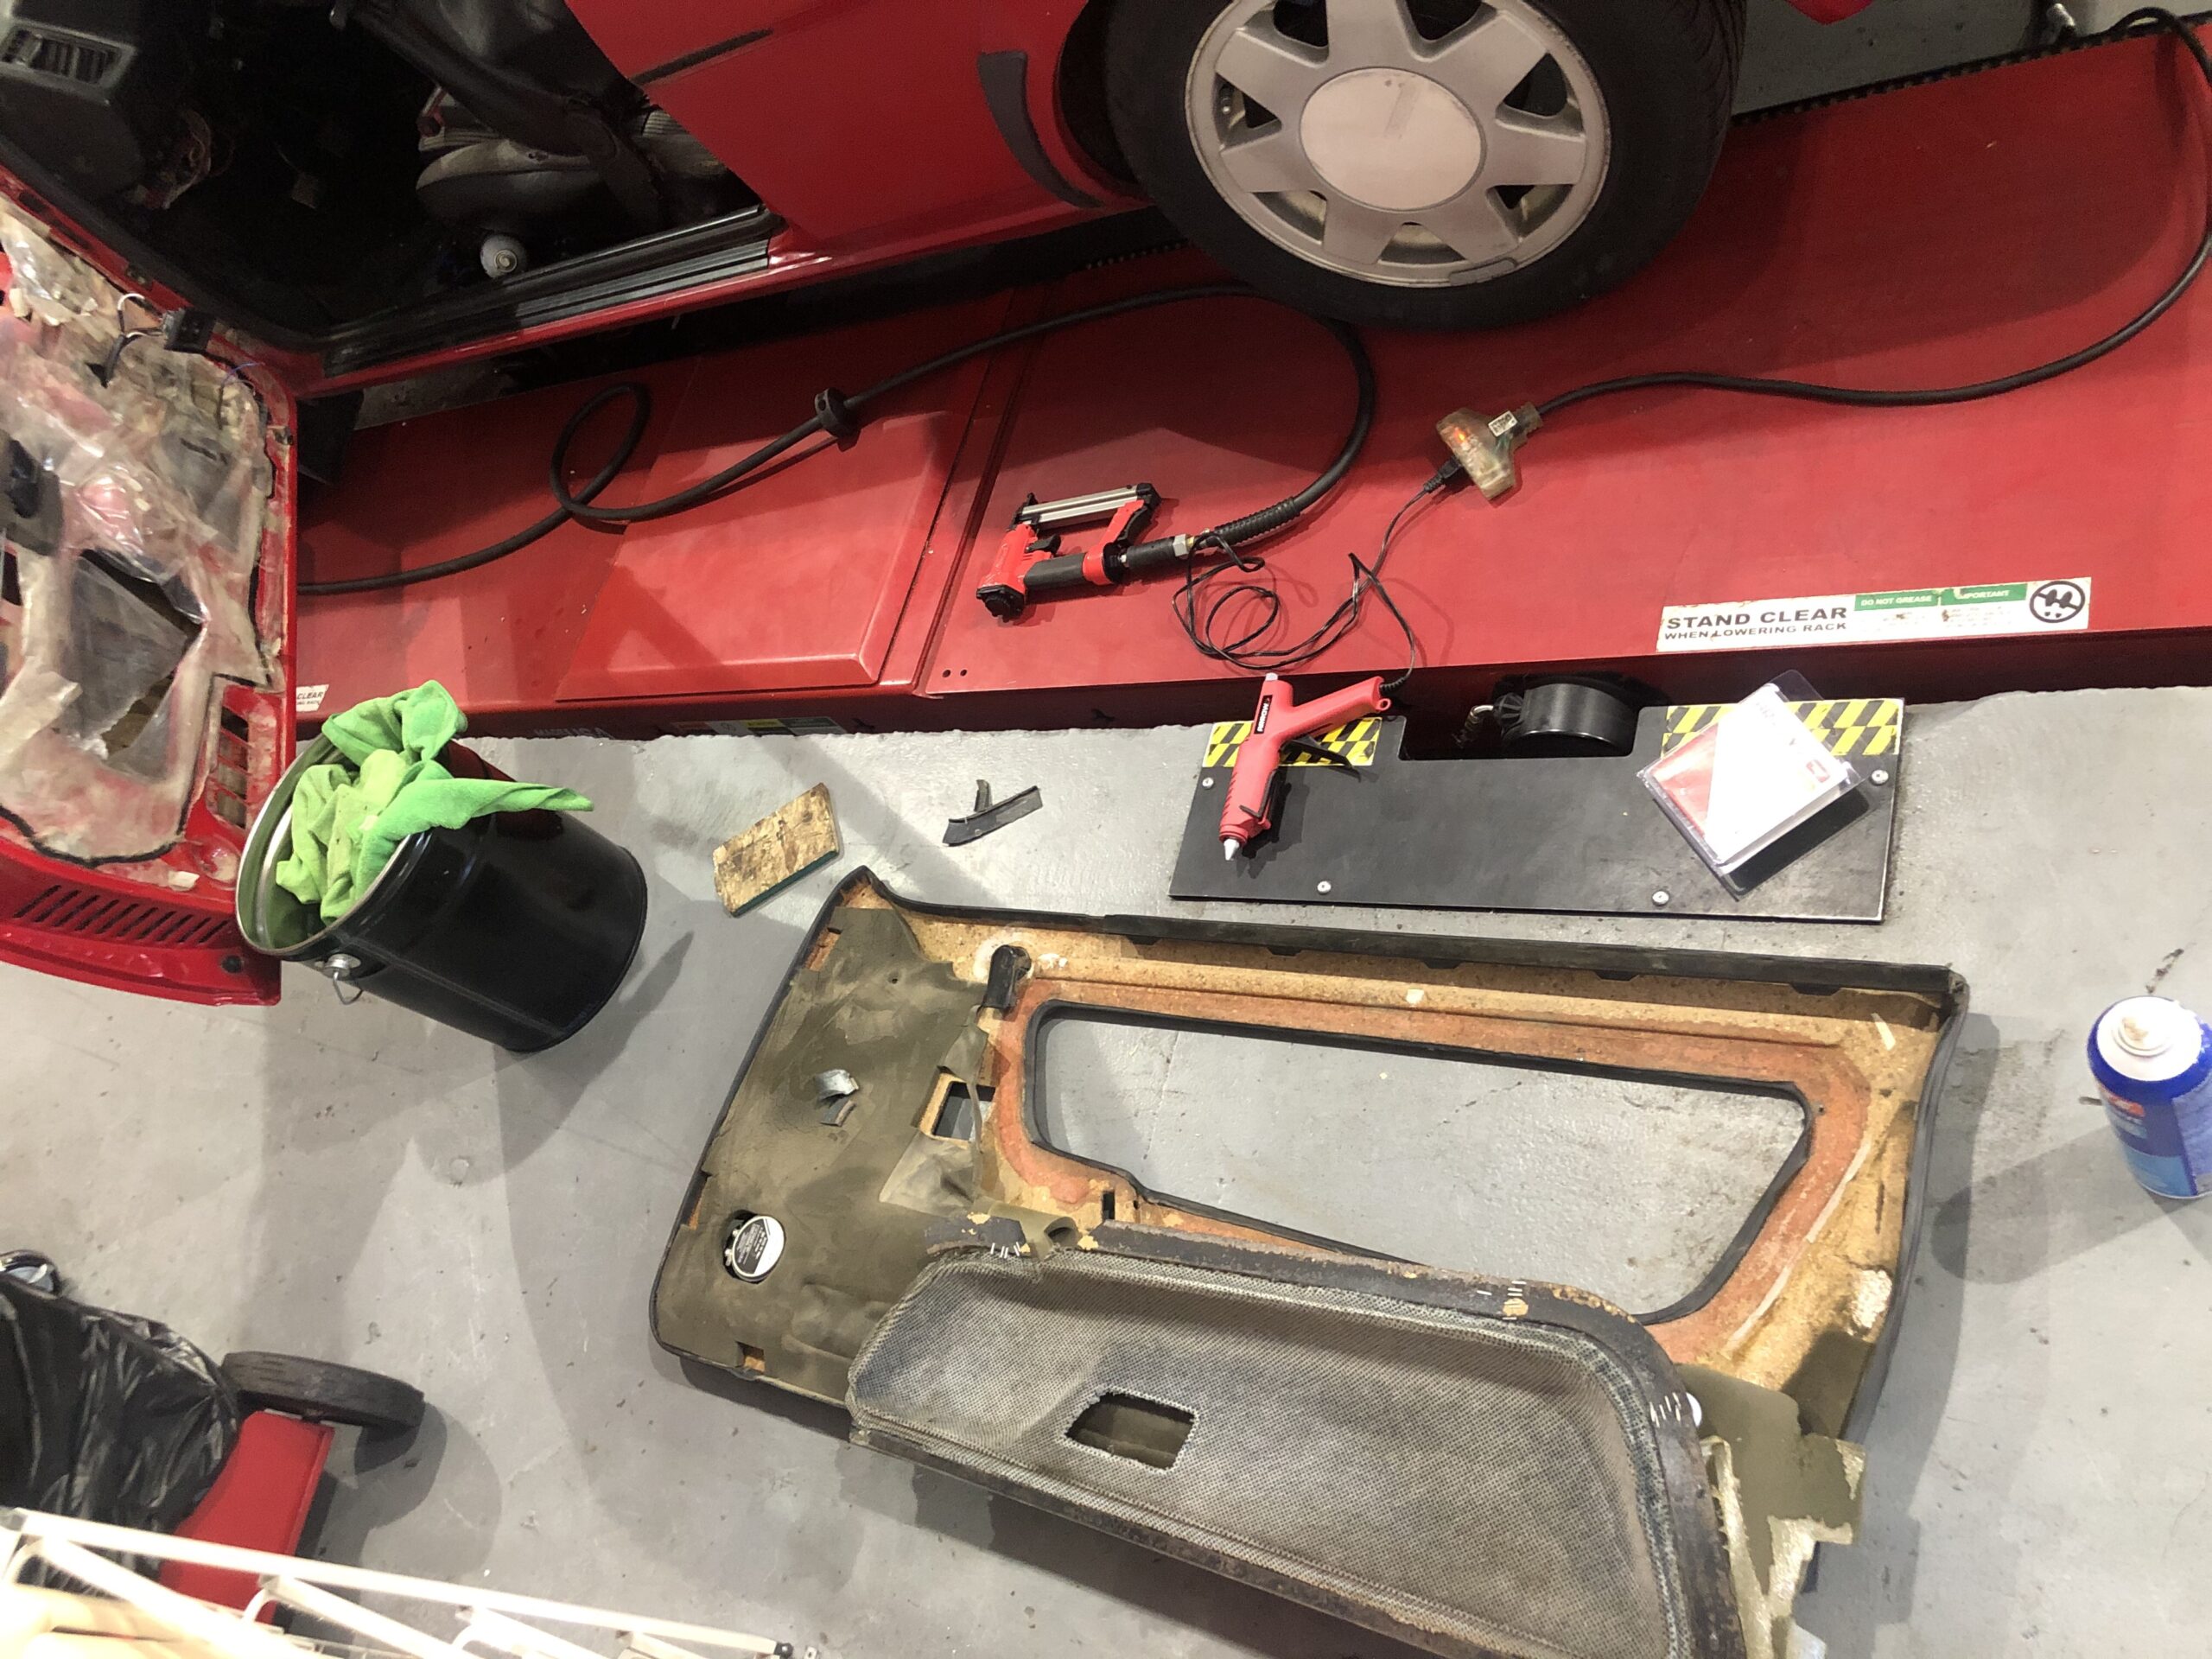
Every 30-year-old Volkswagen comes with a list of small electrical and interior mysteries. For instance, the Canada Rocc arrived with the driver-side door card removed and the window switch wiring disconnected. Furthermore, several small trim pieces were missing from the cabin. We prioritize these “easy wins” to get the car functional while we plan the larger restoration phases.
Our team quickly identified the missing components and began the sourcing process. Specifically, we are using our deep inventory of Mk2 parts to replace the broken switches and missing panels. Thus, we can ensure the interior meets our high standards before moving on to the more difficult aesthetic work. Because we specialize in these platforms, we have the resources to fix these issues correctly the first time.
Why We Document Our Builds
We share projects like the Canada Rocc Part 1 to show enthusiasts the reality of vintage car restoration. In fact, documenting the “before” state is just as important as the final unveiling. Moreover, these builds allow us to test and develop new products in real-world scenarios. Ultimately, we want to inspire other Scirocco owners to take on their own projects, knowing that even an oxidized “sight unseen” car can become a masterpiece.
We are excited to see how this Canadian import transforms over the coming months. As a result, you can expect regular updates as we move from basic repairs to advanced paint correction and performance tuning. Stay tuned as we dive deeper into the technical details of this 8v build.
Join the Restoration Journey
Do you have a classic Scirocco that needs a new lease on life? The Canada Rocc is just one example of how we “make it right” at WestCoastRoccos. Stop worrying about the state of your project and start your restoration today. Browse our shop for the same high-quality parts we are using on this build, including specialized 020 transmission hardware and Mk2 electrical kits.
Follow our blog for the next update on the Canada Rocc. We will soon reveal the full results of our paint restoration and interior repairs. Trust WestCoastRoccos to provide the parts, expertise, and inspiration you need for your own legendary Volkswagen!
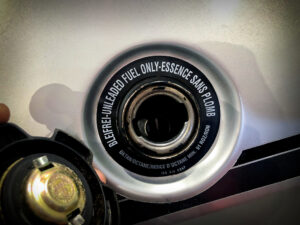
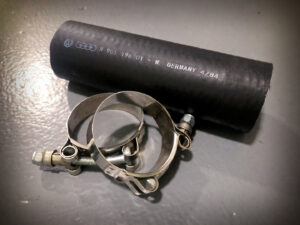
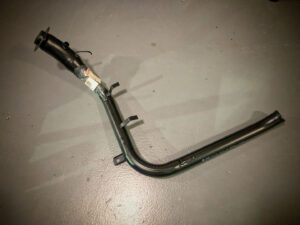
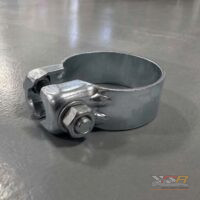
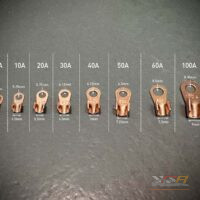
In conjunction with our fuel filler neck hoses, WCR now has more Mk1 fuel filler products. These items include fuel filler decals and OEM NOS fuel pipes. If you’re looking for brand new fuel filler parts for your Scirocco restoration, click on these link and order yours today.
We’ve been asked a few times, “Which antenna is the the proper Scirocco 16v Antenna for my Mk2?” Well the answer is here. PN: 357 035 503 A / 357035503A. Fuba was the original OES manufacture for Volkswagen of these antennas.
Even though they look similar, antennas for Mk3 and up have a slightly different angle than a Mk2 Scirocco antenna. For example, this photo shows the Mk2 Scirocco are 135º-140 / 45-40º. Als Mk2 GTI & Jetta GLI are the same. Most later VWs are 120º/ 60º depending on what side you are measuring.
Make sure you get the correct 16v Antennas for your Mk2. They look a little funny if the wrong one is on the roof. Click here to order the correct one for your Mk2.
Finding the Right Antenna for Your Scirocco 16v:
Enhancing Style and Function
The antenna on your Scirocco 16v isn’t just a functional component; it’s also an aesthetic element that contributes to the car’s overall look. Selecting the correct antenna is crucial for both optimal radio reception and maintaining the car’s classic lines.
Why the Right Antenna Matters:
Optimal Radio Reception: A properly functioning antenna ensures clear and consistent radio signal reception, enhancing your driving experience with uninterrupted music and news.
Maintaining Authenticity: Using the correct antenna style preserves the car’s original aesthetic and enhances its overall value. The wrong antenna can detract from the Scirocco 16v’s iconic design.
Improved Appearance: The antenna plays a subtle but important role in the car’s overall appearance. The correct antenna height and style complement the Scirocco’s sleek lines, creating a more balanced and visually appealing look.
Finding the Correct Antenna:
Research Original Equipment: Investigate the type of antenna that was originally installed on your specific year and model of Scirocco 16v. This will provide valuable information about the correct size, style, and mounting location.
Consider Antenna Style:
Original Style: Stick with the original style of antenna for a truly authentic look. This often involves a shorter, more subtle antenna that blends seamlessly with the car’s roofline.
Aftermarket Options: Explore aftermarket options that offer improved reception or a slightly different aesthetic. However, ensure that any aftermarket antenna maintains the car’s overall style and proportions.
Check Antenna Angle: The angle of the antenna is crucial for optimal reception. Refer to your owner’s manual or consult with a knowledgeable mechanic to determine the correct antenna angle for your specific model.
Key Considerations:
Antenna Height: Avoid excessively tall antennas that can disrupt the car’s aerodynamic profile and potentially interfere with car washes or garage clearances.
Material and Finish: Choose an antenna made from durable materials such as stainless steel or chrome to resist corrosion and maintain a polished appearance.
Professional Installation: For optimal performance and a professional finish, consider having the antenna professionally installed by a qualified mechanic.
In conclusion, by carefully selecting the correct antenna for your Scirocco 16v. You can enhance both its functionality and its aesthetic appeal. Remember, the right antenna not only improves radio reception. It preserves the car’s classic lines and contributes to its overall value.
If you have any questions that need fielded, feel free to email us and we’ll get back to you with an answer.
 Have you ever tried to install a new Throttle Cable Bushing on your Mk or Mk2 Scirocco throttle pedal? It’s a pain in the butt, isn’t it?